Arbox's new penalty system helps you manage event attendance effectively. It's a great tool for encouraging your clients to stick to their schedules, and show up for events they've signed up for.
In your management platform, you can create rules that define when penalties apply. This is based on how often a client misses events. There are two types of absences:
Late Cancellation
When you added your events to your schedule, you defined it's "Late Cancellation" rules. Generally, it means that a client cancels his spot just a few hours before an event starts.
No Show
If a client doesn't come to an event and doesn't inform you, it's a no-show.
When a client hits the absence limit you set, you can apply one of these penalties:
Block and cancel
Stop the client from using the app for a certain number of days, and cancel their current event registrations.
Block without canceling
Block the client from using the app for several days.
Shorten membership
Reduce the length of the client's membership by a few days (This only works if there's an end date to their membership).
First, ensure you have memberships and session packs set up in your platform. Then, follow these instructions and add your first penalty!
- Go to "Settings", then "Business Settings," and find "Penalties".
- Click "Add penalty" and name it (for example - "Shorten membership").
- Set the start date for tracking absences, and define the rules (for example - two absences in seven days trigger a penalty).
At this stage, we are not yet defining the method of measuring absences or the method of 'punishment'.
- Choose whether absences are counted as "Late cancellations", "No-shows", or both.
- Pick a penalty type from the three option we've mentioned earlier.
- Decide when the penalty kicks in, after an event is missed or canceled.
Sometimes staff mark attendance a few minutes or hours after the meeting ends, so we removed the option to enforce the penalty immediately. This way, clients won't be considered 'absent', just because staff didn't manage to mark them as present right after the session.

In the example above, I named the penalty 'Shorten Membership.' Additionally, it will start being measured from 20.11.23. The rule is that after two late cancellations within a seven-day period, the client membership will be shortened by two days. The penalty will take effect, two hours after the second event, that the client cancels late.
- Choose the memberships to which the penalties will apply. When adding a new membership to the platform, you will need to go to your penalties, and add it to the list (if you want the penalty to also apply to it).
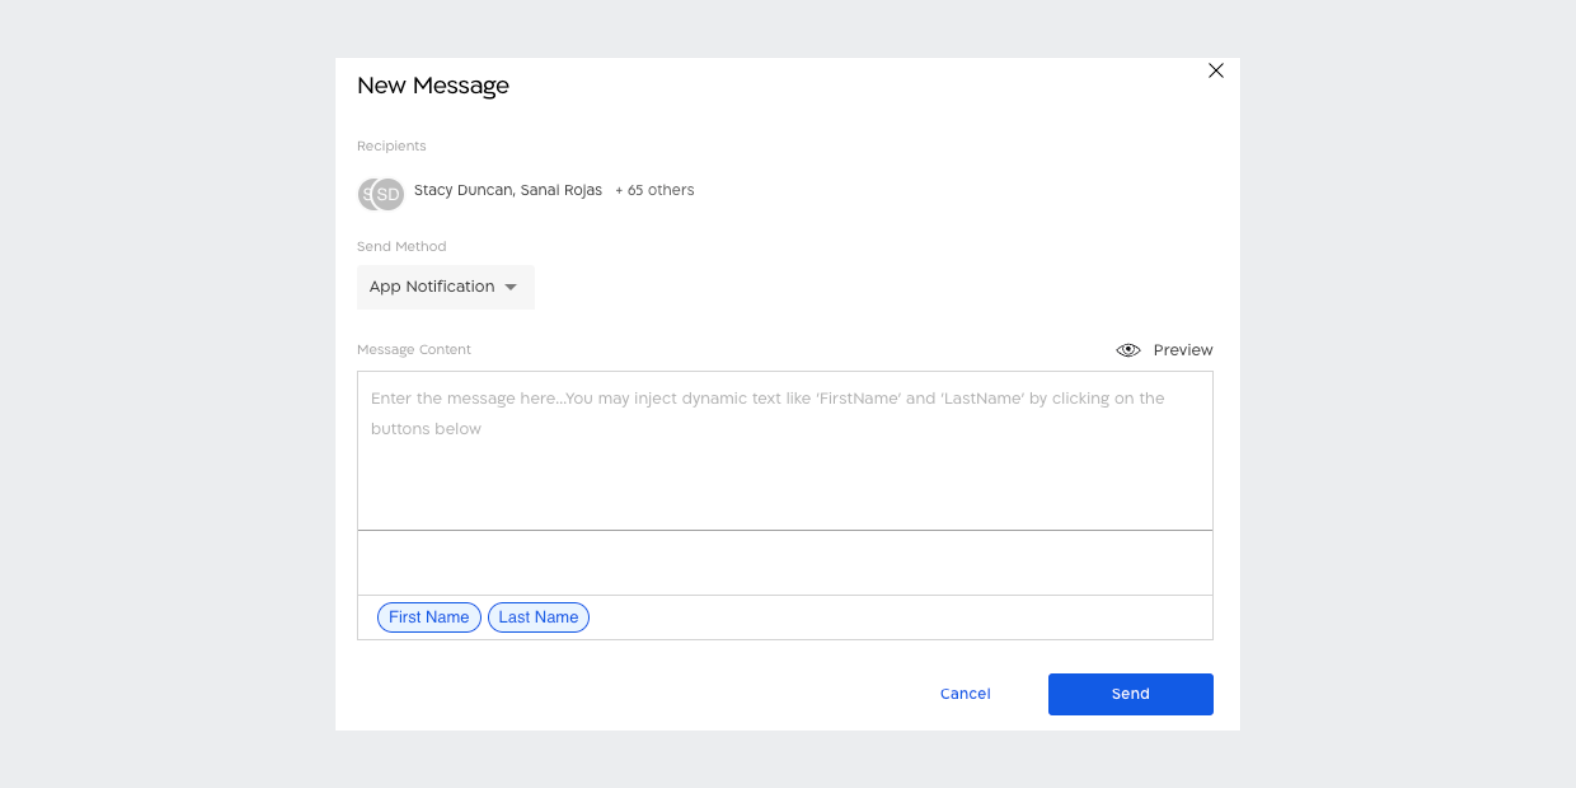
Finally, define how your clients will be notified that they have been penalized, and the penalty has been enacted. You can choose between an app notification (push message), SMS, email, or a combination of these options. This is a great opportunity to communicate your business's policies outwardly, and prevent such cases from happening again.
We made a notification template in advance, that you can use to save time and streamline the process.
Add the penalty policy to your business's terms and conditions. In addition, when new clients join, try to share your unique terms with them upfront - this way, you get the best of both worlds! On one hand, attendance at the business will be stable, and on the other hand, when penalties are applied, clients will be less likely to claim unfair treatment, as the rules are clearly defined. This way, you can maintain high and positive energy in the business. So what are you waiting for? Click here and create your first penalty!
In a business that bases its activity on providing service to a wide range of clients, it is recommended to maintain close attendance tracking at all possible events. For this exact purpose, Arbox enables you access to a professional check-in interface, which will allow you or your staff members to monitor and oversee client attendance at any meeting. The check-in interface is separate from the management platform, and can be accessed from any device (computer, phone or tablet).
The interface synchronizes with the management platform and provides you access to important real-time data. For example, a list of the clients or leads registered for an event and specific notes intended to provide you real-time data. For instance, if one of your registered clients for your event is injured, you can update this in their client profile in the management platform. The information will automatically appear in the check-in interface, and this way you or your staff members will be able to provide the proper treatment for the client.
In parallel, data from the interface is transferred to the management platform, every mark in the interface will directly affect your clients' profiles. Therefore, you need to ensure that your staff members use the interface properly and are very familiar with it.
How does this interface work and who is it intended for
- Enter the interface and input the username and password that you or your staff members use to connect to the management platform.

These are the exact same login details as the management platform and client application. If you do not remember your password, click "Forgot Password".
- After logging in you will be able to see all the upcoming events taking place that day, the interface display matches the "Schedule" view in the management platform. Different permissions have different capabilities, "Manager" permission will allow viewing all events of the business's staff members. "Staff Member", "Coach" and "Trainer" permission will only allow viewing events they are conducting.
- You can easily switch between different management platforms and branches through the interface (if you are not a member of multiple platforms and your business does not have additional branches, you will not be exposed to this option).
- Switching between different days is done using the arrows, additionally you can return to the current day by clicking "Today". Click on your profile picture in order to switch users or language.
- Click on the date if you want to quickly navigate directly to a specific date.

Now, choose the relevant event for you and click on it. Note that you can only mark attendance for events happening that day, or past events (there's no way to mark attendance for future events). We would like to introduce you to some abilities and indicators on the next screen:
- Leads will appear in members list with a purple background (like in the image).
- If the a user is less than thirty days in your business - the word "NEW" will appear and you can discern exactly when they joined. We added these indicators so you can provide personalized and accurate treatment to each client and lead, this way you can provide them an ideal experience.
- To ensure you never miss a client's birthday, we've added a "cake" icon that will automatically appear next to their name on their special day. You'll also see a debt indicator on any clients who have outstanding balances owed to your business. Simply hover over their name or click it if you are on a phone or tablet, to view the total amount due. With these helpful icons, staying on top of important client details and accounts receivable is easy!

Track your clients' injuries and maintain their fitness
The check-in interface displays injuries you inputted into the management platform for your clients. First, enter your clients' profiles and go to the "Profile" category, click the edit icon next to the "Injuries" category. Input the injury in detail and click "Save".
In order for injuries to appear in the check-in interface you need to go to system "Settings", scroll down to the "Preferences" category and click the "edit" icon next to "Display member injuries on Checkin platform". Click the toggle and activate it!

Now you can refresh the check-in interface, and see the warning icon appearing next to the client's name. Hover over it with your mouse or click it if you are on a phone or tablet.

If you allow your clients and leads to mark their own attendance (you can place a tablet with the interface open at the space entrance), pay attention to the details you display them (client and lead names, injury documentation, etc). You surely do not want others exposed to sensitive information, so it is recommended to be aware and responsible.
Updating Credit Card Details via the App
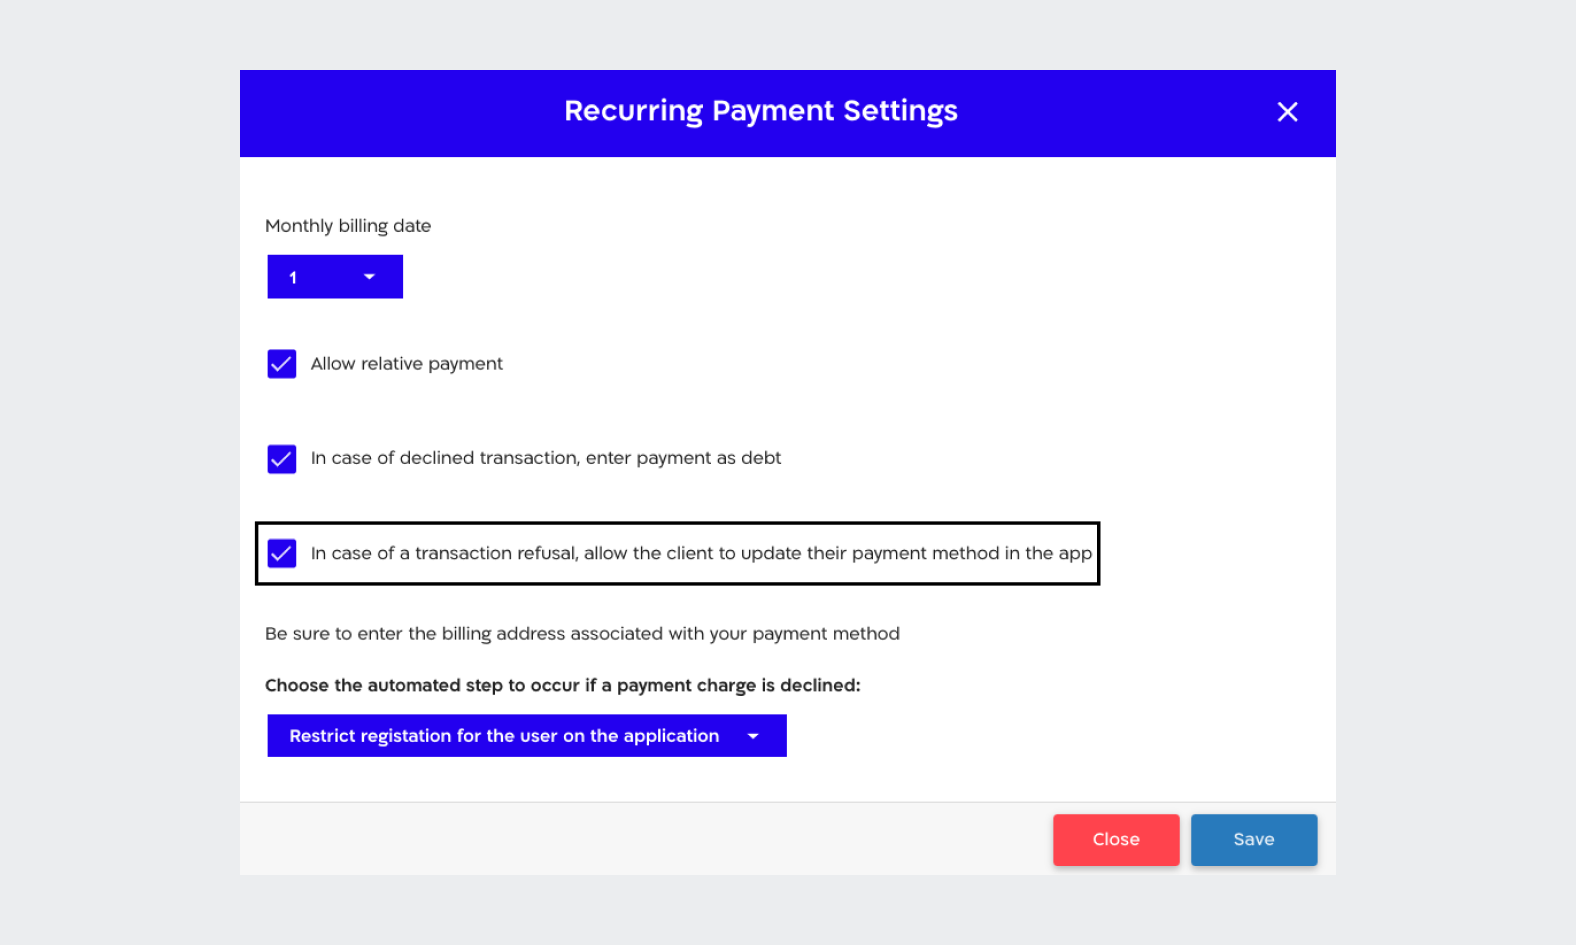
The next part may be helpful and save you valuable time if you have set that your clients will be blocked when one of their active recurring payment charges is declined. Declines can appear for a variety of reasons including stolen/blocked credit cards, maxed-out credit limits, etc. If you want your clients to update their credit card details via the client app and thus remove their block, you need to follow this order of action:
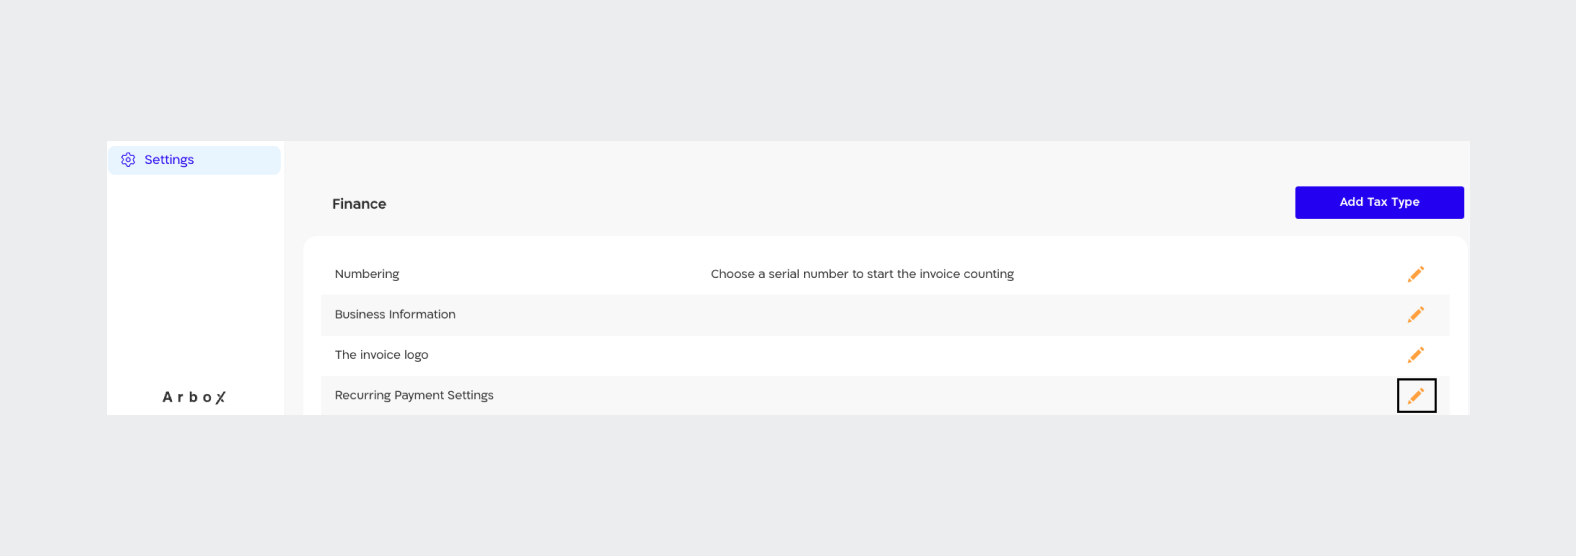
- Click on "Settings" in the main menu.
- Scroll down to the "Finance" category.
- Click the edit icon next to "Recurring Payment".
- Choose to allow clients to update their credit card via the client app, and make an "immediate payment" in order to close the debt that was created for them in the recurring payment.
- Click "Save".
We have a great tip for you! You can send pinpoint notifications to clients through 'Failed Transactions', under the 'Transactions' category. Tell them they are in debt, and that they need to update their credit card details through the client app.

Now, we will be happy to demonstrate how updating credit card details will appear in the client app, and clarify what your clients need to do:
- Your clients will see on the app Feed a note saying "Transaction failed", they will need to press "Update Payment Method" in order to change their credit card details.
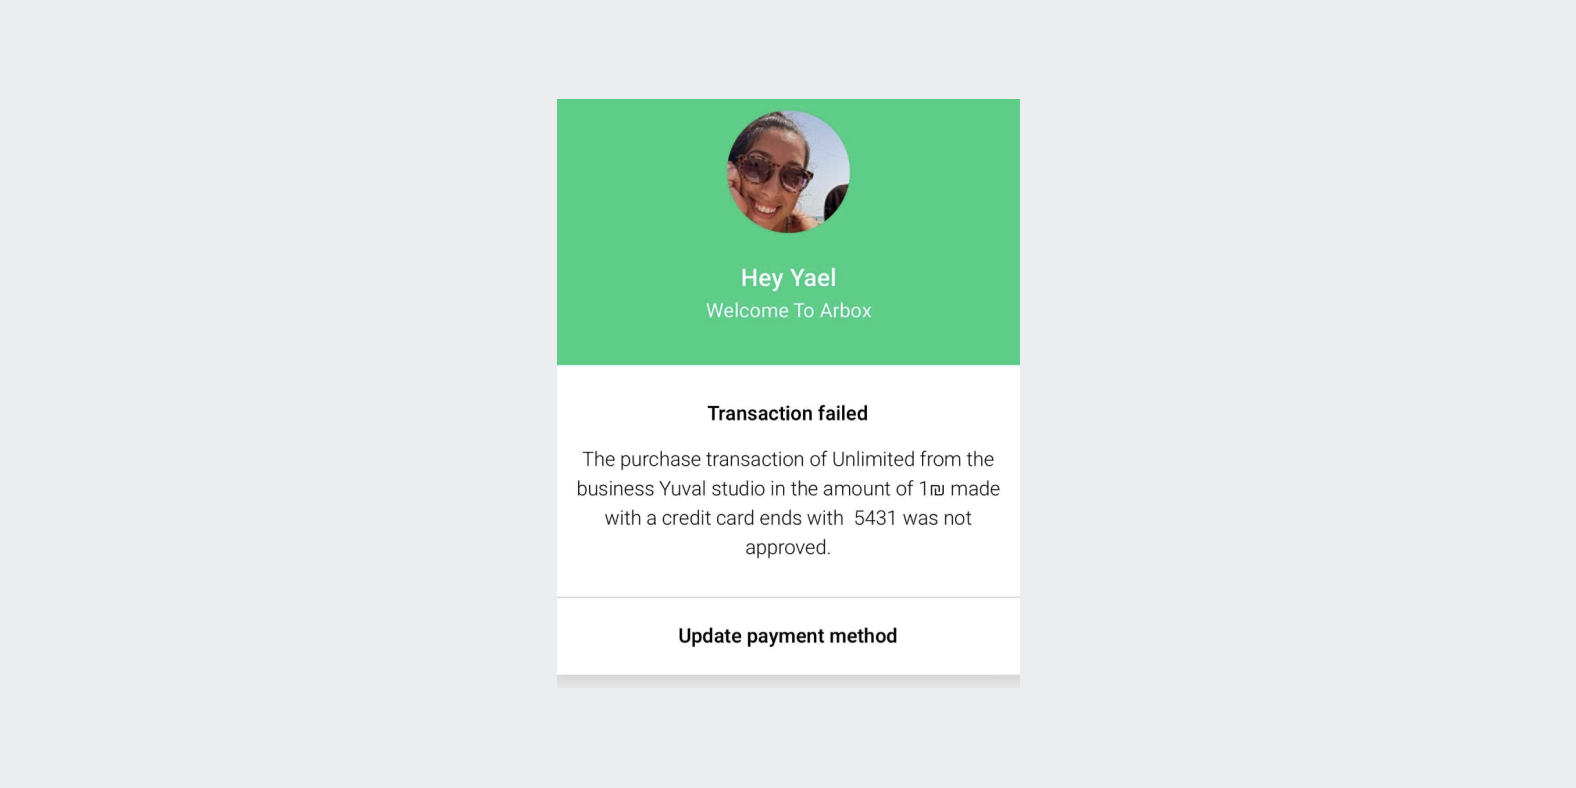
- Finally, the Update Credit Card Details screen will appear before them. They will need to press "Pay Now" in order to complete the process, and close the debt that was created for them in the recurring payment.
As soon as your clients close the debt, they will be able to go back to the schedule and register for the various events.
January 23rd, 2024
We're excited to present our latest system update, packed with enhancements and new features designed to optimize your management experience. We're committed to continually improving our platform, ensuring it's user-friendly and tailored to your needs. Thank you for being a part of our journey towards better business management.
What's New?
1. Task Management Improvements:
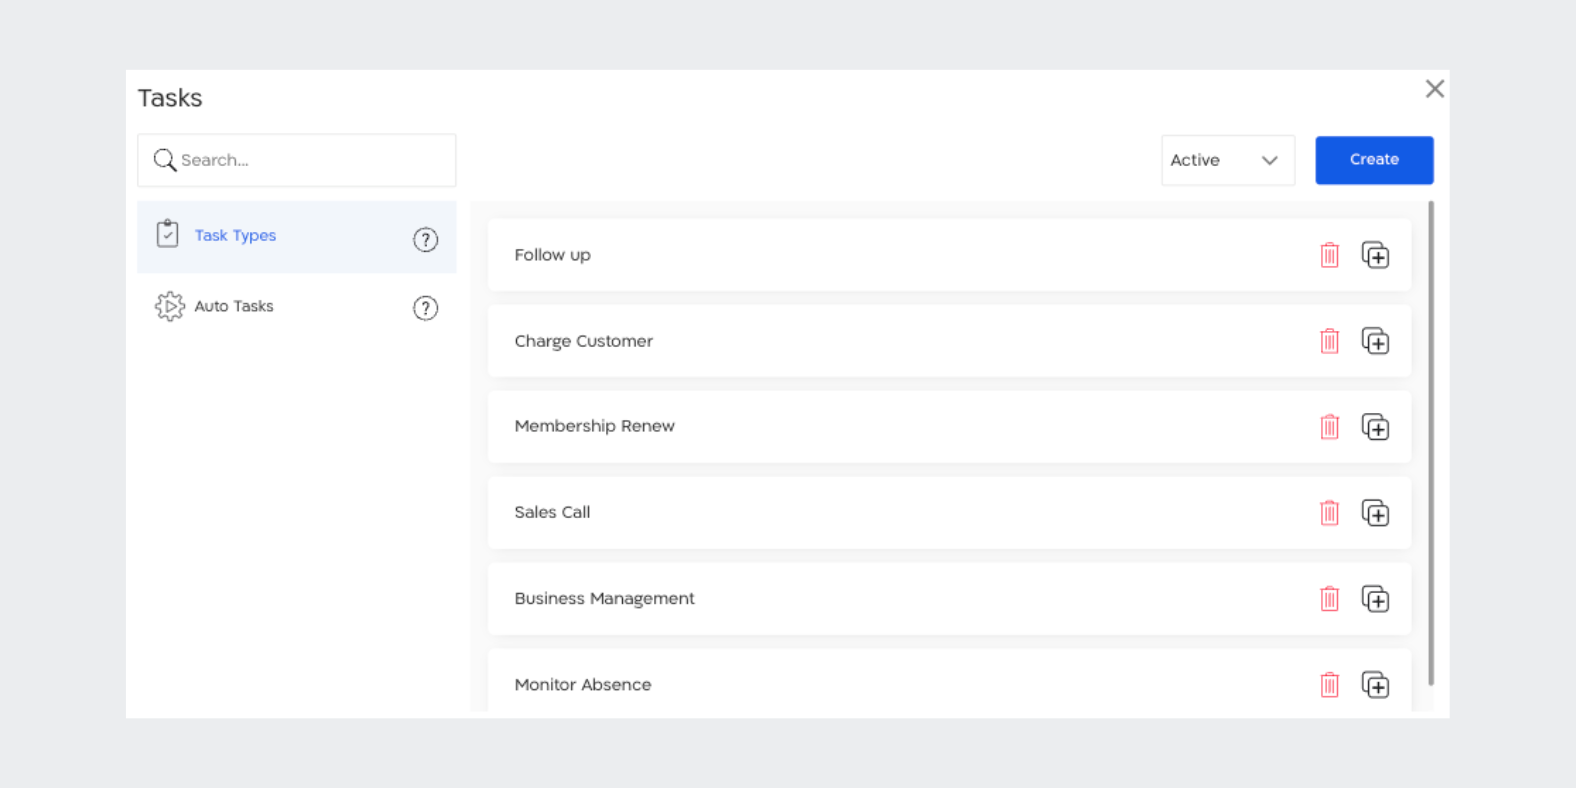
- We've simplified the task editing process, eliminating the need for an additional confirmation screen.
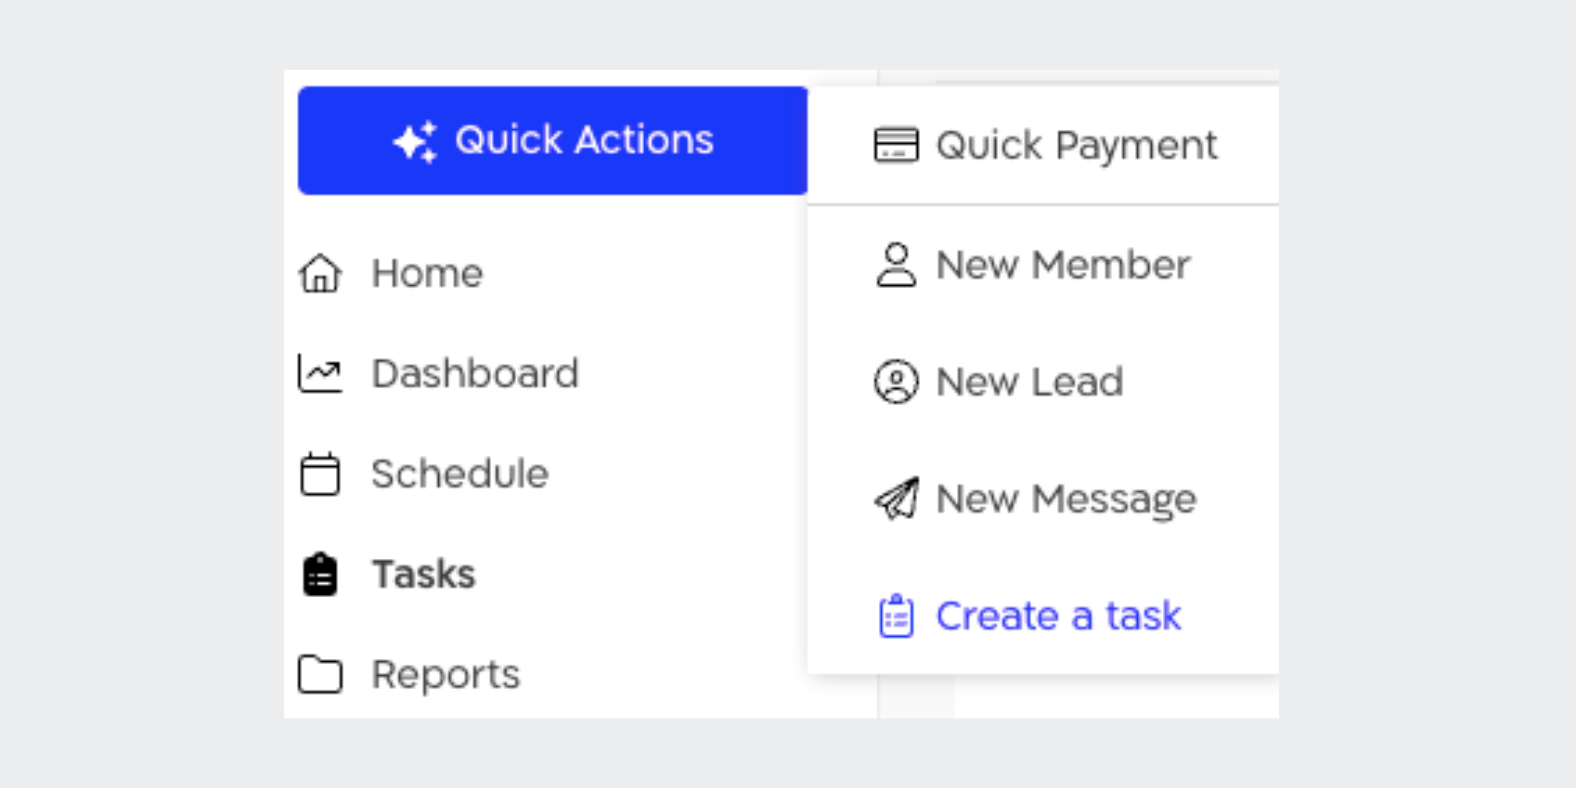
- Introducing a new bulk task addition feature, now with a confirmation screen for better task handling.
2. Enhanced Automatic Reminders:
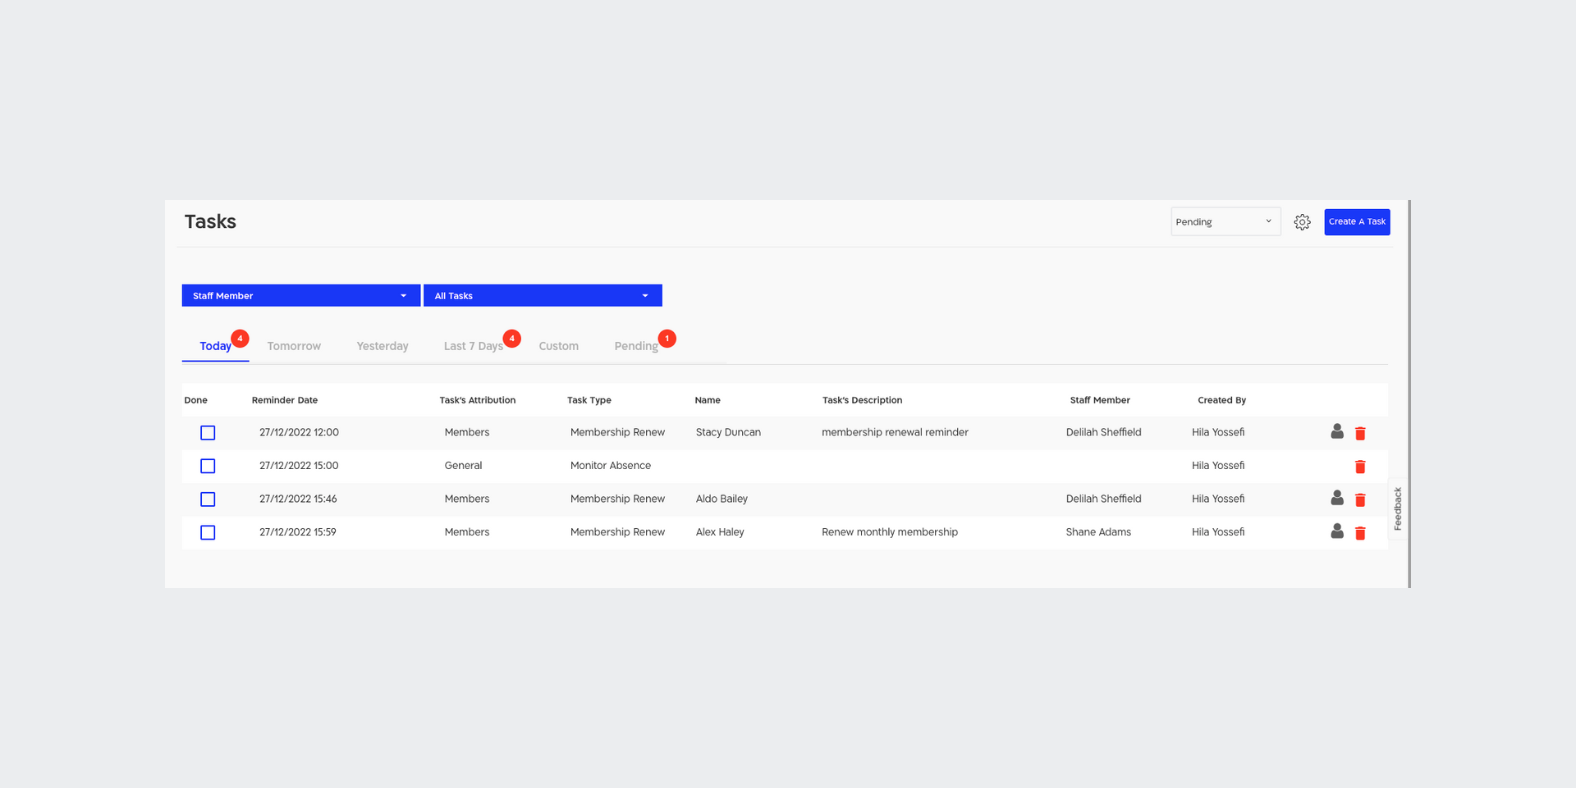
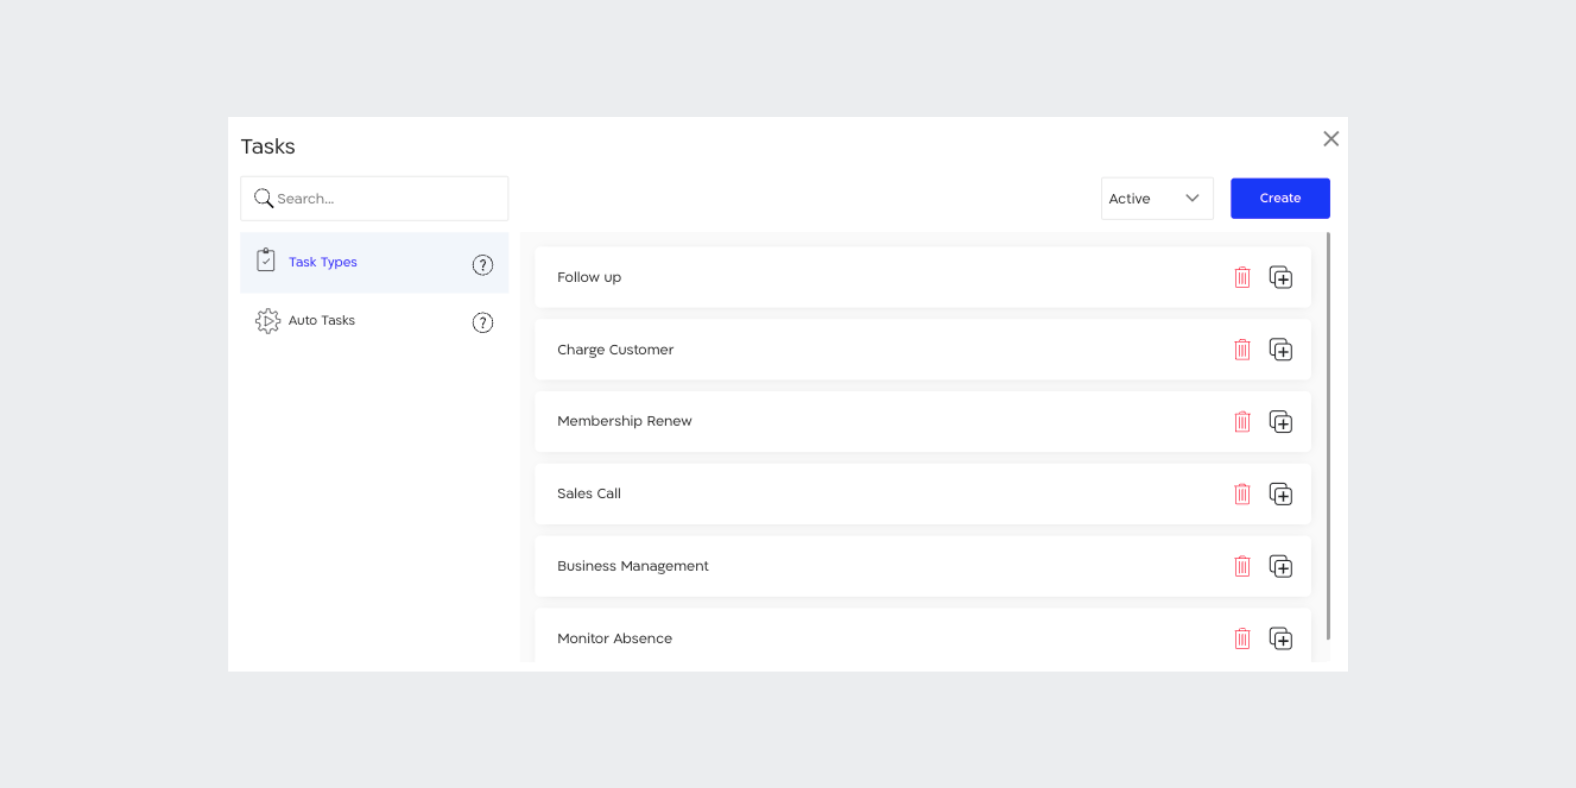
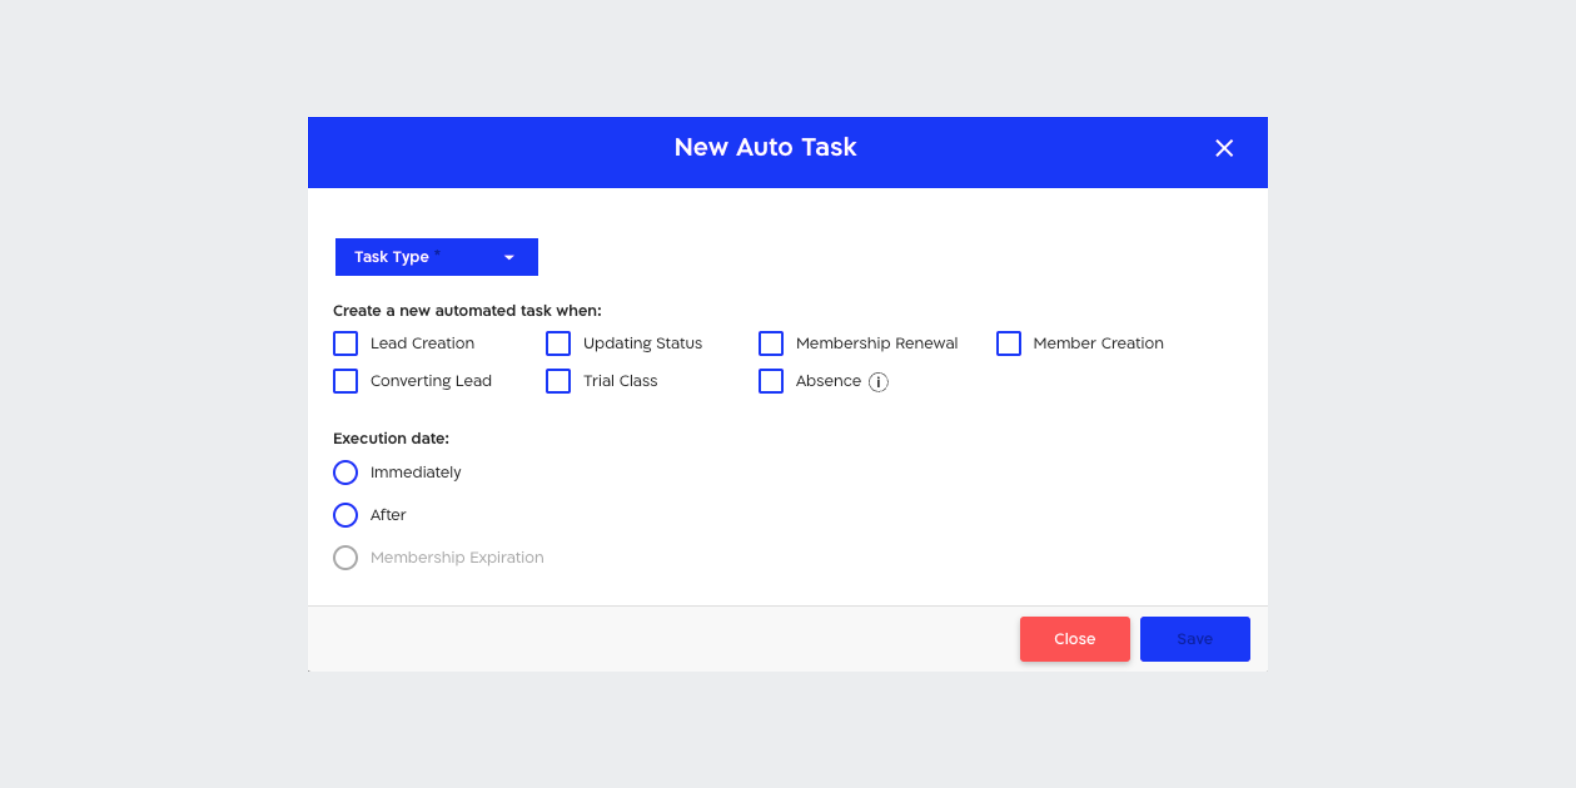
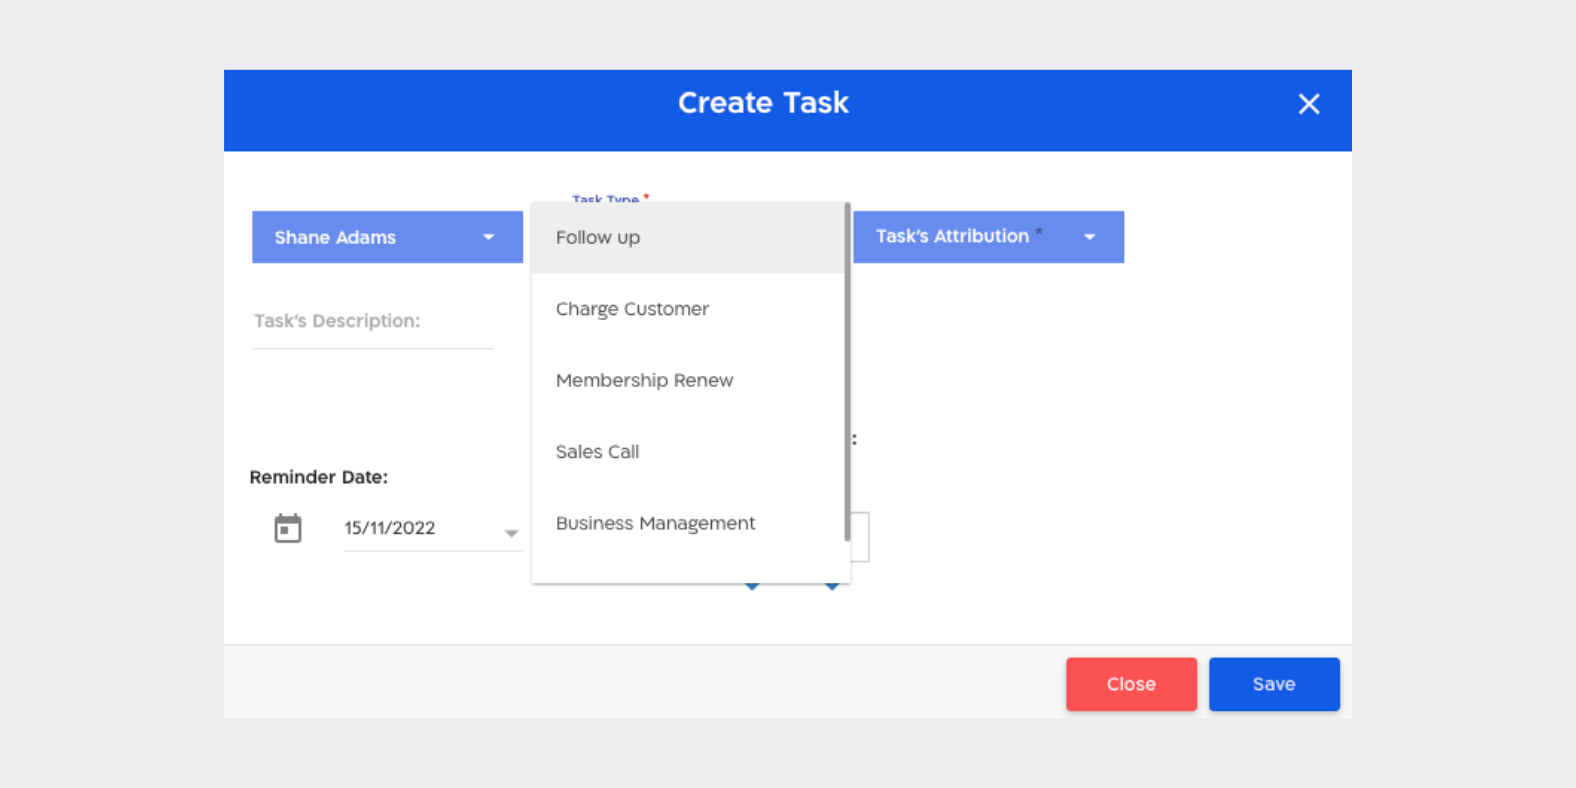
- Our automatic reminders for tasks have been upgraded (users with "Standard" packages and above). For example, you can now set an automatic "Follow Up" task, for the day after a lead's trial session.
3. Financial Reporting Tools:
- Download and analyze your recurring plans reports in Excel, streamlining your financial management process.
4. Birthday Report Update:
- The 'Birthday' report now includes a 'Status' column for more personalized client communication.
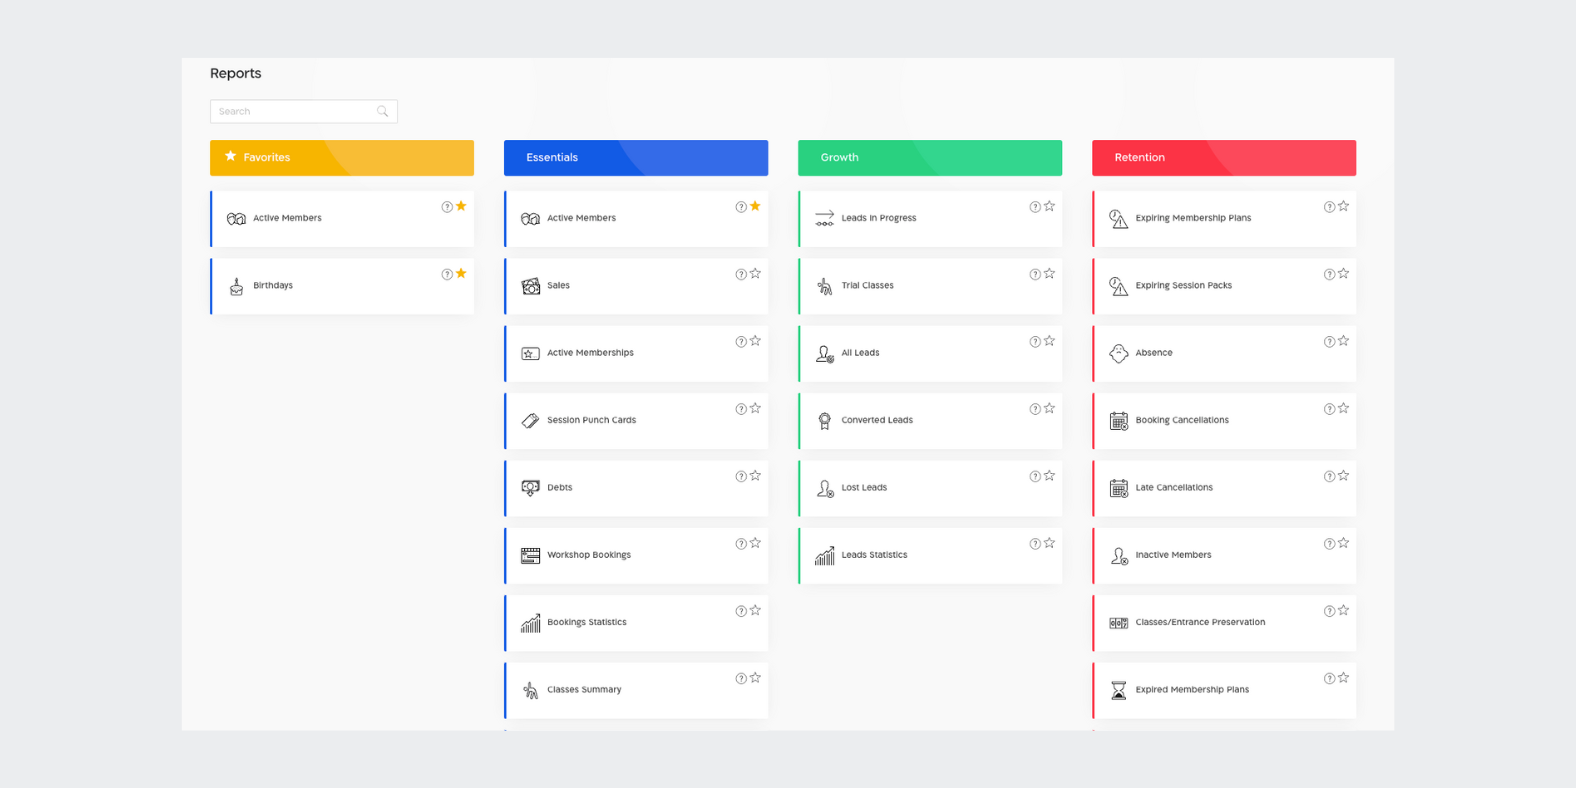
- Send birthday greetings and special promo codes directly from the report to enhance client relationships.
5. Quick Note Addition:
- Adding notes to a lead's profile is now faster and more intuitive with the new blue '+' icon feature.
December 25th, 2023
We're thrilled to roll out the latest version update for the Arbox Community, packed with enhancements and new features to elevate your business!
What's New?
- Sneak Peek at Our Major Project: Get a glimpse of our brand new "No-Shows Report"! We're revamping our reporting system in phases, unveiling exciting new features like a streamlined main reports page, lightning-fast data loading, optimized reports, and insightful graphs and tables for an optimal user experience.
- Streamlined Email Notifications for Personal Appointments: No more email overload for your clients! Now, after booking a personal appointment, you'll have the option to send or skip the registration confirmation email.
- Mandatory Data Fields for Comprehensive Insights: To foster growth and maintain order in your business, we've made four fields mandatory: "Source" for leads, cancellation reasons for memberships, reasons for marking a lead as "Lost", and "Hold" reasons for memberships. This ensures detailed data for effective resource allocation and business growth.
- Improved Meeting Cancellation Policy: Did a meeting get canceled despite having the minimum number of participants, within the timeframe you previously set? From now on, your clients won't receive any unwanted 'surprises' at the last minute. Once the system identifies the minimum number of participants, canceling registrations will no longer lead to the cancellation of the meeting!
- Enhanced Mobile Management with 'Debts' Column: In our ongoing effort to enhance mobile capabilities, we've added a "Debts" column for participant management in the calendar.
- Updates to Recurring Plans: To avoid billing issues, we've removed the option to set the billing amount to zero. To cancel future billings in a standing order, use the green "dollar" icon in the client's profile, navigate to "Future Billings", and click the red "trash can" icon.
- Staff Member Status Independence: In response to your feedback, we've decoupled staff member status from their membership status. An "Inactive" subscription will no longer affect staff member status, ensuring uninterrupted system access.
December 12th, 2023
We're happy to share with you the latest update from Arbox. It's packed with some neat additions and tweaks to make your experience smoother.
What's New?
- We have made several enhancements to the check-in interface:
- Staff can now view all branch meetings simultaneously.
- The participant list will be alphabetically ordered, and categorized into clients and leads.
- The total number of participants for each event, will now be available to view, on the mobile version.
- Click on an event in your schedule to access the "Quick view" or the "Manage participants" sections. Now, you can easily change your event type, staff member, and space with just a click.
- We continue to enhance our integration with Zapier, tailoring new triggers to meet your specific needs. Connect with Zapier to unlock powerful automated workflows, that can save you time and drive your business growth. Our latest triggers include:
- Enrolled from Waitlist, Canceling Registration (End-User Side), Credit Refusal (Recurring Plans), Registration for X Events, New Purchase, Business Entry via QR Code and Chip, Mark Lead as 'Lost', Sign Digital Form, and X Attendance Marks.
- We have updated the functionality, allowing you to mark attendance or cancel registration, for leads directly from their profiles.
October 30th, 2023
The version update brings a variety of improvements and new additions to your management platform, aiming to provide you with the best user experience possible.
What's New?
- Events can now be dragged and dropped in the daily calendar view for easier scheduling.
- You can now replace payment methods for recurring plans directly from your client profiles.
- Clients can be refunded when canceling their recurring plans.
- Proportional charges will now be automatically calculated when you cancel a recurring plan - no more manual calculations for you!
- Lead injuries can be added to their profiles, just like client profiles. These injuries will appear in the check-in interface to enable personalized trial sessions.
October 17th, 2023
The version update brings a variety of improvements and new additions to your management platform, aiming to provide you with the best user experience possible.
What's New?
- It's time to upgrade yourself with a new check-in interface! Click here to learn how to use it and access it easily.
- In order to improve your user experience, we have recently been working on improving our recurring plans. The new version includes some updates designed to work behind the scenes, and some designed for your personal use:
- For those of you who like to cancel recurring instructions by changing their end date, we've added a special note that will clarify that their future charges are still active! It's time to clarify that recurring plans are canceled by clicking on the red "X" icon, that appears next to memberships in the client profile.
- In order to prevent unnecessary charges, we limited memberships replacement. A membership without an end date, can only be replaced with another membership without an end date, and vice versa - a membership with a defined end date, can only be replaced with a membership that also has a defined end date.
- We removed the ability to edit the end date for a renewable recurring plans (a plan predefined in the platform without an end date) at purchase and editing.
- We added an indication of debts among leads in the schedule. When leads with active debts appear in one of your events, their debts will be colored in red. Hovering over the debt will display all relevant details about it.
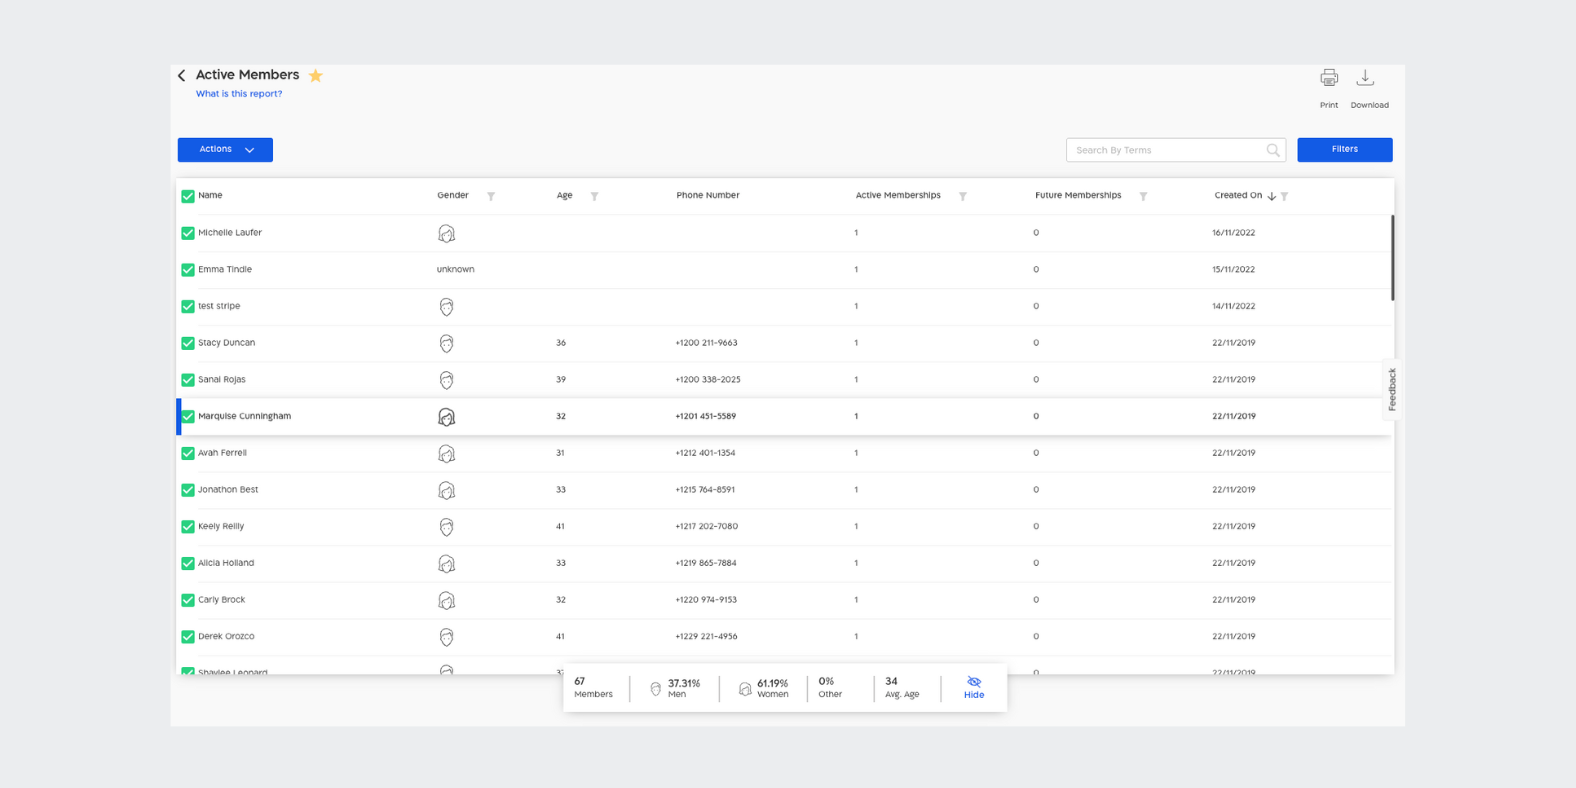
- From now on, the ID numbers of your clients will appear in the "Active Members" report. Note, this column is only visible when exporting the report as Excel.
- For those who like to look at the schedule through the "Agenda" view, we have expanded the event display range to a full week.
- We added a new "Weekly List" view to the schedule! This view allows you to see a larger amount of events than usual in one screen. If you have branches in the system, the "Weekly List" will allow you to view events from all branches in one place.
If you are still not sure about the schedule settings and the right way to switch between views, click here and go to the guide that will put things in order for you.
September 28th, 2023
The version update brings a variety of improvements and new additions to your management platform, aiming to provide you with the best user experience possible.
What's New?
- We continue to enhance your user experience by consolidating various actions onto one screen! We have innovated the ability to manage client attendance through their profiles! Go to the client profile and click the "calendar" icon next to a specific membership. Now, notice we have added the option to mark their attendance or cancel their registrations (through regular cancellation or late cancellation).
- We have added to the client app the ability to update payment methods when a recurring plan charge is declined! The action will be performed by updating the client's credit card details and making an "immediate charge", so they will close their debt and their recurring plan will continue charging them correctly. Read more
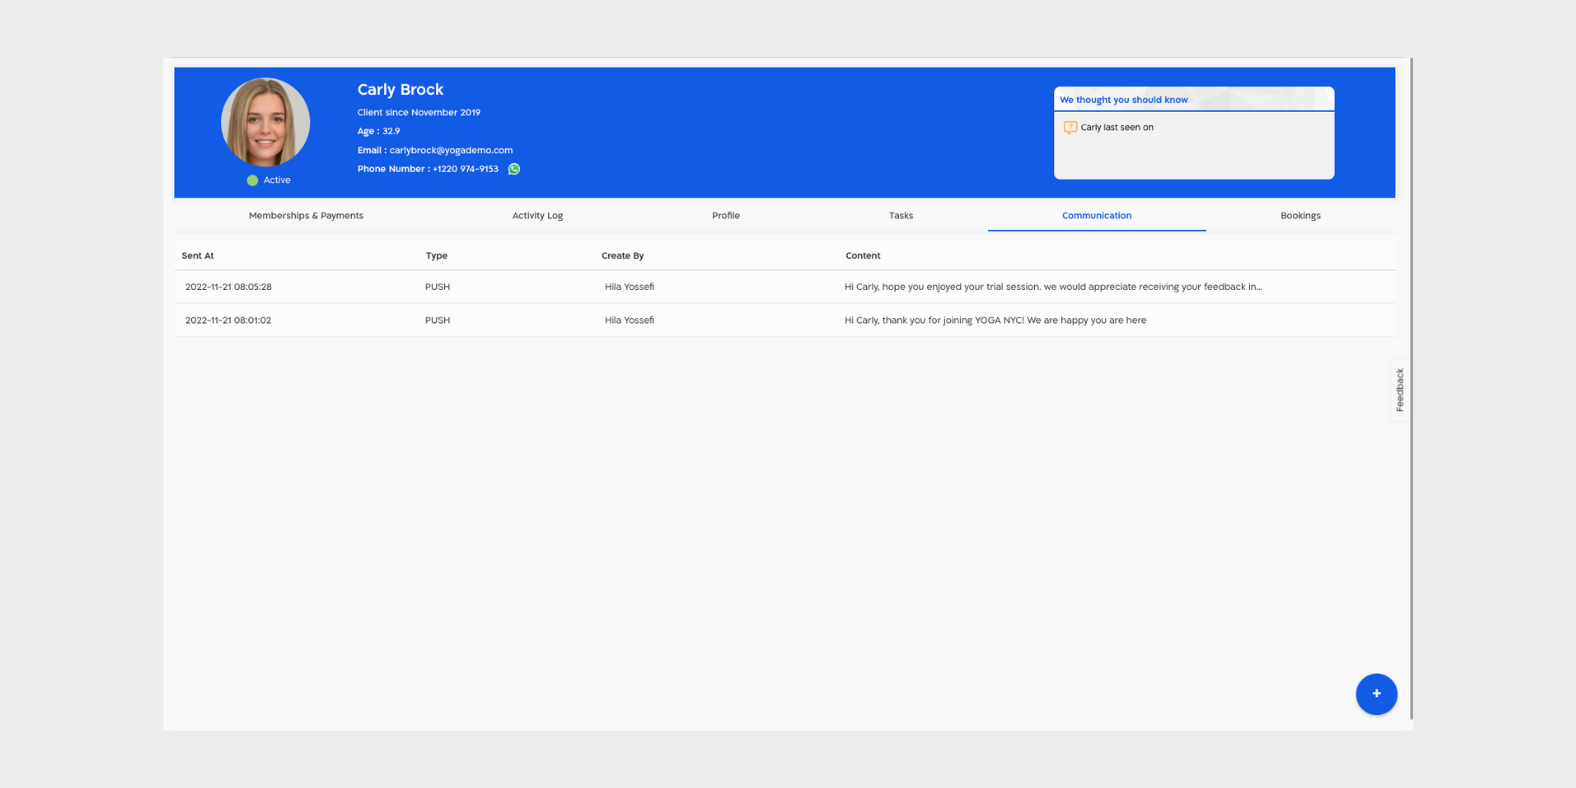
- We've updated your client profiles to include the details of the messages you've transmitted via Arbox. To view this, navigate to the client profile and select the 'Communication' section. There, you will find information such as the time the message was sent, the type of message, the creator of the message, and its contents.
- When attempting to add clients or leads with an email identical to a past lead of yours (one you have already deleted from Arbox), we will allow you to restore them and restart their journey (similar to the old “adding a client or lead with an email identical to that of a past client” feature).
- We have upgraded the new "Convert Client to Lead" feature, for further information click here.
We're thrilled to announce Arbox upcoming launch of a brand new "Check-In Interface" to streamline and elevate your experience. Stay tuned!
September 12th, 2023
The version update brings a variety of improvements and new additions to your management platform, aiming to provide you with the best user experience possible.
What's new?
- Conversion client to lead: Want to bring your clients back to the sales process? Now you can do it easily! For more details, click here.
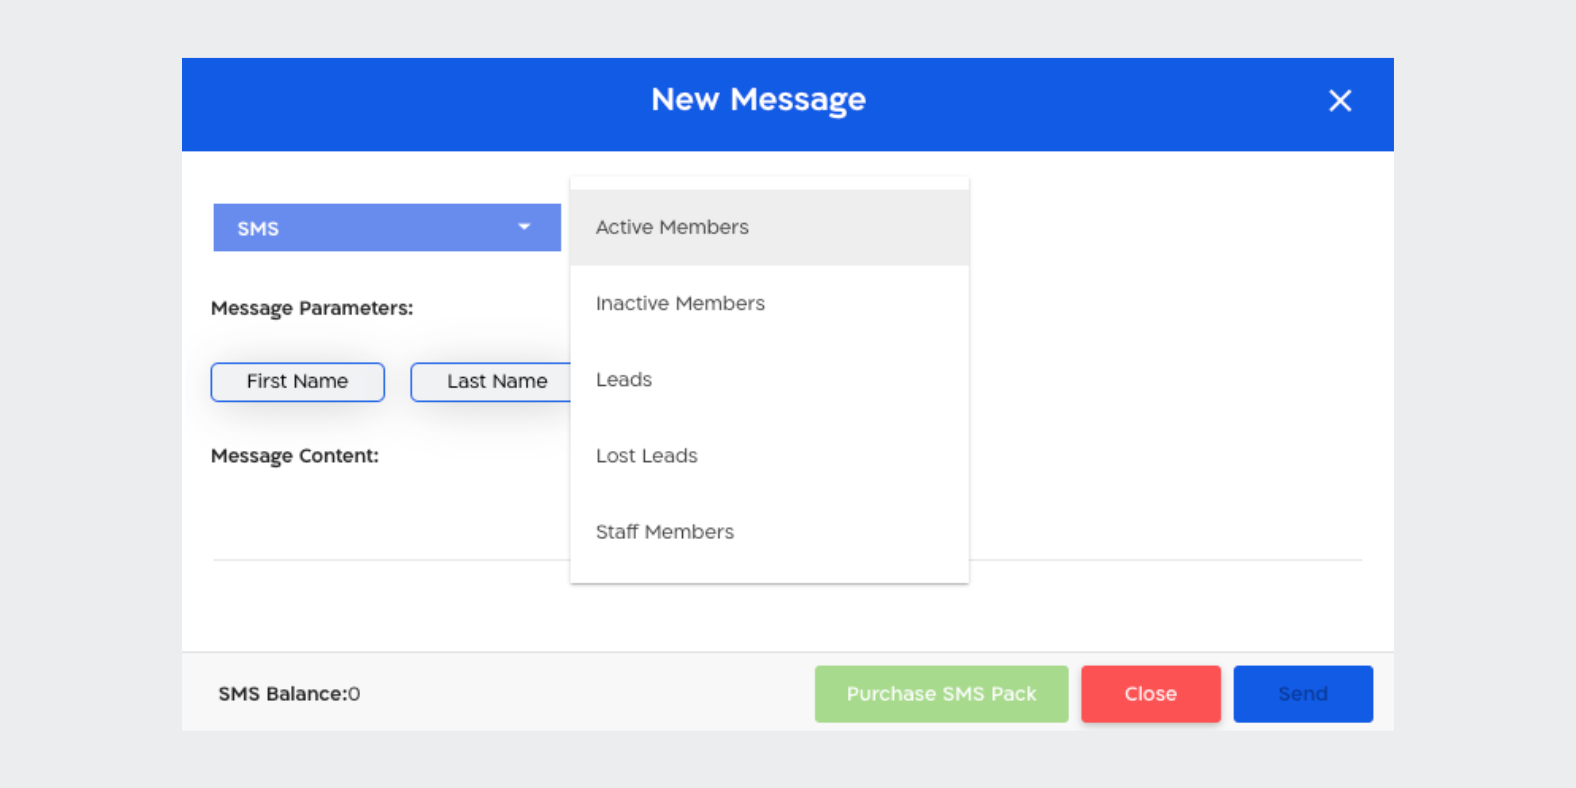
- We have provided you with the option to use message templates, even when it's not an automated message. This way you can save valuable time and not have to type repetitive texts to your clients again and again. You should create message templates via 'Automated Actions,' so you can use them when sending messages through 'Quick Actions' and through Arbox's Schedule. This tool is suitable for standard and premium plans.
- We've worked on improving the performance of your 'Schedule' and significantly reduced its loading time.
- We've ensured that the client profile appears in the management platform in the most ideal way for you.
- We've improved the product editing in the management platform; from now on, product images will appear in full size after saving the edit.
- We've added new documentation to the 'Activity Log' in client profiles. From now on, every time you change the status of 'active' clients to 'inactive' clients and vice versa, the action will be recorded and will appear in their 'Activity Log'.
- We've added a column of active memberships to the 'Birthday' report, exactly as you requested.
- We've added a new column in the 'Active Members' report, which contains your clients' identification numbers. This column can only be seen when exporting the report to Excel.
Today we will focus on the right way to convert your clients back into leads, edit an existing lead's profile, clarify how to add a lead to the platform and register them for a trial session, and finally learn how to convert a lead into a paying client via their profile. Let's delve into some processes that can significantly ease your work and save precious time.
The moment you change your client's status back to "Lead", you can again enjoy the abilities Arbox offers you, in order to convert them back to a paying client:
- Your staff will be able to provide a unique experience for the user, since the management platform and check-in interface, will notify them that this is a lead in a trial session.
- Automatic notifications and reminders will help you maintain continuous and attentive communication with your leads, so that the experience they receive from you will make a great impression. (Automations triggers: "New Lead Created", "Status Changed to Lead", "Trial Classes", "Converted Leads", etc.).
- The moment a lead turns into a client, you can enjoy our amazing reports ('Leads in the Process,' 'Trial Sessions,' 'Prospects Converted to Customers,' and more)! By analyzing the data in these reports, you can gain insights that will allow you to convert your leads into paying clients, invest your money in the most profitable avenues, and the list goes on.
Type your client's name after clicking the "Search" button, located in the top right corner of your management platform. Click on your client's name and enter their profile. Please notice that in the client's profile there are several different categories. Now go to the "Profile" category and click the blue plus that appears in the bottom right corner of the profile. Finally, choose "Convert Client to Lead":

It's important to emphasize that it will not be possible to convert a client with an active membership or session pack. Therefore, before proceeding with the conversion, all existing memberships must be canceled. If your customers are registered for future events, the cancellation of the memberships will also result in the cancellation of their registration for those events.
In the next window you can easily create and define "Status", "Source", "Client Assignee", and add a comment that will appear at the bottom of the lead's profile:
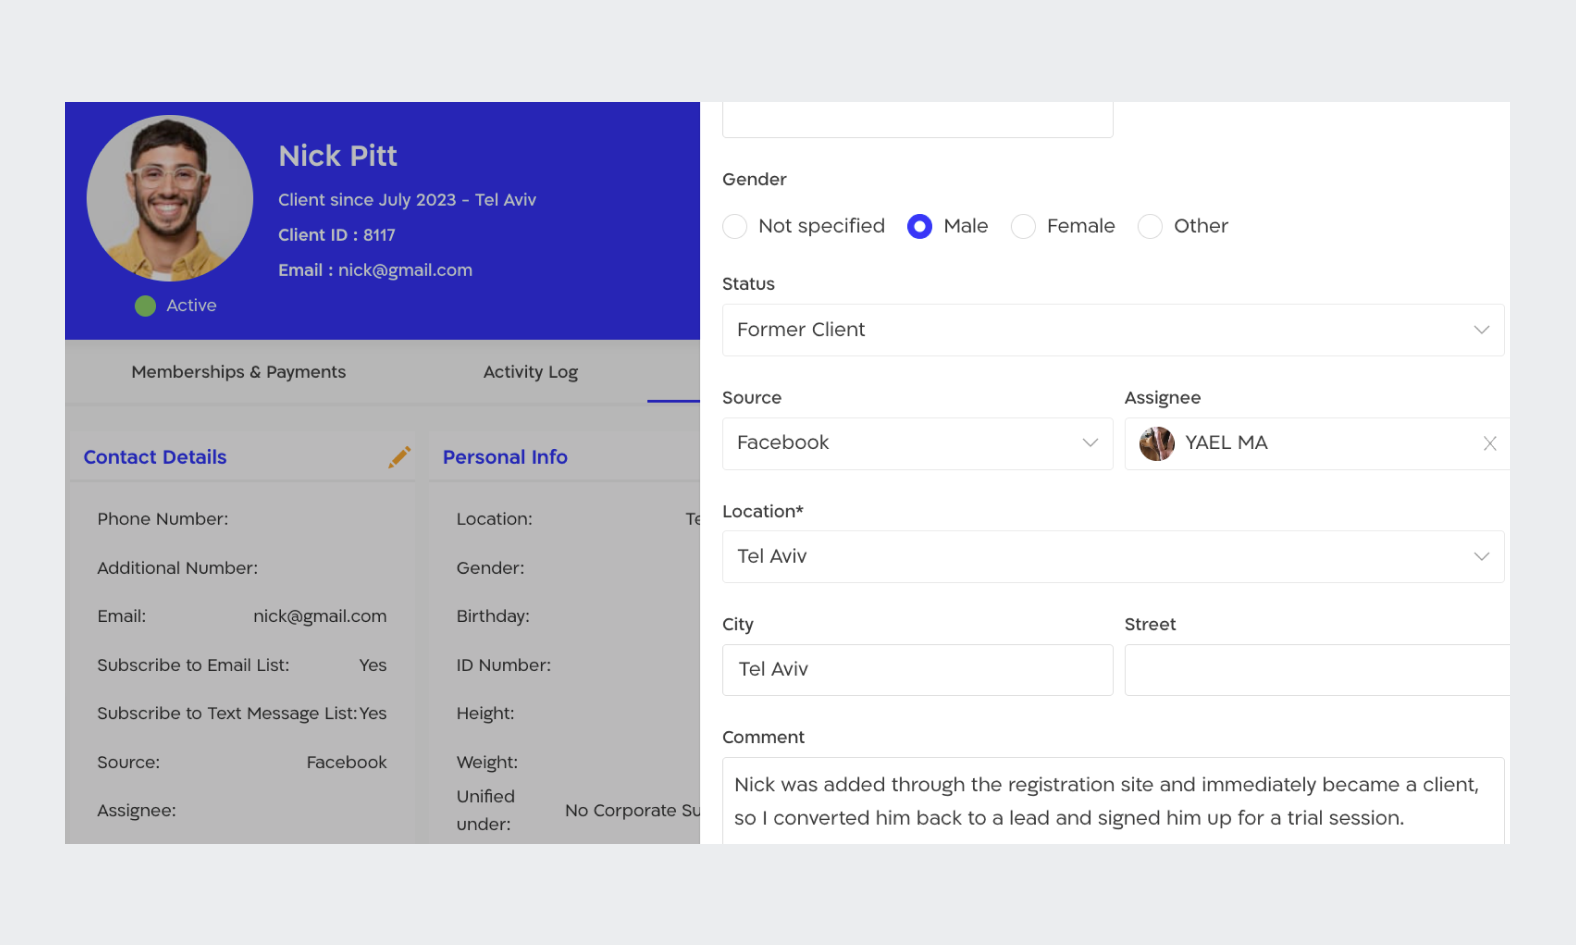
Let's briefly explain each of the fields we mentioned:
- "Status" - This field is meant to describe the lead's current state (before or after a trial session, lost lead, etc.).
- "Source" - Did the lead come from a Facebook campaign? Instagram? An ad on your personal website? This field is meant to clarify for you, how the lead heard about your business (that way we'll know better where it's worth investing more money, and where we shouldn't invest at all).
- "Assignee" - Defining an "Account Manager" will allow your sales team to optimally track and manage leads assigned to them, without missing anyone.
- "Comment" - Add comments to your leads' profiles, so you can keep track of them and provide personal and quality service.
After filling in the various fields and converting the client to a lead, the management platform will take you straight to the lead's profile. Notice that at the top of the profile there are three pencils. The first and third pencils allow editing of basic information (Assignee, Source, Name, Email etc.) and the second pencil enables editing the lead's status and adding a comment directly to their profile (comments can be seen at the bottom of the profile).

You can add your leads to Arbox and register them for a trial session in two main ways, one is via the schedule and the other is through the "Quick Actions" button. Adding via the schedule allows you to enjoy two different results in one action (adding the lead to the platform and registering them for a trial session), Follow the order of steps below and try it yourself:
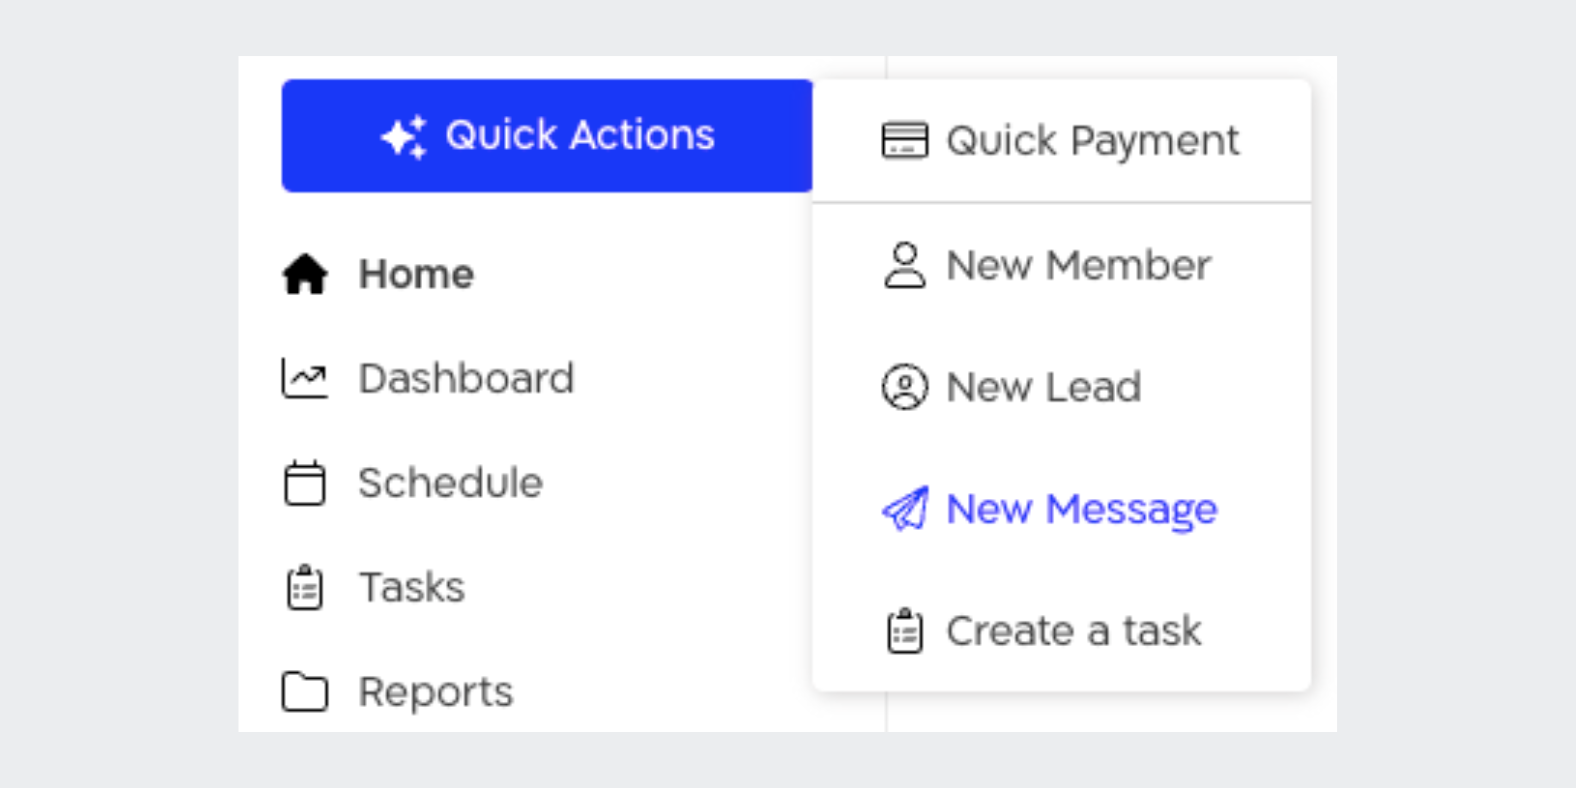
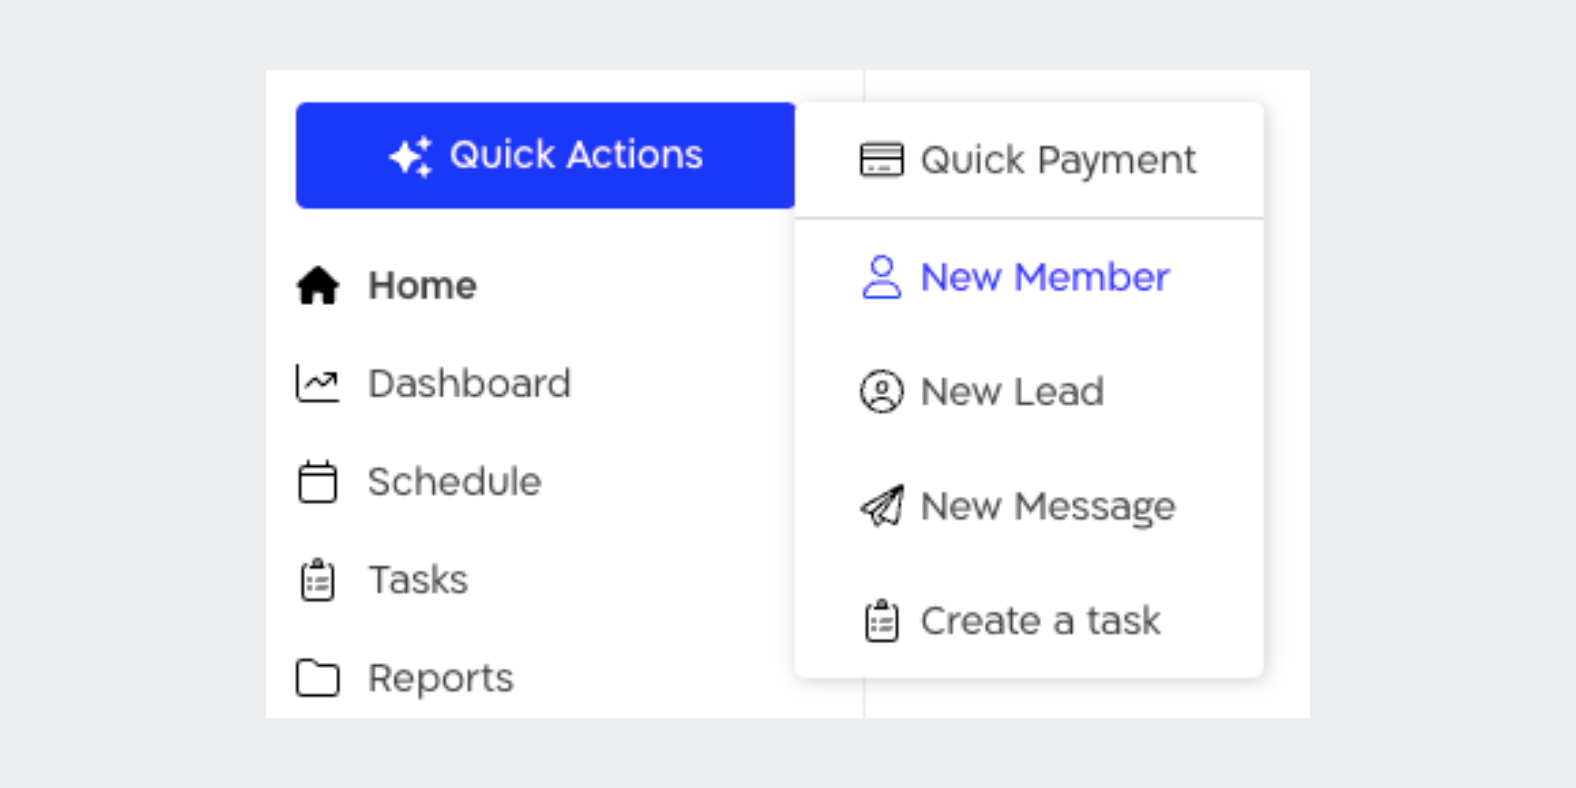
Now, we'd love to present the second way! You need to click the "Quick Actions" button, located at the top left of the platform. Choose "New Lead" and fill in all the required details (please note we've added explanations for each of the fields earlier in this specific guide).

Now, if you want to add your leads to a trial session, you'll need to go to the schedule. Click on a specific event in the calendar and choose 'Manage Participants.' Enter the names of the leads in the search bar and select them. Leads will be added to the list with a purple background.

Finally, we've chosen to emphasize how you can easily and quickly convert your leads into paying clients. Enter the lead's profile and click the blue "plus" that appears on the bottom right. Choose "Convert to New Client", fill in the required personal details, and match a membership or a session pack to your new client.

The moment you save the changes, the management platform will automatically take you to the profile of the client you just created.
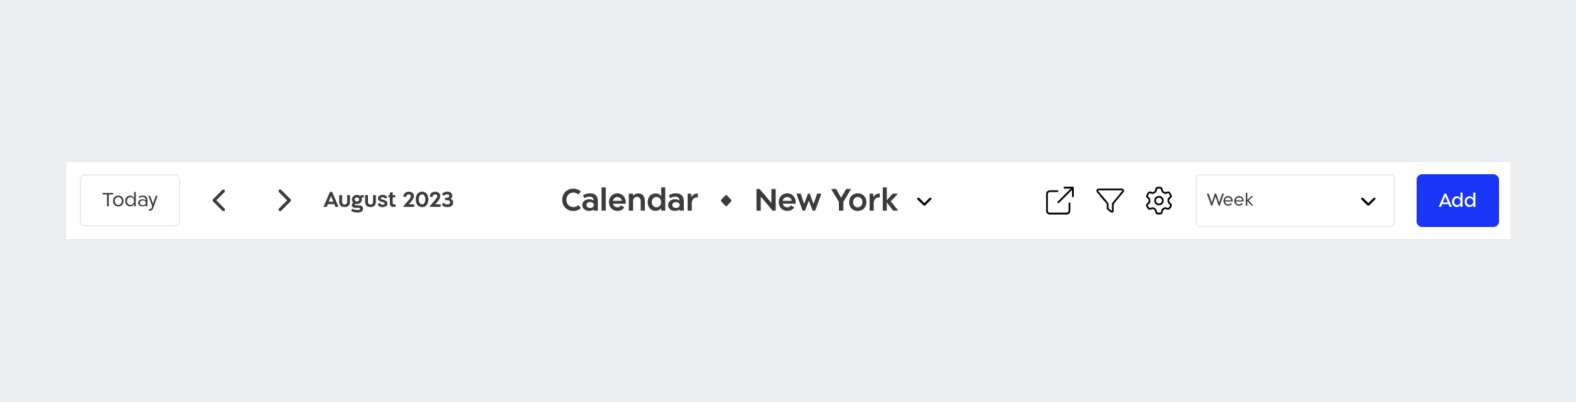
The schedule toolbar at the top of the calendar includes a wide range of options. In this article we'll get to know it in depth and learn how to use its various functions [from left to right]:
Navigation
Choose between days/weeks/months and quickly jump to the current day.
Branches
If your business consists of several different branches, the branch name will appear next to the word "Calendar". Clicking it will allow switching between their different schedules.
Public Calendar Link
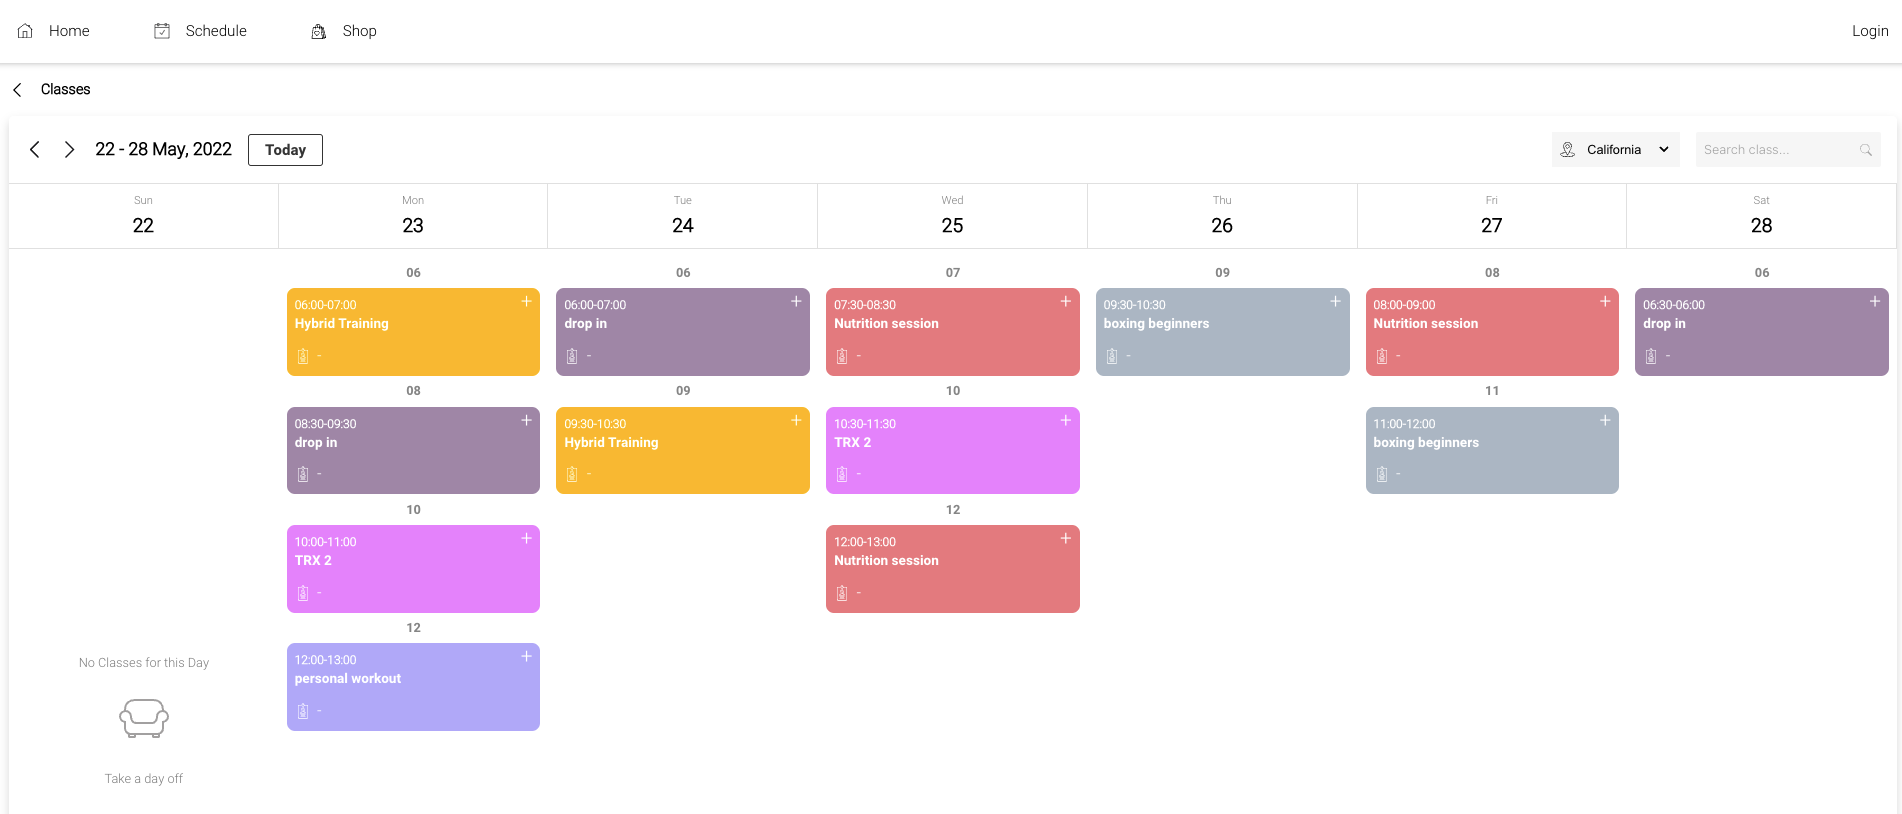
The public calendar link allows your customers and leads to view your schedule on your website. You can share this link on social media, WhatsApp groups, and more. Through the public calendar link, users can register for events in your schedule, pay for them if applicable, and create accounts in your business platform.
Filters
Filter calendar events by staff, event types, categories, spaces, and more. You can apply multiple filters at once. After selecting filters press "Save".
Settings Icon
Here you can add and edit your various events (group sessions, personal appointments, and courses), set registration settings and cancellation policies for the business, mass cancel and restore events, and more.
Views
You have 5 calendar views to choose from, select the view most convenient for your ongoing work.
Schedule settings have a major impact on your clients, so we'll be happy to present them to you in more depth. To access them you need to click the "settings icon" in your calendar and then choose "Schedule Settings":

You will now be exposed to five different categories - "Registrations", "Updates", "Waiting List", "Appointment Policy", and "Embedding the Calendar on Site". Please enter each one and edit them according to your desires and needs.
Registrations
Class display time for clients
Choose when your clients will be exposed to your schedule via the clients app and website. If you want to expose one week ahead from your schedule to your clients, every Sunday at exactly 8:00 PM, you'll need to edit the setting like this:

You can leave the setting exactly as it appears by default. In this case your entire schedule will appear at any given moment in your clients app and website.
Class swap
You can allow your trainees to cancel an event they're already registered for, and register instead for another event without charging them an additional payment. Let's say one of your clients canceled their registration within the "Late Cancellation" timeframe (you set what "Late Cancellation" is when you created the different events in your calendar), but you want to allow them to register for another event (the event must be on the same day as the event the client was previously registered for) without charging additional payment. To do so, you need to activate the toggle and choose the timeframe in which the customer can make the swap.
In the following example the clients will be able cancel their registrations and within ten minutes of cancellation, register for another event. There will be no charge or deduction for this procedure.

Notifications
- Set how much time before an event starts your clients will receive a reminder about it in the clients app. The reminder is sent as a "push" notification (currently cannot be edited).
- The moment they move from the waiting list to the registered list, your customers will receive a push notification to the customer app. If you want to provide them with an additional indication, so they're sure to get the message, choose to activate the toggle and send them an SMS in addition to the push notification.
Waiting List
Entrance from the waiting list
Choose the method by which your clients will move from the waiting list to the booking list. The first option is automatic, meaning clients will be directly moved to the booking list. The second option sends an approval request that clients must respond to within a set time frame (in this example, within 20 minutes). If a client does not respond within that time, their spot will be passed on to the next client on the waiting list.

Bringing in trainees from waiting list
Choose when the system will stop bringing in customers from the waiting list to the registered list. In the following example, the system will not allow waitlisted customers to move to registered list within one hour of the event start:

Cancellation times
You can set cancellation times without charge for your customers who come from the waiting list to the registered list. In the following example, we set that customers will be able to cancel their registration up to five minutes after they moved from the waiting list to the registered list, without any charge or deduction:

Appointment Policy
Unlike group meetings, when adding a personal appointment to the calendar you currently cannot define a cancellation policy. To collectively define cancellation policies for your personal appointments, you need to go into Calendar Settings and choose "Appointment Policy". For this event type as well, you can choose between two ways:
- Allow customers to cancel registration but only within a certain timeframe
- Allow customers to cancel registration at any timeframe, but the cancellation may be considered late.
Limit appointment cancellation time
In the following example we'll demonstrate how to set the first way mentioned above. Customers will be able to cancel the personal appointment at any given moment, but one hour before the appointment starts, the customer app/website will no longer allow them:

Late cancellation
Note that the toggle next to "Allow late cancellation" in the previous example is inactive. To set the second way mentioned above, you need to activate it. In the example below your customers will be able to cancel their registration for personal appointments at any given moment, but one hour before the appointment starts, the system will charge them a payment/deduction:

Show cancellation policy in store
If you choose to activate this toggle, your customers will be able to see the business' cancellation policy via the customer app and website right before registering:

General
Quick view display
Preview your meetings' details and easily mark attendance for customers via Arbox's "Appointment Preview". Click any of your events once and you're on your way! As always, we want the choice to remain in your hands, so you can disable the "Appointment Preview" and go straight to the customer list by turning off the toggle.

Embedding the schedule on your site
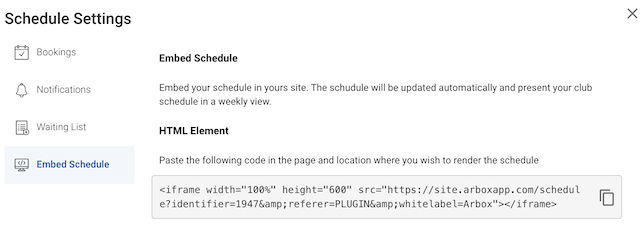
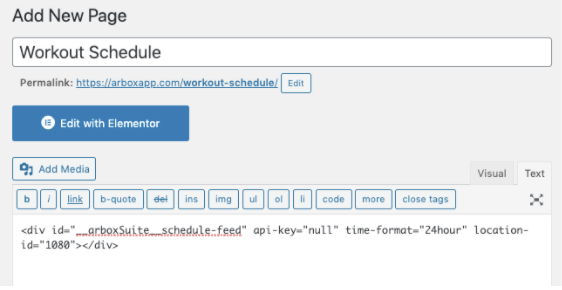
If you've built a personal website for your business or plan to build one in the future, and you want to display your schedule on it, you need to contact the technician who helped you build it and show them the following setting:

As noted, clicking "Copy" will copy the iframe shown to your computer, and you'll be able to paste it in the intended place "behind the scenes" on the business site. The schedule will appear on the site and update in real time!
Here you can easily and efficiently start building your system. Take 10 minutes and follow the steps that will guide you to build your system in the most effective way. After this lesson, you'll be able to start working with the system on an ongoing basis and manage your business easily.
In this lesson we'll focus on the initial steps of registering and setting up your business in Arbox:
- Get to know the customer interfaces - website, app, and management system
- Log in to the system and dashboard on your homepage
- Upload your logo
Get to know your new platforms:
There are two interfaces through which your customers can perform various actions - an app and a website. Through these interfaces, clients will be able to schedule appointments, make purchases, update details, fill out forms, and more. In short, the interfaces will allow clients to manage all their activities without any intervention from you!
Registration Website
Your Arbox website is an interface intended for your clients. Through it, clients will be able to perform a variety of actions such as:
← Joining as new clients (by purchasing memberships and entering personal details).
← Viewing the schedule.
← Registering for appointments as existing users.
← Registering for appointments as new users by purchasing the appointment as a one-time fee.
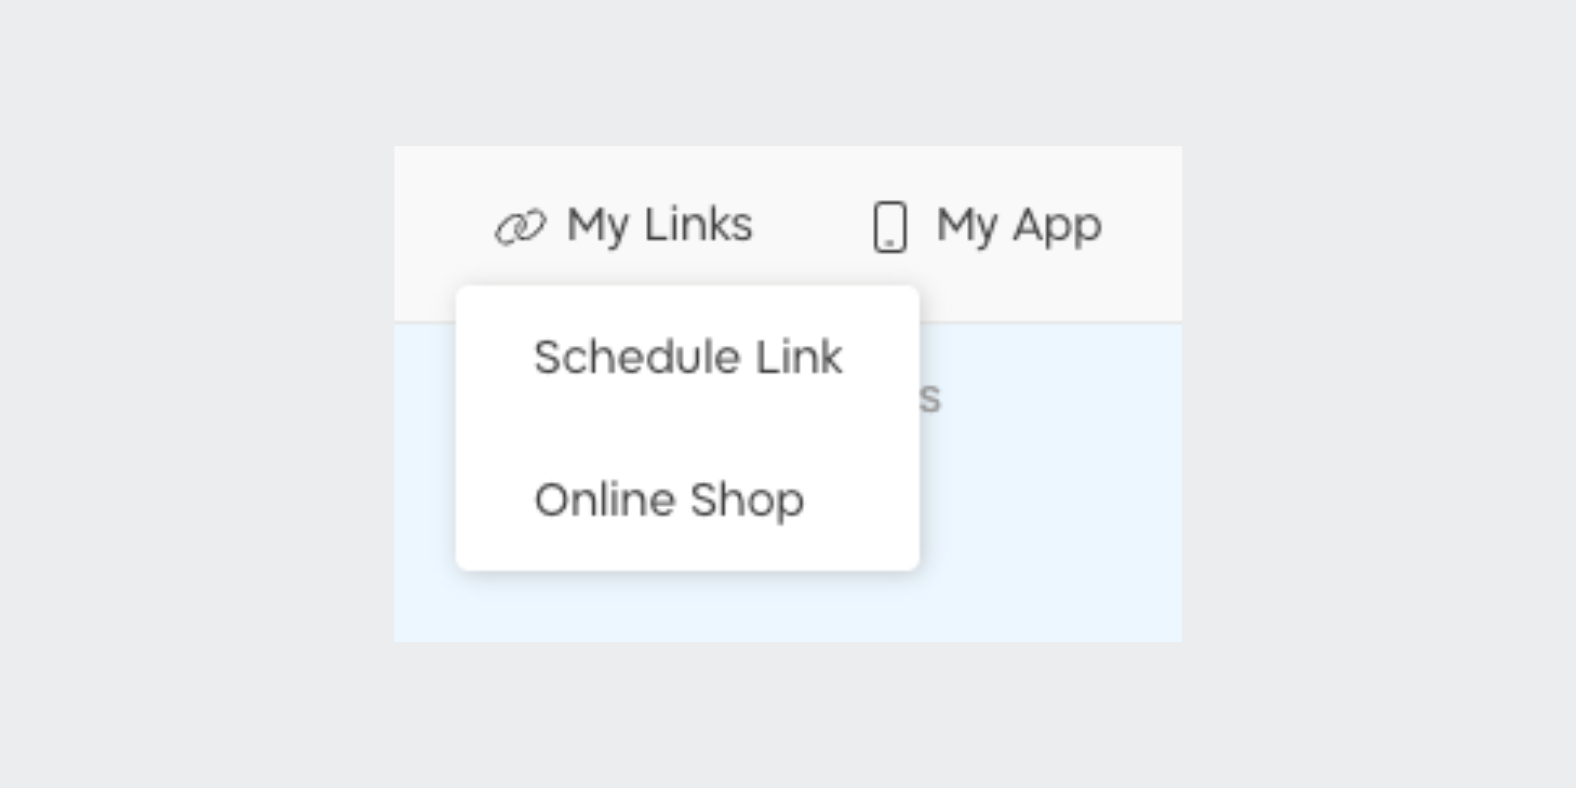
You can access the website through the management platform by clicking on "My Links" which appears in the top left corner of the screen. In the next window, you can copy the website link to share with your customers, or enter it yourself by clicking it.
Customer App
The Arbox app is intended for your existing clients. In other words, clients will only be able to use the app if they are already existing clients in your system. Login to the app is done using the initial details the clients received to their personal email after registering with the platform. Via the clients app, the clients can:
← Register for various events
← Update their personal details
← Fill out forms like "studio policy", and "medical waivers".
← Add friends
← Make purchases in the store
Management System (for your management)-
An interface that can only be accessed via the browser (Chrome recommended). This interface is intended only for you and your staff and its purpose is to manage operations in the business. Via the management platform, you can perform actions such as:
← Manage the schedule and add different types of events.
← Update business settings.
← Create and sell memberships, session pecks, products, etc.
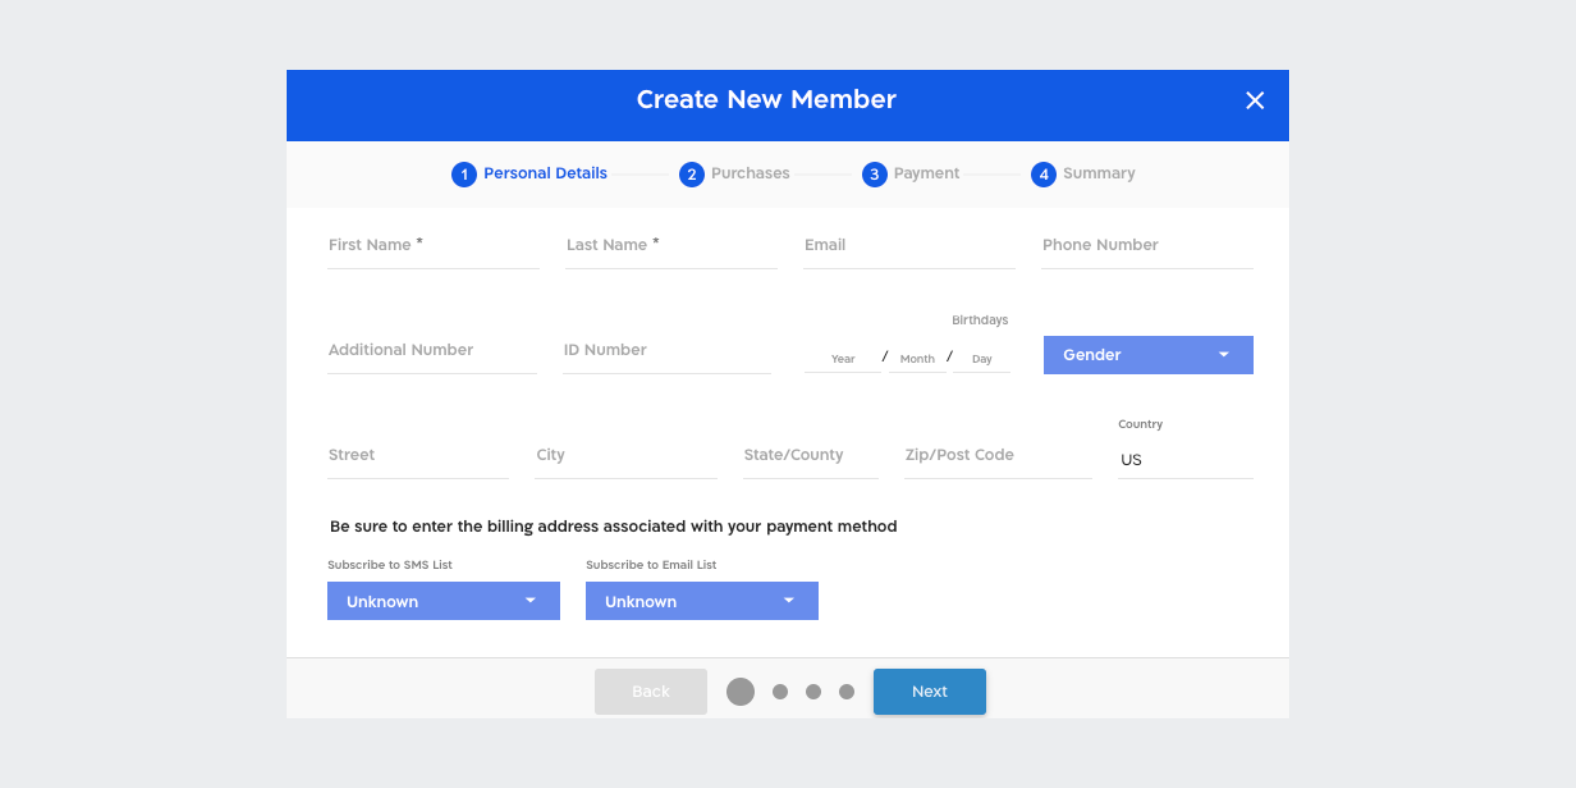
← Add new clients and leads and track them.
← Ongoing monitoring via reports and dashboard.
← Manage tasks.
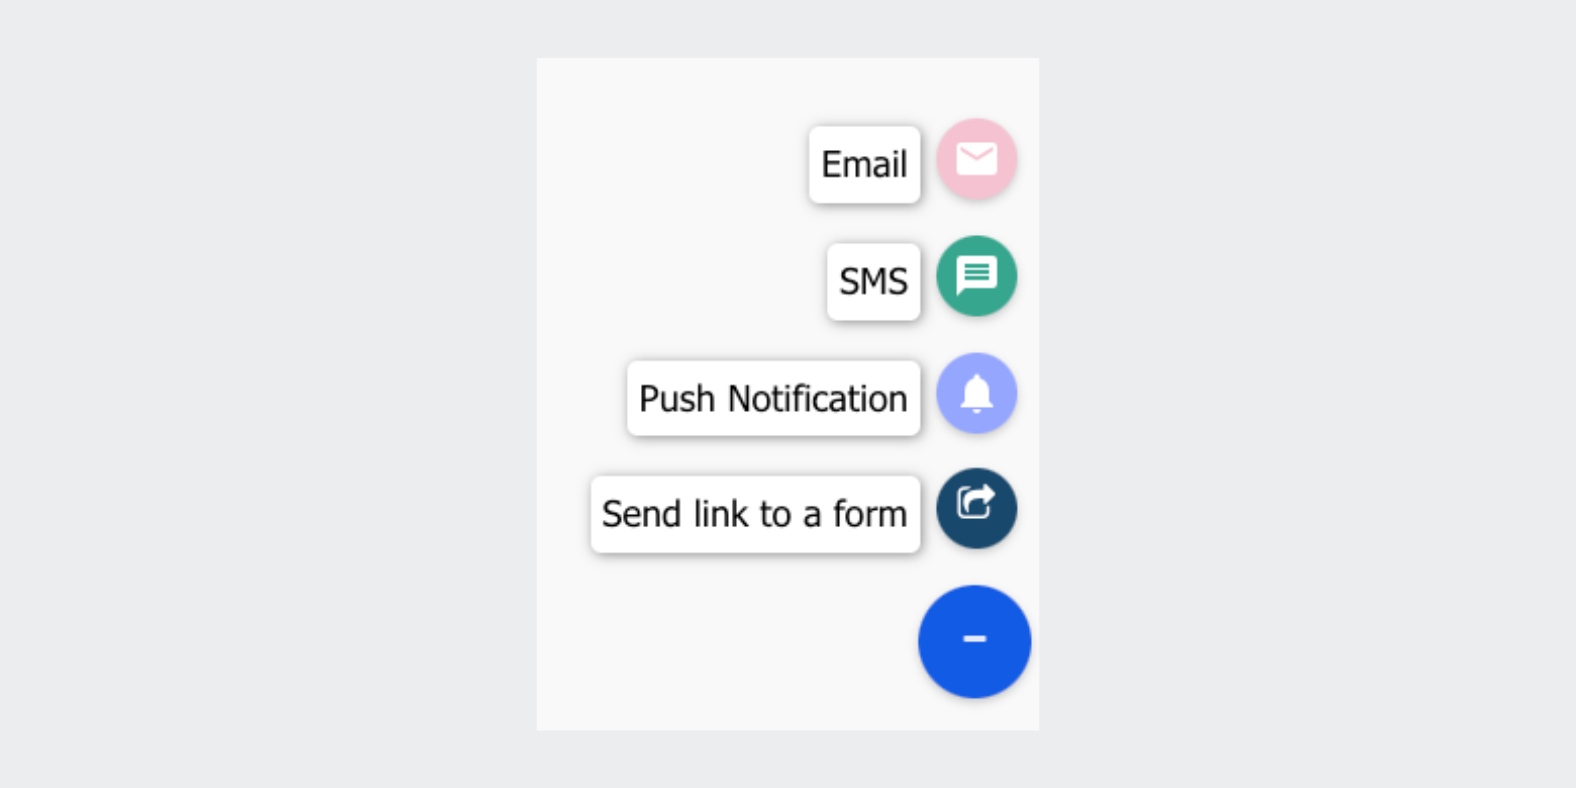
← Communicate with customers by sending push/SMS/email messages.
To enter the management platform click here.
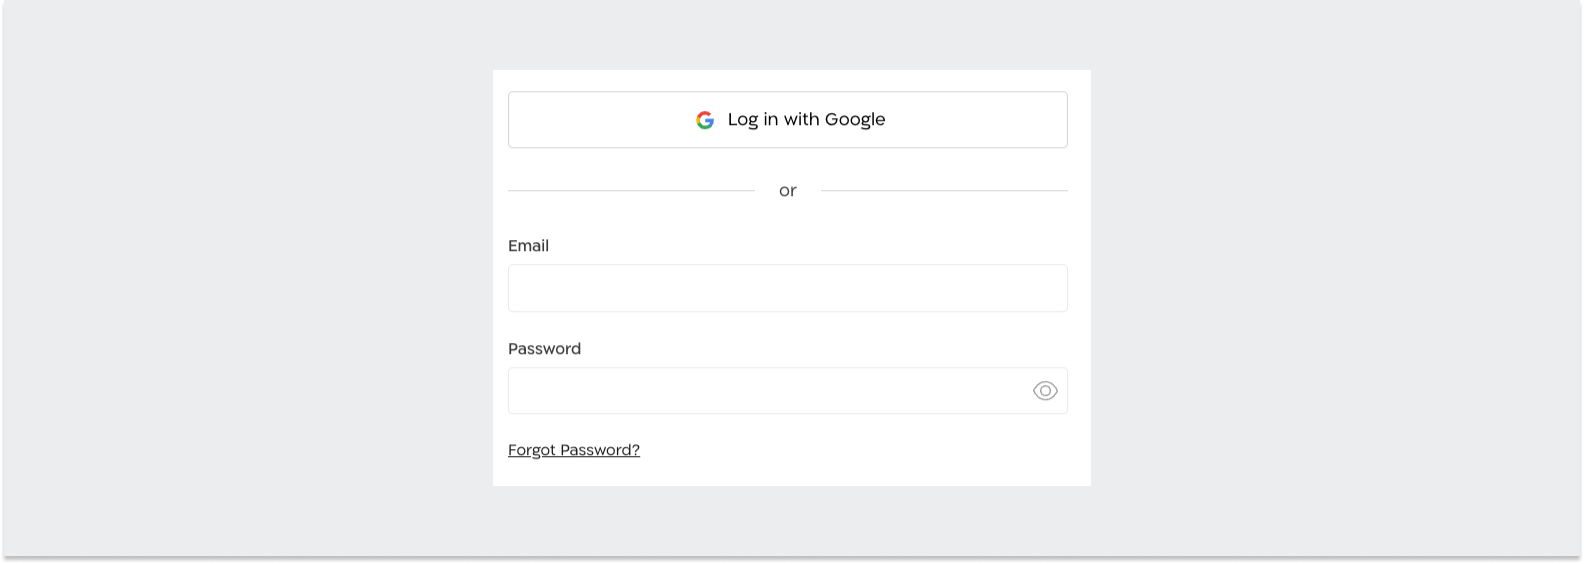
You can login to the management platform using your Google account. You can also enter a username and password:
Username - The email you first registered with.
Password - If you forgot your password, you can click "Forgot password" and reset it.
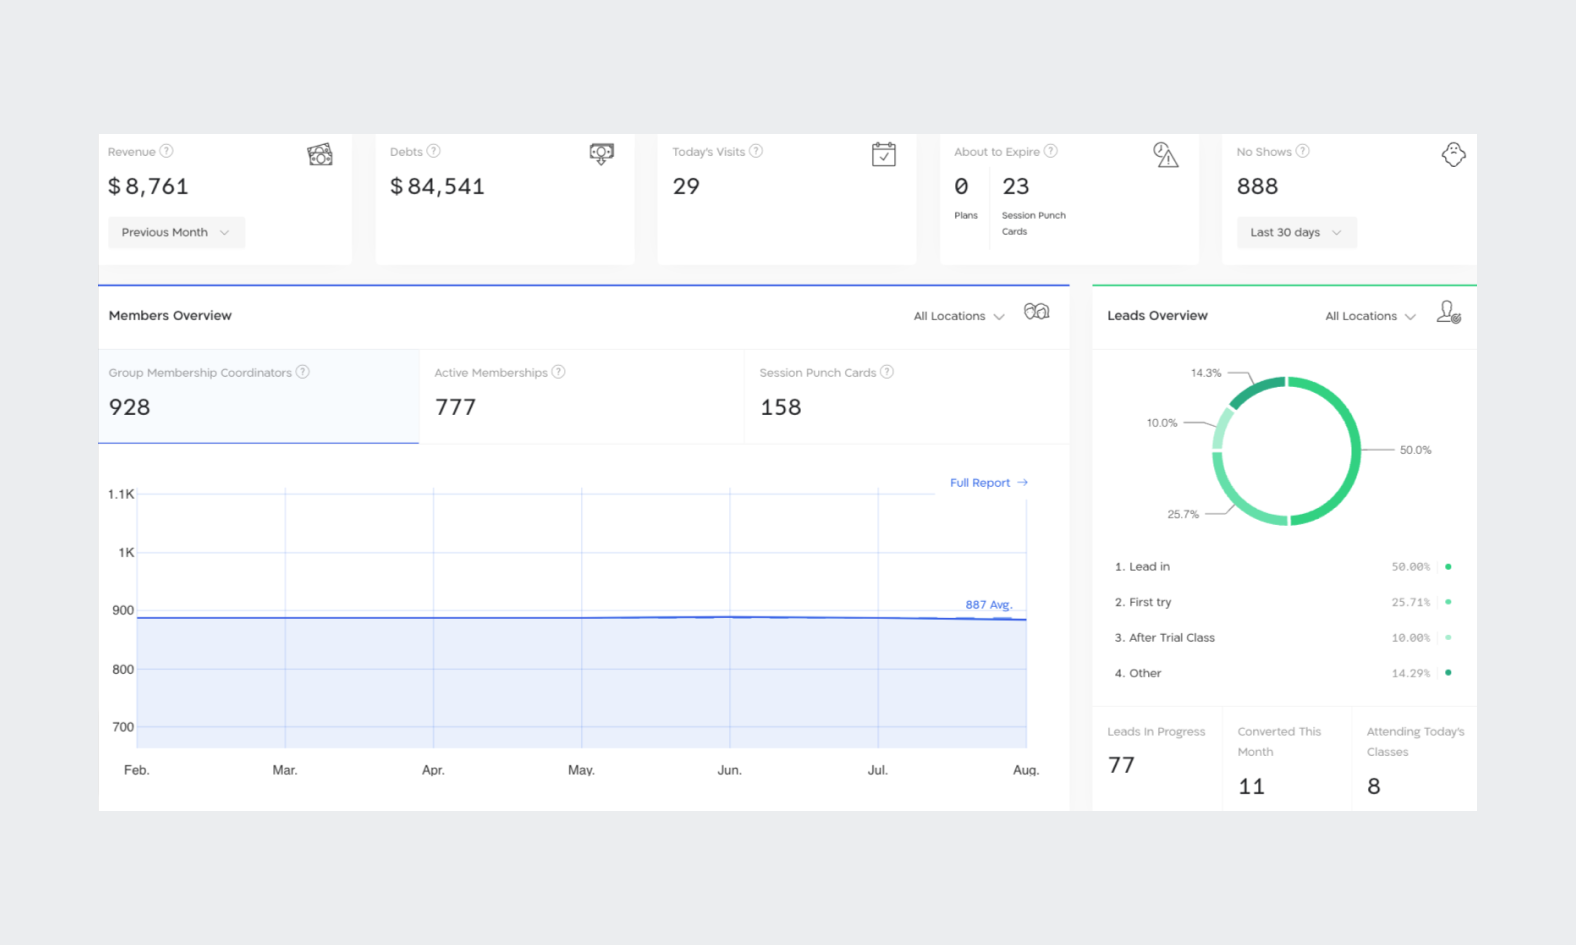
Your dashboard shows you real-time data and an up-to-date snapshot of your business - active clients, sales by monthly/weekly/daily filters, lead overview, absentees, and more:
Uploading Your Logo
Add your logo! The logo will be displayed to clients when logging into the app and entering your website. You can add the logo by clicking on the square icon in the top right corner of the management platform:

Great work! Move on to the next guide and continue building the foundations of your management platform.
A personal appointment is one of three event types available in Arbox. This type of event is for a single client only and can also be based on the availability of your staff members and spaces (for example - nutritional counseling, private lessons, training program building, booking tennis courts, etc.). It's important to note that a personal appointment is an event that is not visible to all clients. The only ones who can view it are the staff member conducting it and the client who is scheduled for it.
Follow these steps to set up your first personal appointment/availability:
- Click "Schedule" in the main menu and select "Calendar".
- Click the blue "Add" button in the top toolbar.
- Select "Appointment" and click "Next".
- There are two options for scheduling a personal appointment:
- "Me for client" (You on behalf of the client) - This is the traditional way of booking a meeting with a client. Here you set the date and time for an appointment/series of appointments and assign the client. Upon creation, the client will receive a meeting invitation.
- "The client" (The client independently) - With this option, called "Availability", you can define your availability and your staff's availability so clients can independently book appointments via your client app or website.
Continue reading if you selected "Me for client" or skip to the next section if you picked "The client".
- Select the desired personal appointment (for example nutritional counseling). You can create a new appointment that doesn't exist in the list by clicking "Add", where you'll need to define a name, description, color, and whether it can be paid for as a one-time fee (outside of a membership or session pack the client holds).
- Online appointment - If the appointment is an online meeting, you can enter the Zoom (or any other platform) link and participants will receive the meeting link after registering.
- Select the date and time of the appointment.
- Choose whether the appointment is one-time or weekly (you can set an end date when the series of appointments in the calendar will stop). If you select weekly frequency, the date you enter will be the date of the first appointment in the series.
If you chose the "The client" option, continue reading normally. But if you don't want to set up availability right now, please skip to the next part of the guide - "Manage".
Using availability will allow you to define your availability, and that of your other staff members, so your clients can independently book appointments via your client app and registration website. The following order of steps continues the first order of six steps we presented in the guide:
- Select a staff member and start date from which the availability will become active.
- Frequency - If the availability repeats weekly, select "Weekly", and if it is one-time, select "One time".
- "Allow clients to schedule an appointment every X minutes" - The meaning - how often to open a "window" for scheduling. For example: If you set availability between 9:00 AM and 10:00 AM and scheduling time every 15 minutes, then the first client who enters your client app or website will see the registration options: 9:00, 9:15, 9:30, 9:45.
- Appointment booking time limit - If you want registration for the personal appointment to close X hours before the start of the session, this is the right place to set it. In the example below you can see we closed appointment registration an hour before it starts.

After adding, you'll be able to create more appointments, view the availabilities you created, and easily manage them. In the second part of the guide we'll learn about managing appointments and availabilities - editing scheduling times, switching staff, canceling appointments, and more.
Managing and editing availability and personal appointments are frequent actions, that can be done very easily in your Arbox. The following information will allow you to control the registrations of your clients, and change them in real time!
Managing a Personal Appointment
After adding them to the schedule, you'll be able to view their details by clicking on them. Clicking will display the following summary:

Notes -
- Clicking the pencil icon allows you to edit a specific appointment or series of appointments.
- Clicking the trash can icon allows you to cancel the appointment and delete it permanently (the staff member and client will receive a notification about this).
- Clicking the WhatsApp icon allows you to send a direct WhatsApp message to the client.
- Clicking "Mark arrived" allows you to mark attendance for the client.
Managing Availability
You need to go to the "Availability" window in the schedule and click on the specific availability you want to edit and manage:

The pencil icon and trash can icon have the same meanings as those mentioned above. Clicking "Schedule an appointment" will display a time window for scheduling a personal appointment, according to the availability you created.

Select a specific time and then enter your client's name in the search bar. Click on the client's registration method and finally click "Next" -

Finally, the personal appointment will appear in the Calendar and you will no longer be able to schedule an appointment of this type at the specific time.
A group session is one of the three types of events available in Arbox. This type of event is intended for multiple participants. It can be set for recurring days and times, and can also be shown/hidden from clients. Your clients will be able to register for the group session via memberships, punch cards, and one-time payments using the client app and website. Lectures, practices, training sessions, and team meetings are great examples of group sessions.
Follow these steps to easily add your first group session to the schedule:
- In the side menu, click "Schedule" and select "Calendar"
- In the top toolbar, click the blue "Add" button
- Select "Group Session" and click "Next"
- Choose the desired event. You can create a new event that doesn't exist in the list by clicking "Add". You'll need to define a name, description, color, maximum number of participants, and choose if one-time payment will be allowed for it (outside of the membership or punch card the client holds).
- Select a staff member and enter the maximum number of participants for the meeting, then click "Next"
- Choose a date and time for the group meeting. Note - if it's a recurring event, the date you enter will be the first occurrence.
- Choose if the event is one-time or weekly (you can set an end date when the series of meetings in the calendar will stop)
You have several settings to customize the session to your business needs. To access them, click the existing session and choose the edit icon:

Show Group Session
Define if you prefer to show or hide the session from your clients (suitable for team meetings, internal events, etc):

Cancellation Policy
You have 3 options to set the terms for cancellation by clients:
- Allow cancellation at any time - Cancel registration up until the start time of the session.
- Allow cancellation up to X hours before the event - This will allow your clients to independently cancel the session up until X hours you define. After this time they will not be able to cancel independently.
- Allow late cancellation up to X hours before the event - When a participant cancels after the defined time, the cancellation will be marked as "Late Cancellation". In this case, the client will not receive a credit for punch count or registration quota for the session.

Registration Opening
You have 2 options for opening registration for the session:
- No limit (default) - Your clients will be able to register for the session from the moment it is created.
- Registration opens X hours before the start - The session will be shown in the client app but will only open for registration X hours before the start.

Registration Closing
You have 2 options for closing registration for the session:
- No limit (default) - Registration for the session will remain open until the start time.
- Registration closes X hours before the start - This prevents surprise last-minute additions.

Minimum Participants
With this setting you can define a minimum number of registrants, X hours before the start time, in order for the session to take place. If not enough participants register, the session will automatically cancel and a cancellation notice will be sent to registered participants via Push and email:

Online Session
If the session is online, you can enter the Zoom link (or any other platform) and participants will receive the session link after registering. After creation, you can schedule another event, view the group meeting you added, and manage it by clicking the specific session:

Managing and editing the group session are frequent actions that can be easily performed in your Arbox. After adding the group session to the calendar you'll be able to view its details by clicking the session - this will display:
- Session name
- Day, date and time of session
- Session coach
- Number of registrants
- Client attendance status
Now, to zoom in on the Bookings list, Waitlist, and Cancellations, simply choose "Manage Participants":
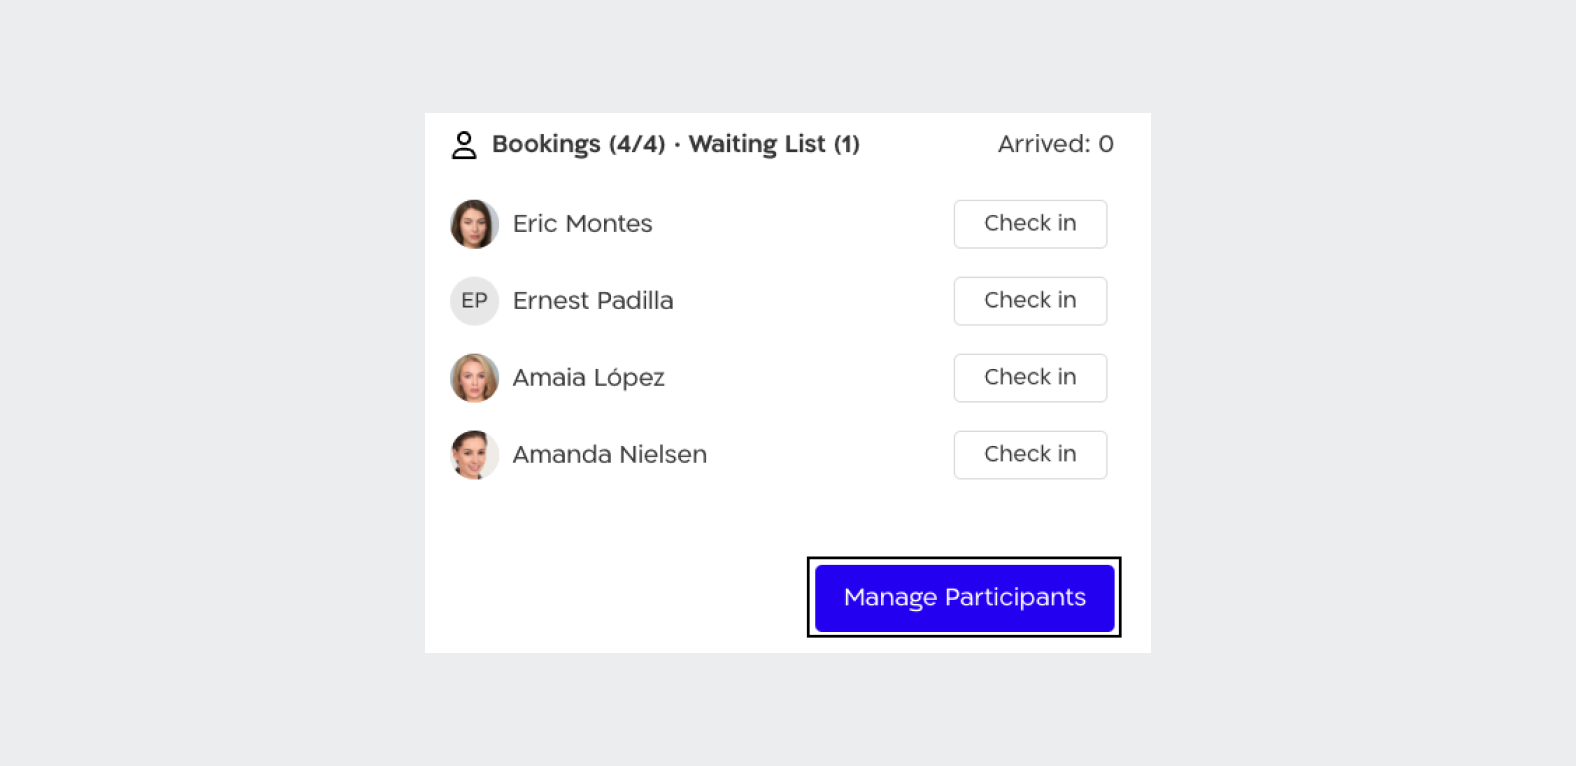
Registrations
Clicking the trash icon allows you to choose between two options:
- Delete Registration - Deletes the client from the bookings list without charge or penalty.
- Late Cancellation - Deletes the client from the bookings list after being charged (punch count deducted, registration quota used, etc.) or penalized.
Clicking "Book a new lead" allows you to create and register an interested participant for the specific session. The session will count as a trial meeting for the lead.

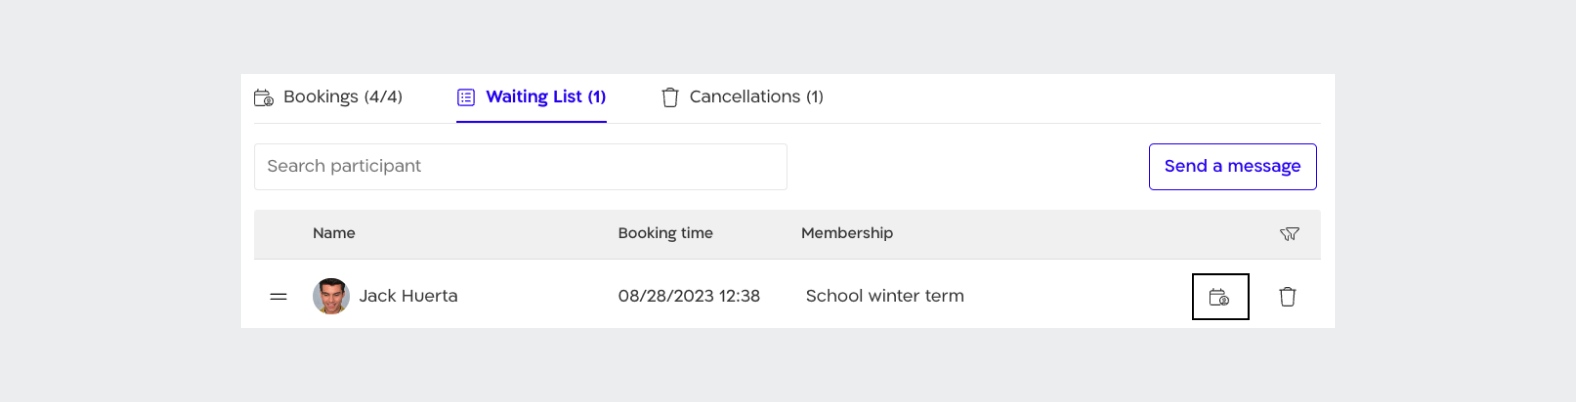
Waitlist
Once the number of registrants reaches your set maximum, your clients will be able to join the waitlist for the group session. You can edit and manage the waitlist in these ways:
- Add clients to the waitlist by searching in the search field.
- Delete clients from the waitlist by clicking the trash icon.
- Move clients from the waitlist to the registrants list by clicking "Add to session bookings".
Cancellations Column
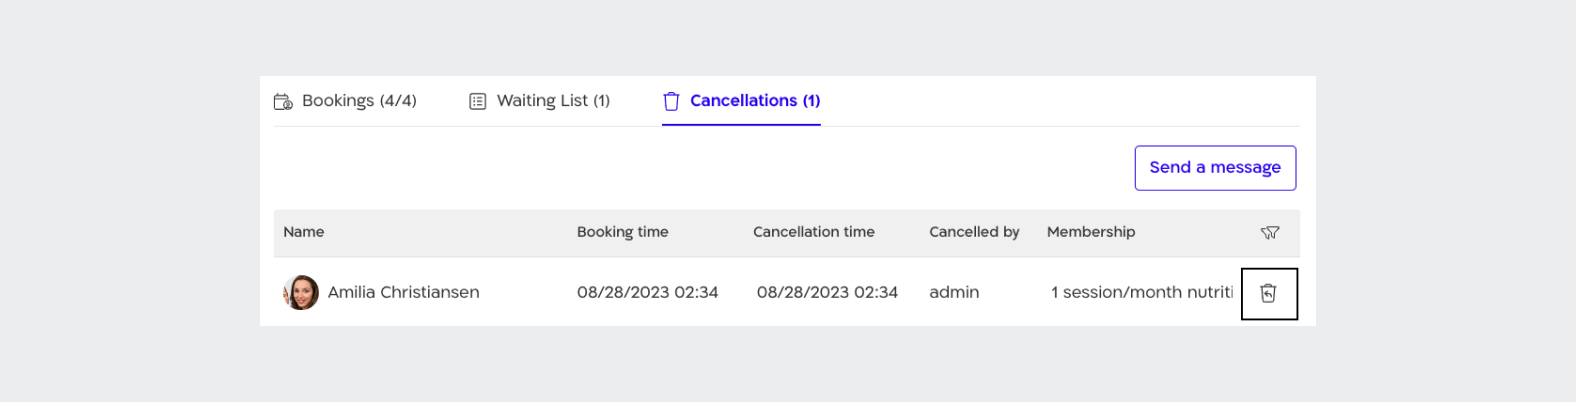
This column will show all clients who have cancelled the session, whether a regular or late cancellation. The information shown in the cancellations column is: client name, registration time, cancellation time, who performed the cancellation, and client membership. You can add the client back to the meeting by clicking the restore icon.
Are you struggling to organize and categorize the many different types of events in your schedule? When you want to restrict memberships to specific events, navigating between all the options becomes complicated? Our new tool we developed for you solves this issue by grouping similar events together under one category. For example, we can gather the events "Functional Training", "Weight Lifting", and "TRX" under the category "Power".
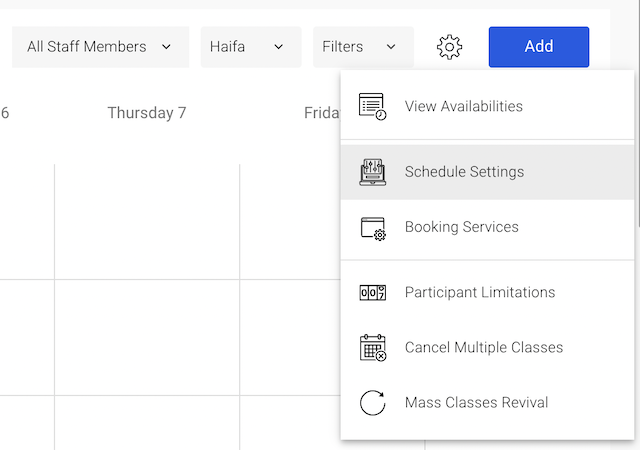
To get started, we will show you how to add a new category to your calendar. All you need to do is click on the "Settings" icon (located in the top right corner of the "Calendar" page) and select "Booking Services":

You will notice a new button - "Manage Categories", please click on it:

Now, choose a name for your category, and gather different service types under the same category:

Every time you add a new event to your calendar you can easily choose which category to classify it under.
Where do we go now?
Great! You have successfully added your first category to the management platform. Now, we would like to show you how to maximize the use of this tool. To make it easier for business owners with many different events, we have created a new filter in the calendar! From now you can filter the general calendar view to only show events under a specific category:

We saved the best for last!
From now on we save you precious time and keep order in restricting memberships. Press the "Settings" category, choose "Membership Types", and edit one of your existing memberships:

As you can see in the example bellow, we have restricted this specific membership to 3 registrations per week. The registrations include all events gathered under the "Yoga" category:

Instead of picking between many different event types that fit the "Yoga" category, we have easily applied the restriction and saved you valuable time!
Attention, all business owners looking to streamline your space management process! We're excited to introduce you to the ultimate tool - "Spaces Management." Whether you have multiple rooms or spaces in your business, this feature is here to help you keep things organized and optimize your space utilization. With "Spaces Management," you can maintain a clear schedule for each room, define availability, and even offer them for rental. Let's dive into how this feature works and how it can benefit your business.
In this guide, we'll walk you through every step of using the "Spaces Management" tool in Arbox. From setting up your spaces to defining availability and pricing, we'll cover it all. Plus, we'll explore how your end-users can easily interact with your spaces through the customer app and website. By the end of this guide, you'll be equipped to maximize the potential of each space and boost your business revenue.
Adding New Spaces
To begin, navigate to the "Schedule" section, Here, you'll find different views like "Calendar," "Availability," and "Spaces." For this guide, let's focus on the "Spaces" view [You can choose between horizontal and vertical displays based on your preference].
Let's add your first space together! Click on the "Add new space" icon to add a new space:
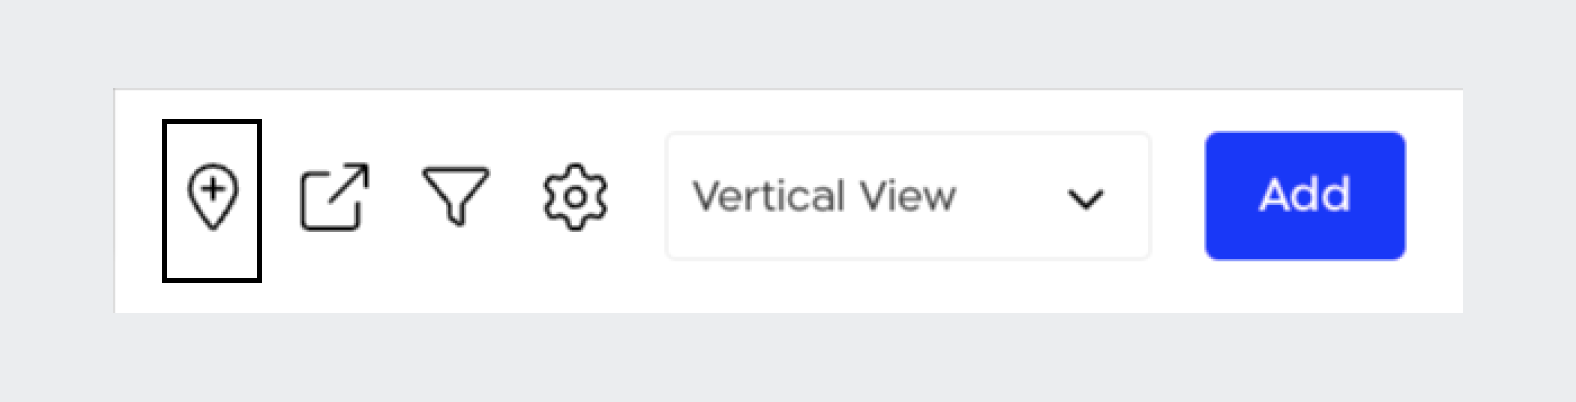
Name your room and set its availability just like you do for staff members. If you're unsure about adding appointment types to your management platform, don't worry. We've covered you with a link to guide you through the process.
Click "Next," and your space will be successfully added!

The screen you see now is called the "Success Page". It's designed to guide you to the next recommended actions in your management platform:

Pay attention to the link at the top of the screen – you can copy it to share your newly created spaces booking link on your social media.
Now, let's explore how the booking process works from your customers' end using the members app and website. If you're already familiar with these platforms, it's time to dive in!
Booking through your website
In the upcoming guide, we'll delve into the process of booking spaces through your website. However, we strongly recommend trying out the booking process on the members app as well. This way, you can provide professional assistance to your customers and always stay in control.
After copying the link from the "Success Page", open a new window in your browser. Paste the link and go through the booking process as if you were a client interested in reserving a space.
The first screen you'll encounter is the following:

Select "Space Availability," and you'll see a list of the different event types you've assigned to your spaces through the management platform.
Choose an event type, and you'll proceed to the next screen:

In the top left corner of the screen capture, you can see that I selected "New York" as my Branch, and "GYM" as my Space (If you don't have branches set up yet, the first part won't be relevant to you).
After your clients choose a date and time, they'll enter payment details. After payment, they'll receive an email confirmation from your business, containing the booking details. It's important to note that for prospects who are not yet added to your Arbox, they'll receive a "welcome email" after payment with a link to download your members app and login details.
That's it! You've successfully completed the booking process through the customer website.
Managing Your Spaces
Once you've added your spaces to the management platform, it's essential to know how to effectively manage them to make the most of their potential.
When you click on one of the added spaces, you'll notice the following options:

Next to the space name "Studio," you'll see two icons – clicking the "pencil" icon allows you to edit the space name, and the "trash bin" icon lets you delete the space. If you've set "Availability" for the space, you can see its hours and three different icons – clicking the "trash bin" icon deletes the availability, the "pencil" icon allows you to edit it, and the "client" icon lets you schedule an event for a specific client.
Before we wrap up
let us tell you about a special addition that "Spaces Management" can bring to your daily user experience. If you have numerous events on your schedule and the general view is becoming cluttered, you can manually assign each event to different rooms in your business.
Wondering why you should do this? We're here to explain! Once you've attached events to your spaces, you can switch to the "Spaces" view on your schedule and enjoy a clean and organized display. Just click on one of your calendar events >> Choose the "Pencil" icon >> link to a specific space and save!
- If you don't want to use the "Spaces" view, but still you need an extra filter - we've included a "Spaces" filter directly in your calendar:

Be sure that we've got you covered and taken care of all the details. We've added a "Space" filter to specific reports, such as "Registrations" and "Class Summaries," to provide you with extra structure and organization in managing your business!
Did you know that with your Arbox account you get a website? In this video we are going to go over your Arbox powered bookings website and its features, including scheduling and the shop. Check out our other videos to learn more about Arbox. We provide business owners with a sleek and easy-to-use business management platform and customer app to schedule appointments, communicate with clients, manage payments and increase revenue, anytime, anywhere.
After a client makes a purchase from a business operated with Arbox, they will get an email with their login information and access to our members app. Want to know exactly how to use your brand new application? Watch the video at the end of this guide, and become an Arbox expert!
If a client is a member in more than one business working with Arbox, they will be able to view all of them in the same app.
The members app is divided into four screens:
- News feed - receive updates and important information from the businesses you are a member of.
- Your profile - view and edit your personal information shared with the business. You can also view the information of the businesses you are a member of.
- Scheduling - view your existing bookings and book new appointments and group sessions.
- Shop - purchase products and membership options from the business.
Tip: you can connect with friends who are members of the same business as you. Send them a friend invite via the friend search bar and invite them to join the sessions you are taking part in.
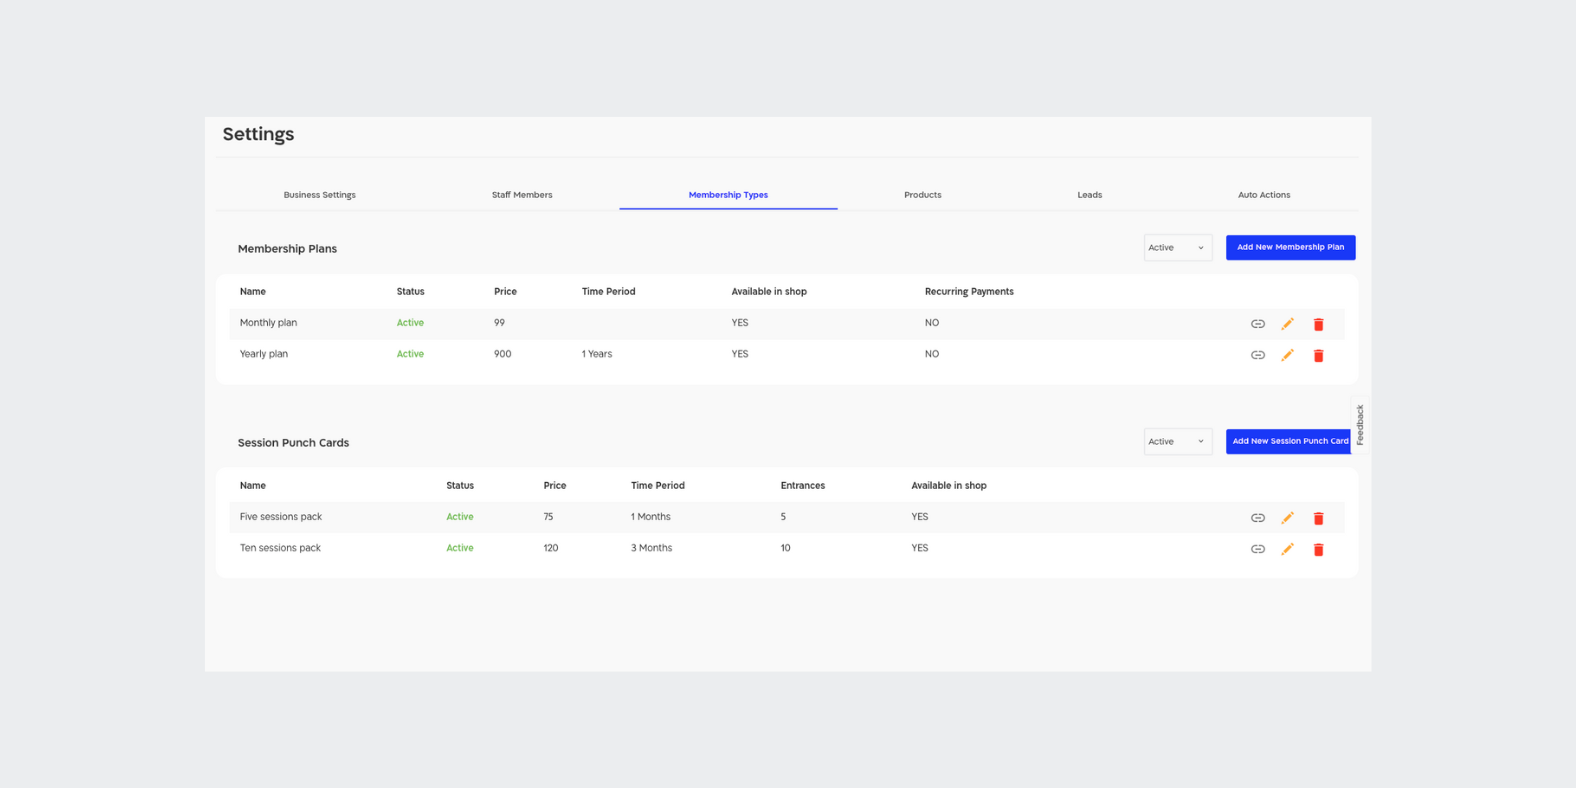
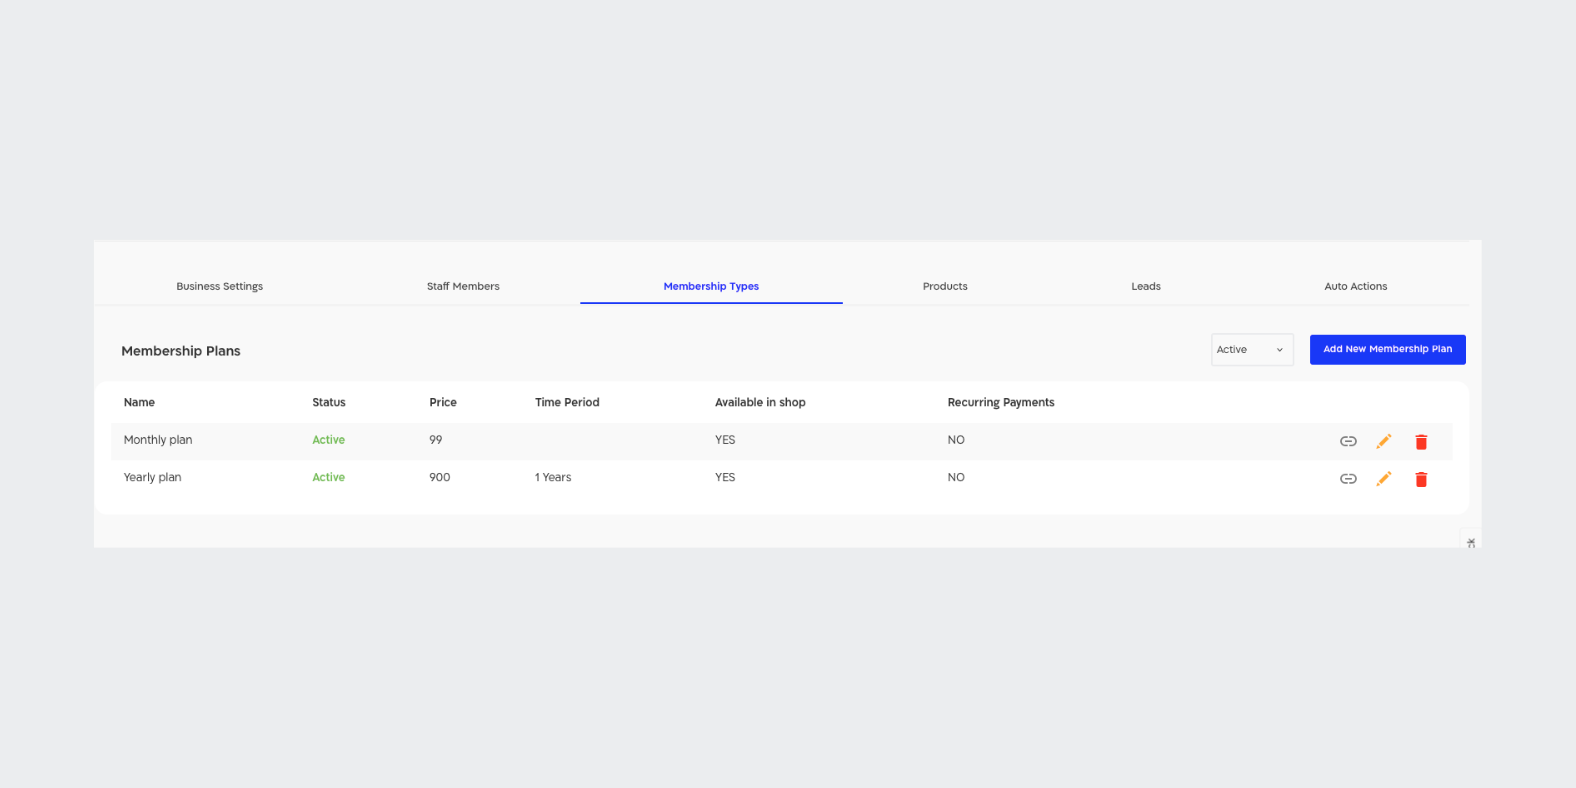
How to create a membership plan?
Go to the Settings in the sidebar
- Click on the Membership types tab
- Click on “Add New Membership Plan”

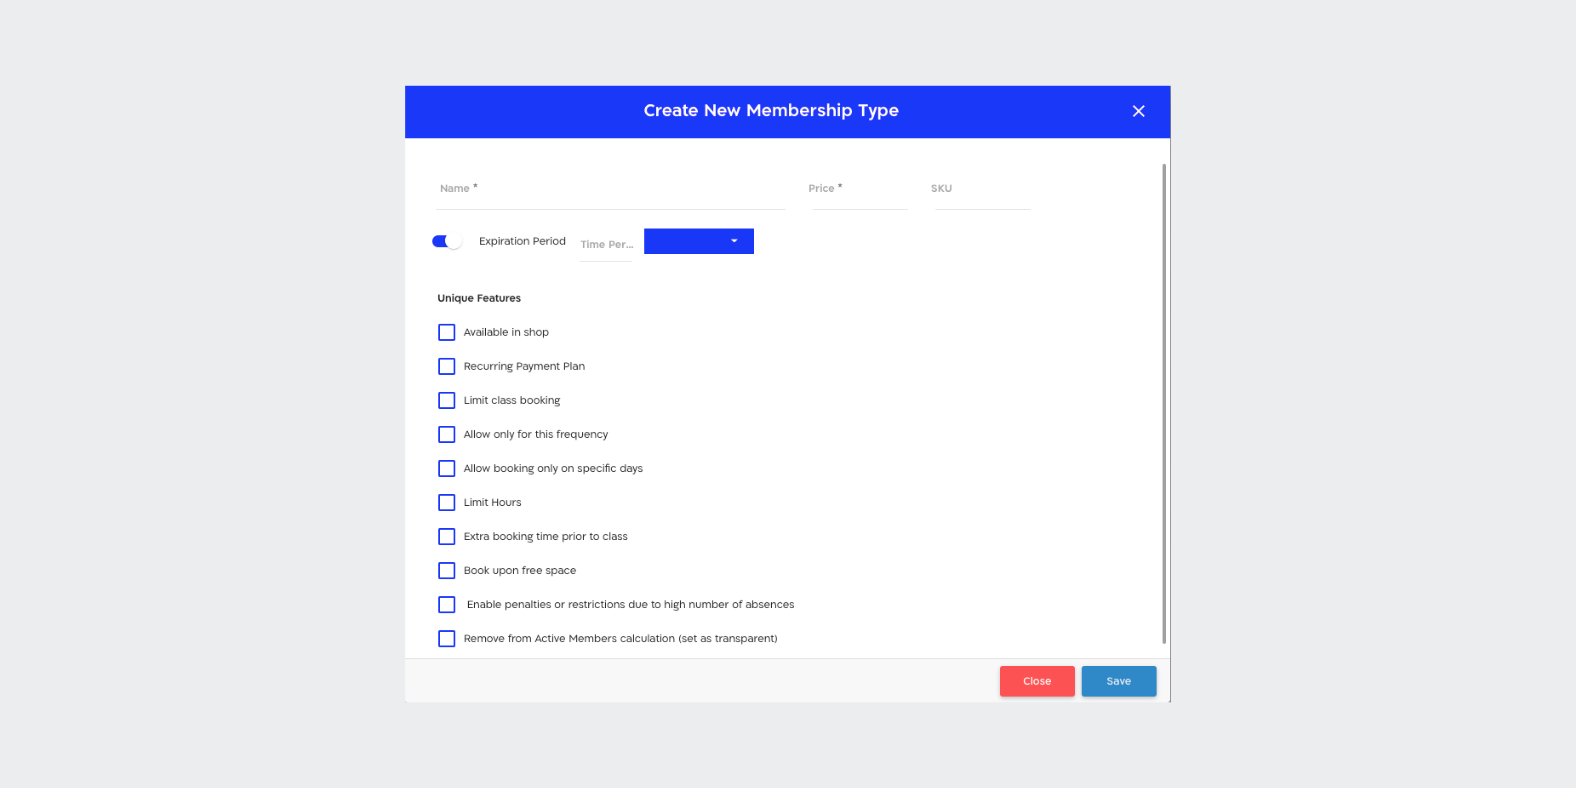
Create New Membership type page:
- Enter the membership plan name, the location, and the price
- Give the membership an expiration period
- To enable app purchasing, click “Show in Shop”
- If it's a recurring membership - make sure to check to box “ Recurring Payment Plan” And choose a cycle ( ie every week, Bi-Weekly, and Every month)
Note - if you are choosing the Recurring Payment Plan, make sure you priced the membership as a monthly price and the client will be charged automatically every month until the membership is expired.

Now click on the Save button.
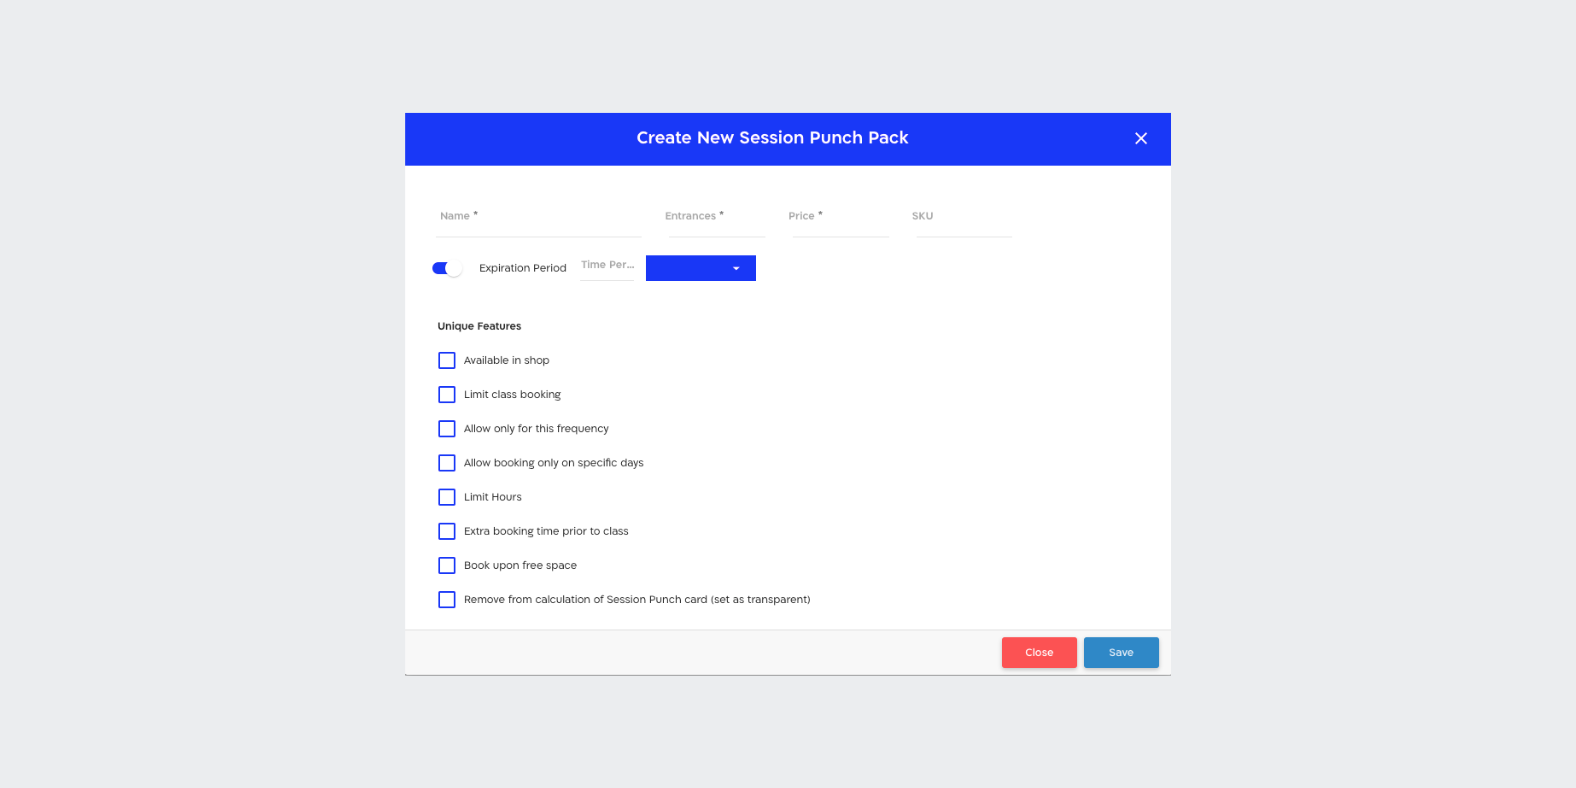
How to create a session punch card plan?
Scroll down to Session Punch Cards and click on “Add New Session Punch Card”

- Write down the membership plan name, the location, the number of Entrances, and the price
- Give the membership an expression period like 6 months
- If your members want to purchase the membership over the app AND the schedule website, make sure to check the box -” Show in shop”.

Finally, click on the “Save” button.
Zapier lets you connect Arbox to 2,000+ other web services and apps. Automated connections called Zaps, set up in minutes with no coding, can automate your day-to-day tasks and build workflows between apps that otherwise wouldn't be possible.
Each Zap has one app as the trigger, where your information comes from and which causes one or more actions in other apps, where your data gets sent automatically.
Arbox Triggers
- New lead created
- Lead converted to client
- New client created
- A member renewed their membership
- Enrolled from waitlist
- Canceling registration (end-user)
- Credit refusal (recurring plans)
- Registration for X events
- New purchase
- Business entry via QR code and chip
- Mark lead as 'Lost'
- Sign digital form
- X attendance marks
Arbox Actions
- Create new lead
- Create new client
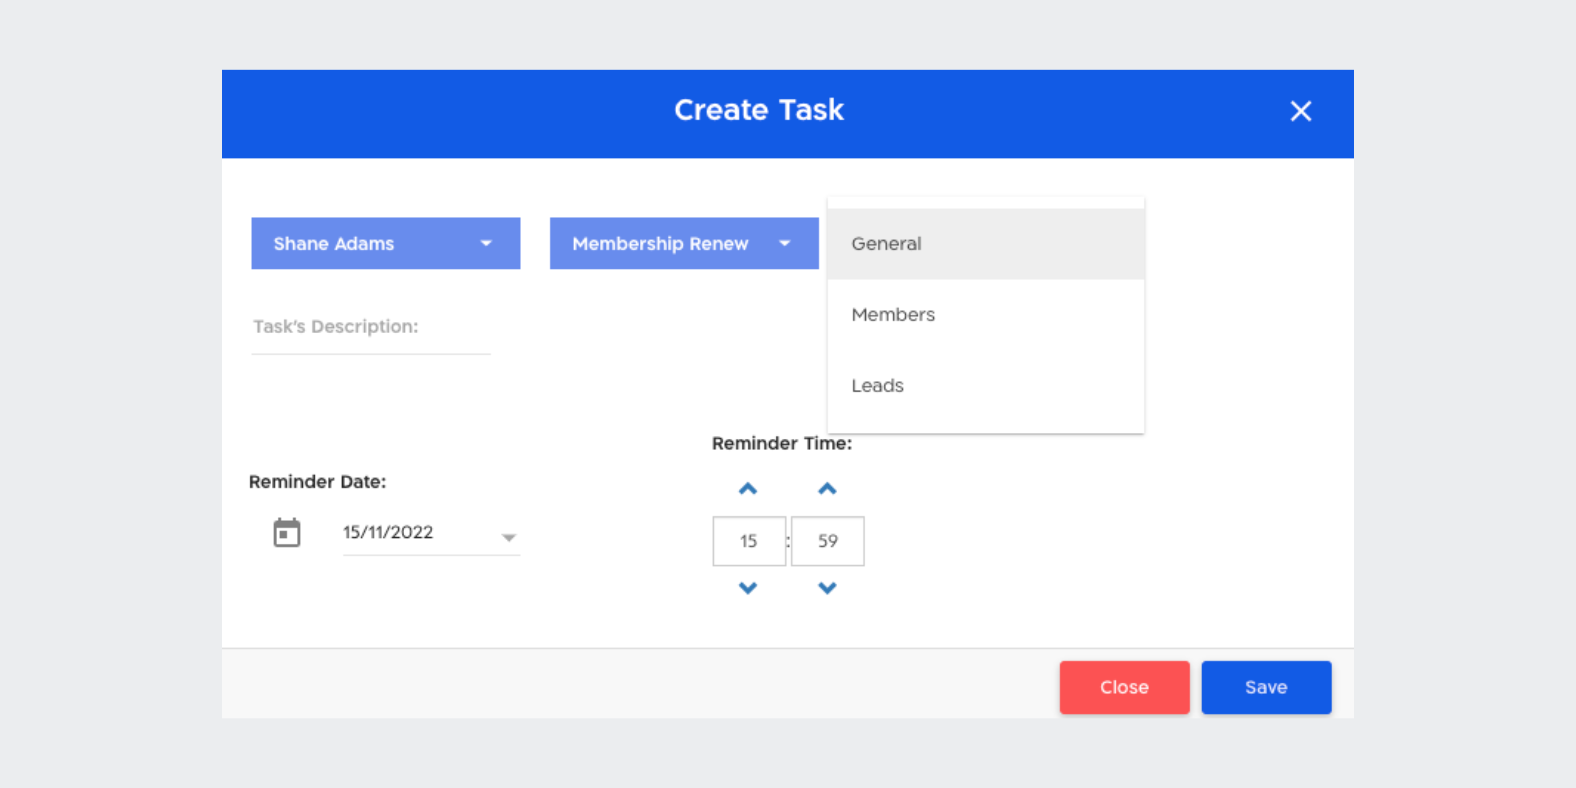
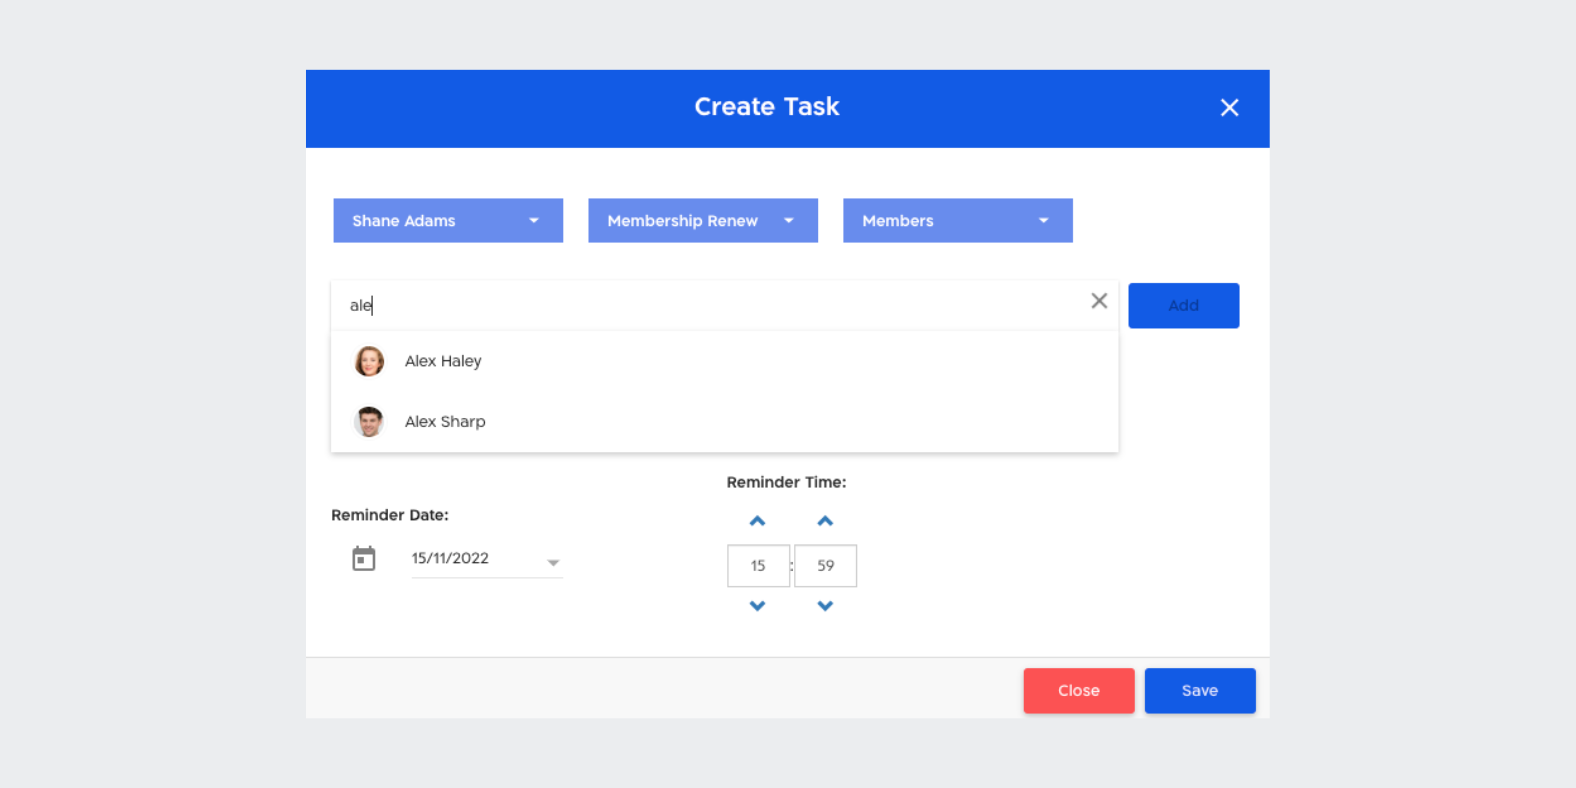
- Create new task
- Create new purchase
- Send message
- Update lead status
- Search client
- Get shcedule
- Create group session
Getting Started with Zapier
Sign up for a free Zapier account, from there you can jump right in.
Note - Using Zapier and Arbox is free but some third part integrations might require a paid Zapier account. You can check the Zapier packages here.
How to connect Arbox to Zapier?
1. Log in to your Zapier account or create a new account.
2. Navigate to "My Apps" from the main menu.
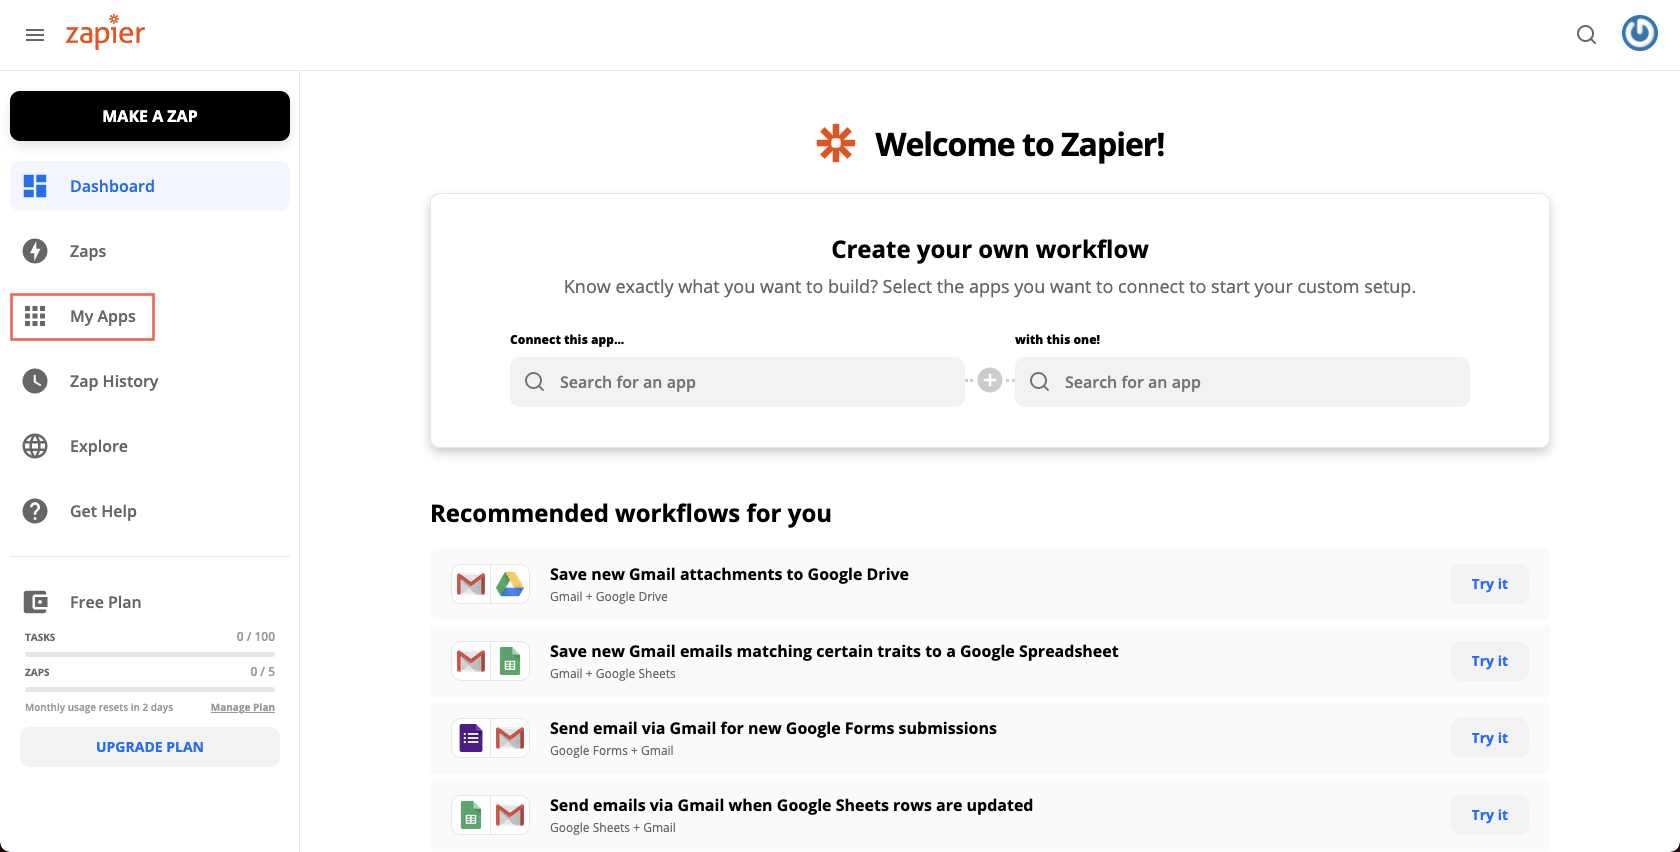
3. Click on "Add connection".

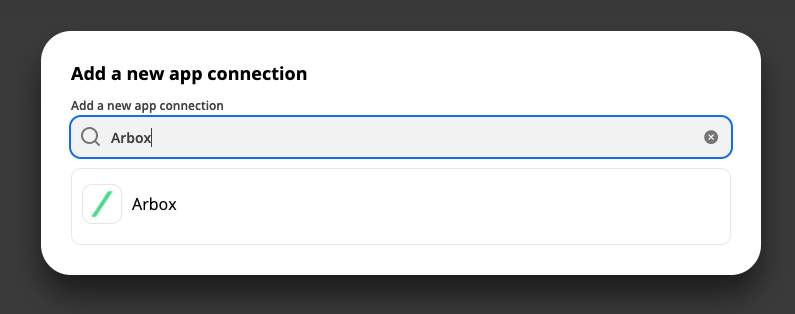
4. Search for and choose "Arbox".
5. In Arbox, go to Settings >> Club Information, and copy your API Key.

6. Back in Zapier, paste your Arbox API key to and click Continue,

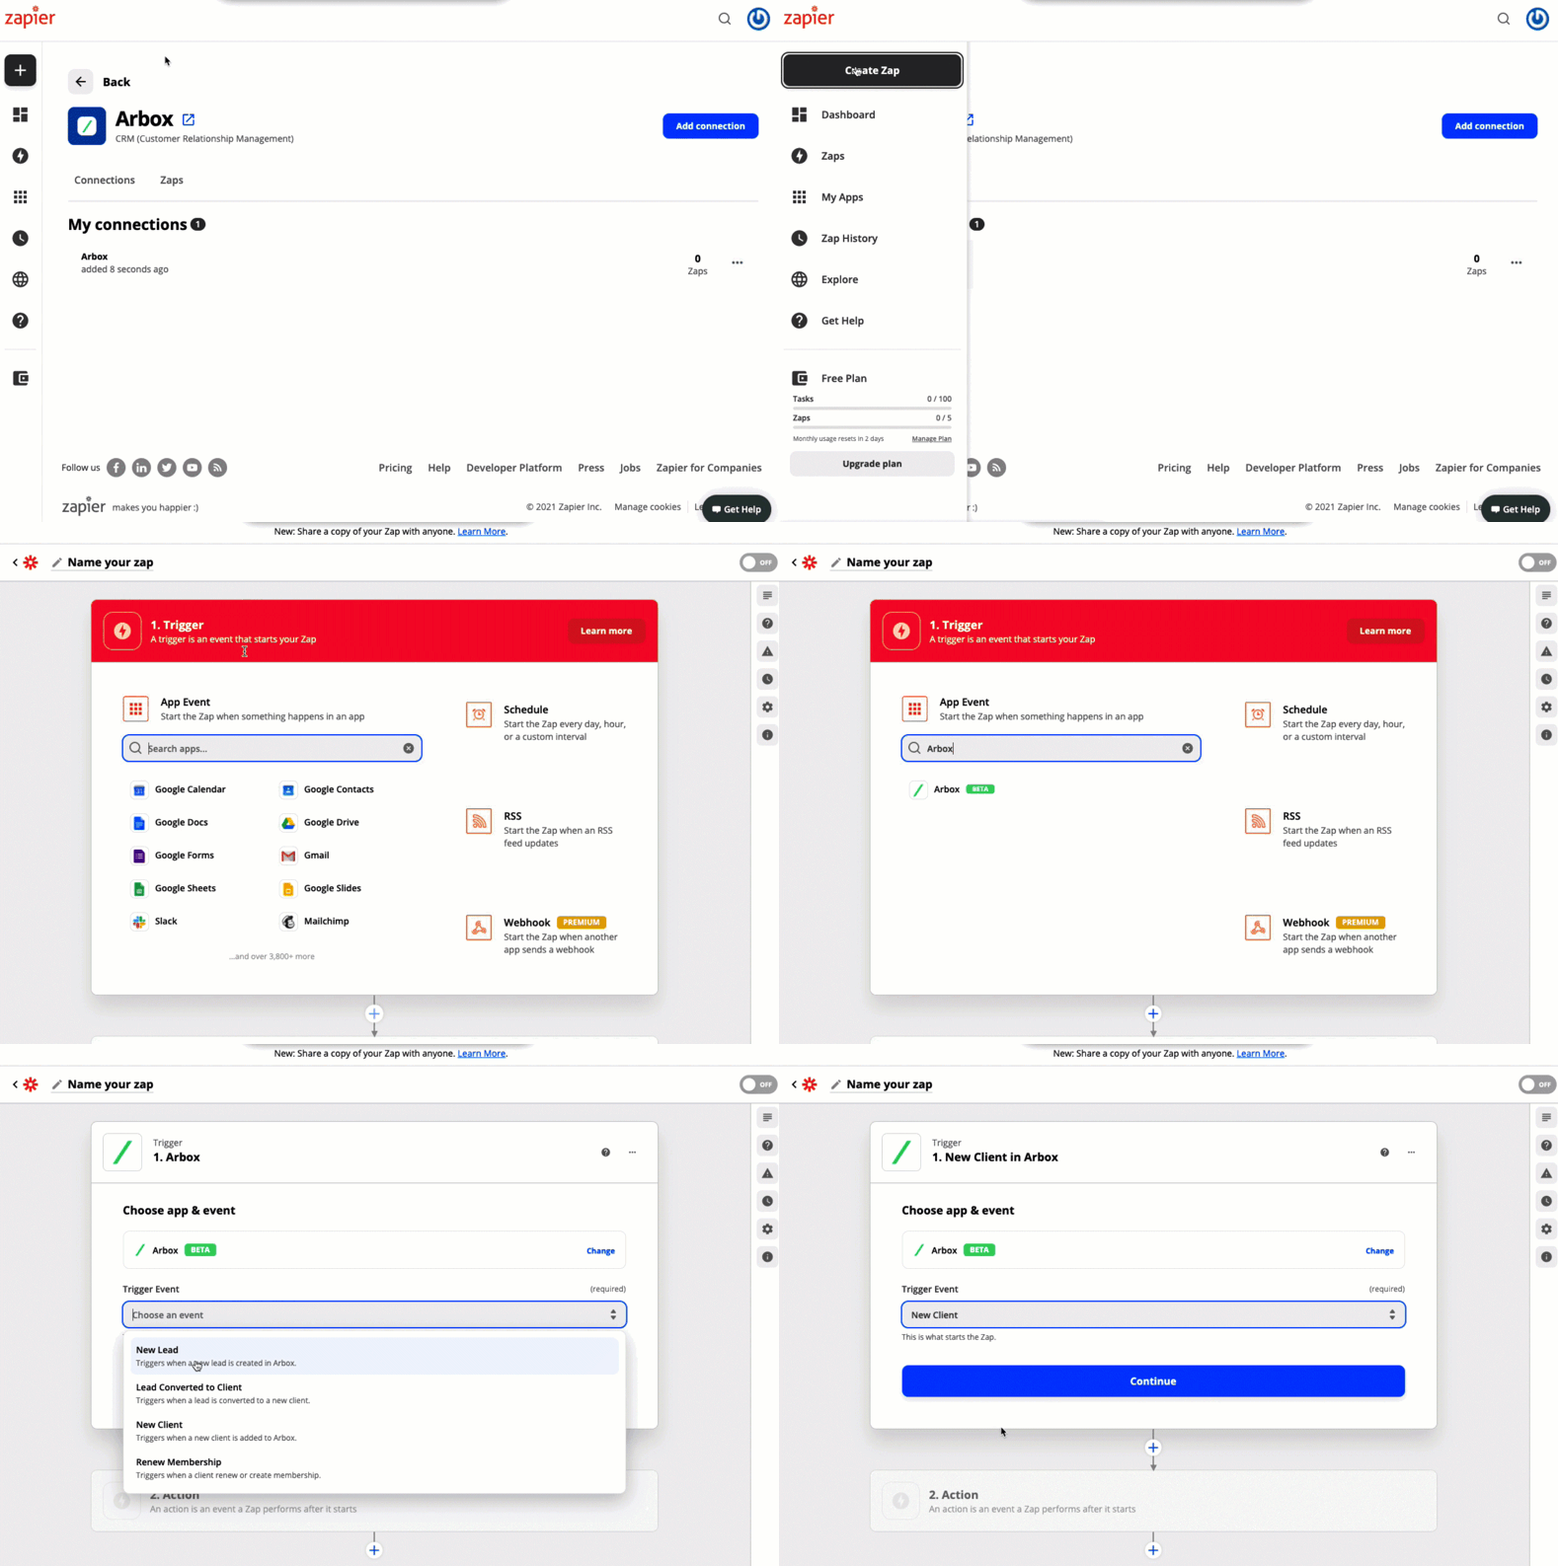
7. Once that's done you can start creating an automation! Use a pre-made Zap or create your own with the Zap Editor.
Want to connect your management platform with your Facebook campaigns?
At first you need to Arbox and Zapier, You can do it easily with our academy guide - Arbox and Zapier Integration.
Let's dive in!
Choose Facebook lead ads and Arbox from the drop-down menu.

Create Trigger & Action.
A good example of a trigger would be a new lead is added on your Facebook page. A good example of an action would be new a lead is created in your Arbox account.

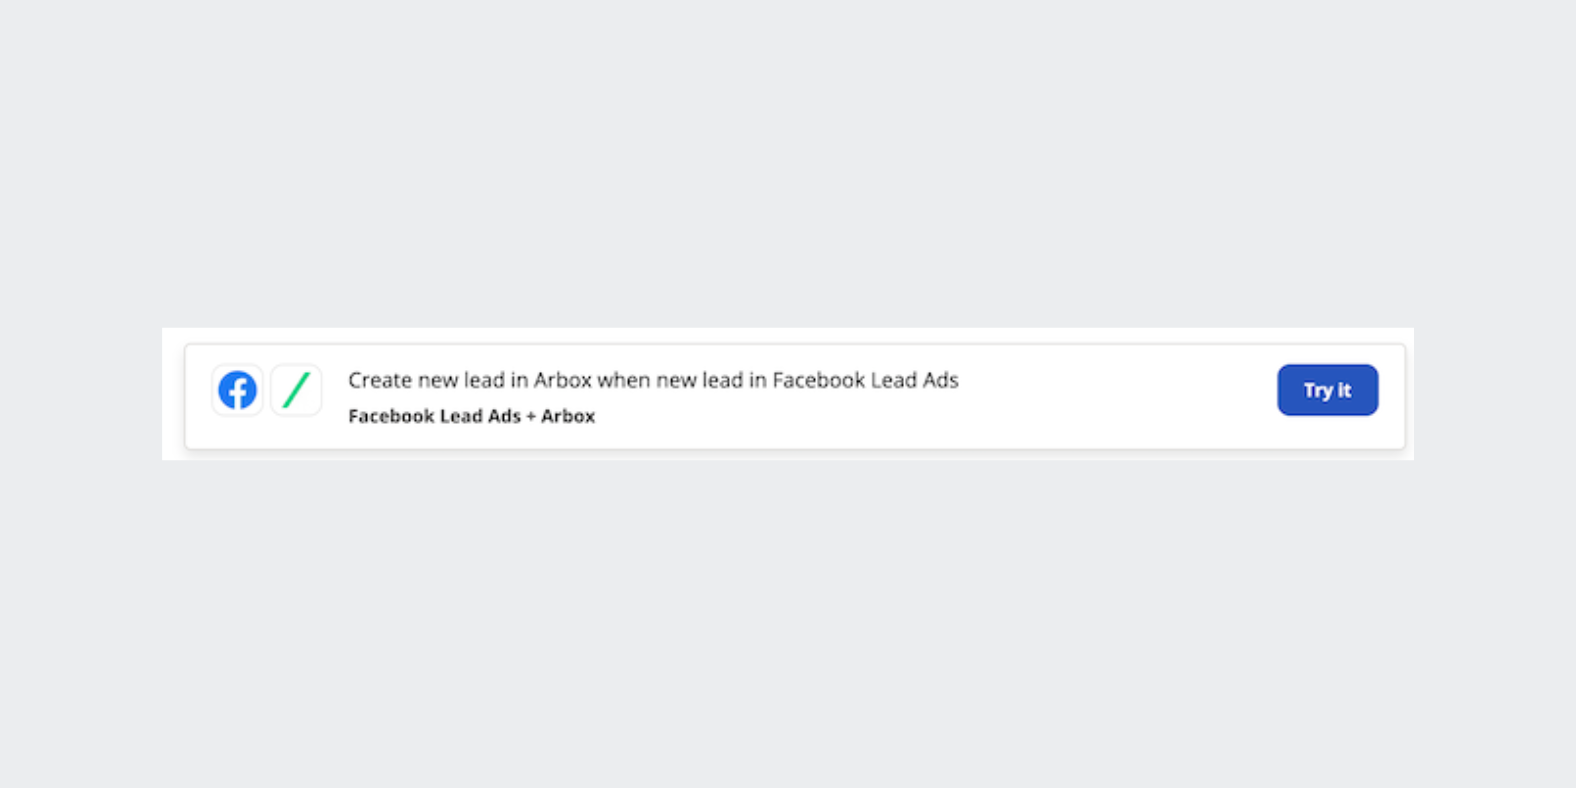
Click "Try It".

So far so good!
This is when you will be asked to define which data you want Arbox to collect from Facebook.
- Click "Get Started" below.
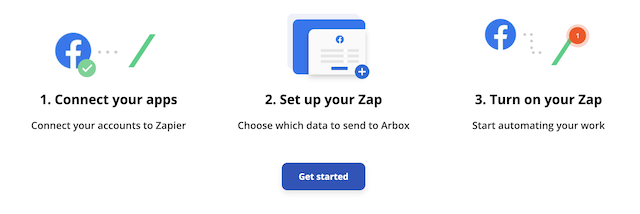
- Login to your Facebook account and choose the page and the form you would like to collect the data from.
When you are done, click "Next"
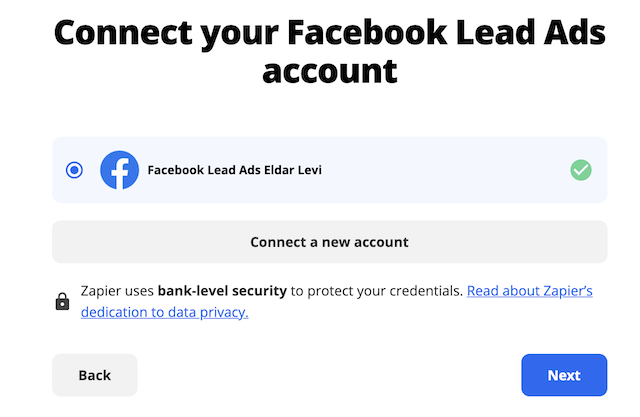
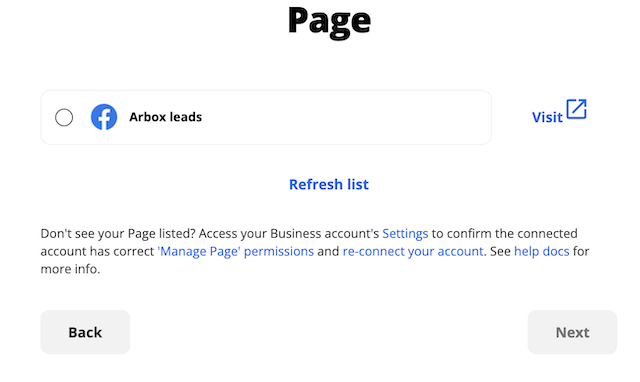
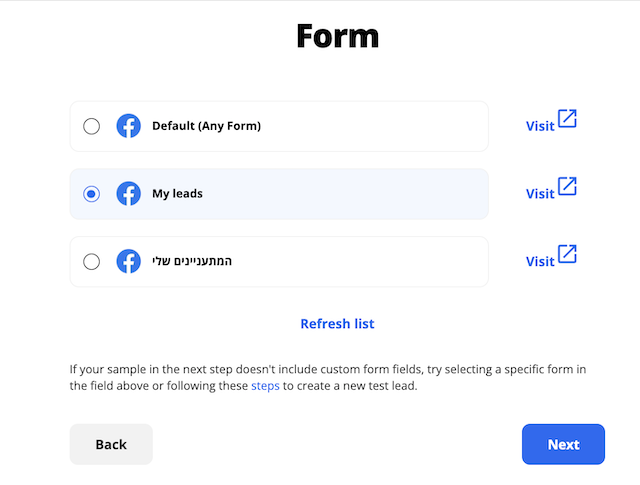
- Connect your Arbox account.
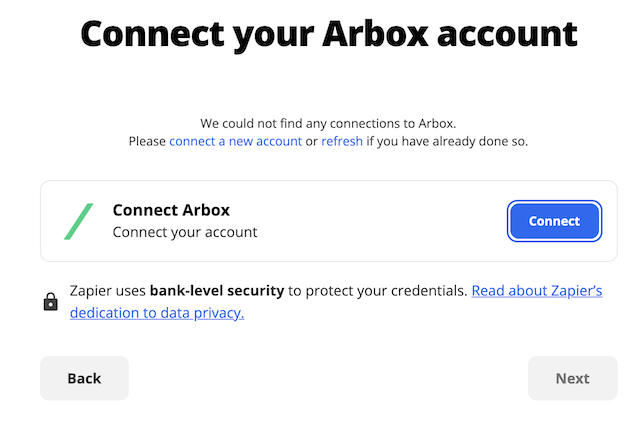
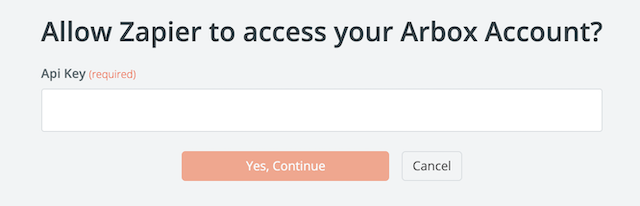
- Insert your Arbox API Key to allow access.
When you are done. click "Yes, Continue".
- Choose the fields you want to edit in Arbox.
Please note that the fields which were defined as "required" will appear gray.
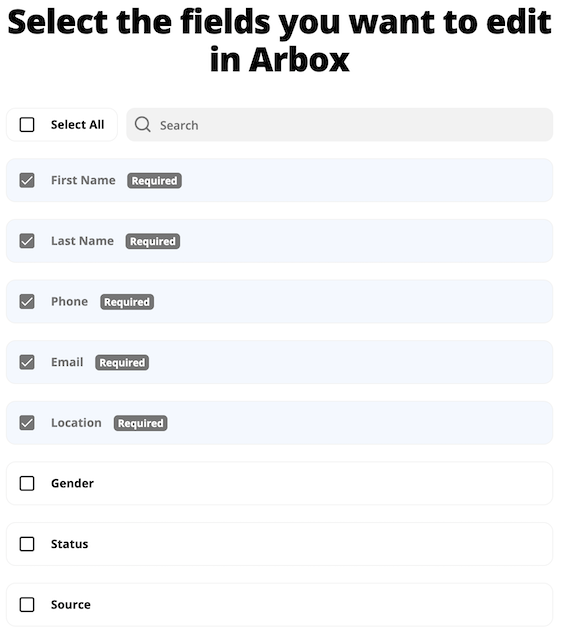
- When you are done, scroll down and click "Next"
- Please make sure the fields are matched between the apps.
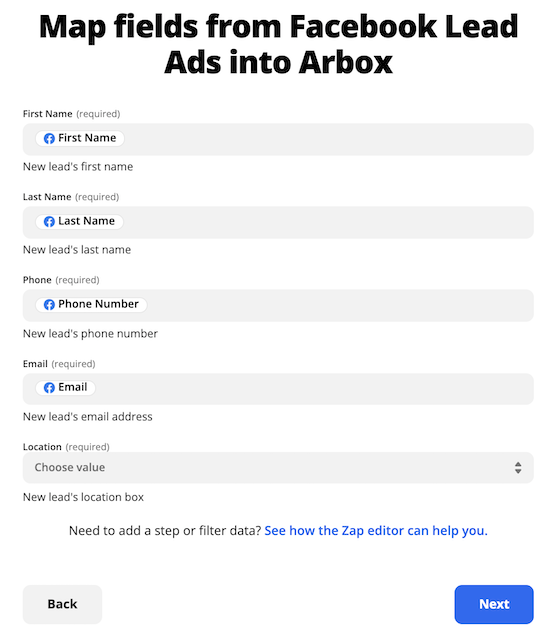
- When you are done, click "Next".
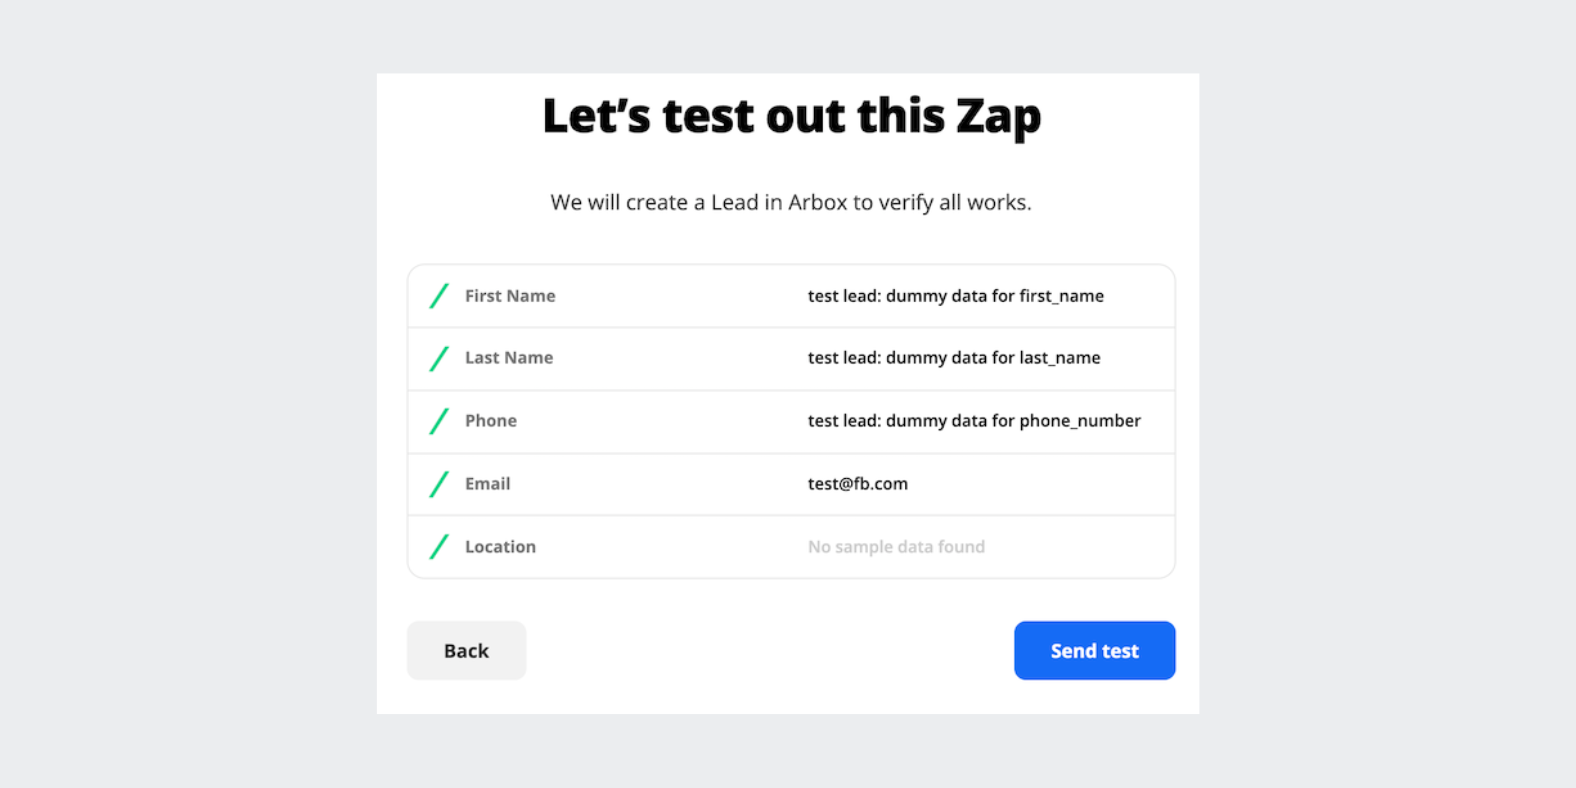
- Now let's test the Zap and make sure all the connections are activated and match your setting.
Click "Send test".
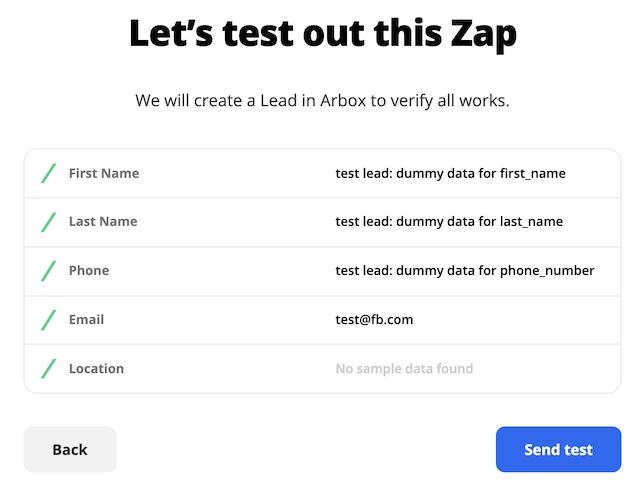
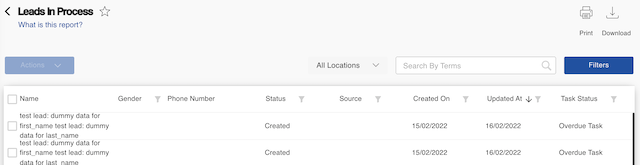
- Check your Arbox leads page to see the test that was created and named "test".
- Review your Zap and turn it on!
- Click "Turn on Zap".

You are all set!
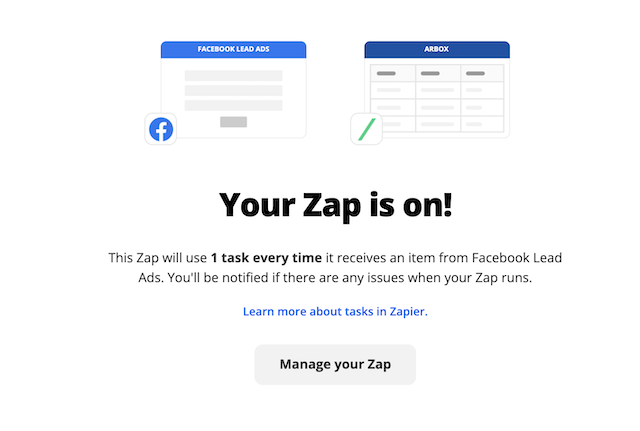
You can manage you Zap anytime by clicking "Manage your Zap".