
.svg)


Convert Client to Lead
Today we will focus on the right way to convert your clients back into leads, edit an existing lead's profile, clarify how to add a lead to the platform and register them for a trial session, and finally learn how to convert a lead into a paying client via their profile. Let's delve into some processes that can significantly ease your work and save precious time.
The moment you change your client's status back to "Lead", you can again enjoy the abilities Arbox offers you, in order to convert them back to a paying client:
- Your staff will be able to provide a unique experience for the user, since the management platform and check-in interface, will notify them that this is a lead in a trial session.
- Automatic notifications and reminders will help you maintain continuous and attentive communication with your leads, so that the experience they receive from you will make a great impression. (Automations triggers: "New Lead Created", "Status Changed to Lead", "Trial Classes", "Converted Leads", etc.).
- The moment a lead turns into a client, you can enjoy our amazing reports ('Leads in the Process,' 'Trial Sessions,' 'Prospects Converted to Customers,' and more)! By analyzing the data in these reports, you can gain insights that will allow you to convert your leads into paying clients, invest your money in the most profitable avenues, and the list goes on.
Type your client's name after clicking the "Search" button, located in the top right corner of your management platform. Click on your client's name and enter their profile. Please notice that in the client's profile there are several different categories. Now go to the "Profile" category and click the blue plus that appears in the bottom right corner of the profile. Finally, choose "Convert Client to Lead":
.png)
It's important to emphasize that it will not be possible to convert a client with an active membership or session pack. Therefore, before proceeding with the conversion, all existing memberships must be canceled. If your customers are registered for future events, the cancellation of the memberships will also result in the cancellation of their registration for those events.
In the next window you can easily create and define "Status", "Source", "Client Assignee", and add a comment that will appear at the bottom of the lead's profile:
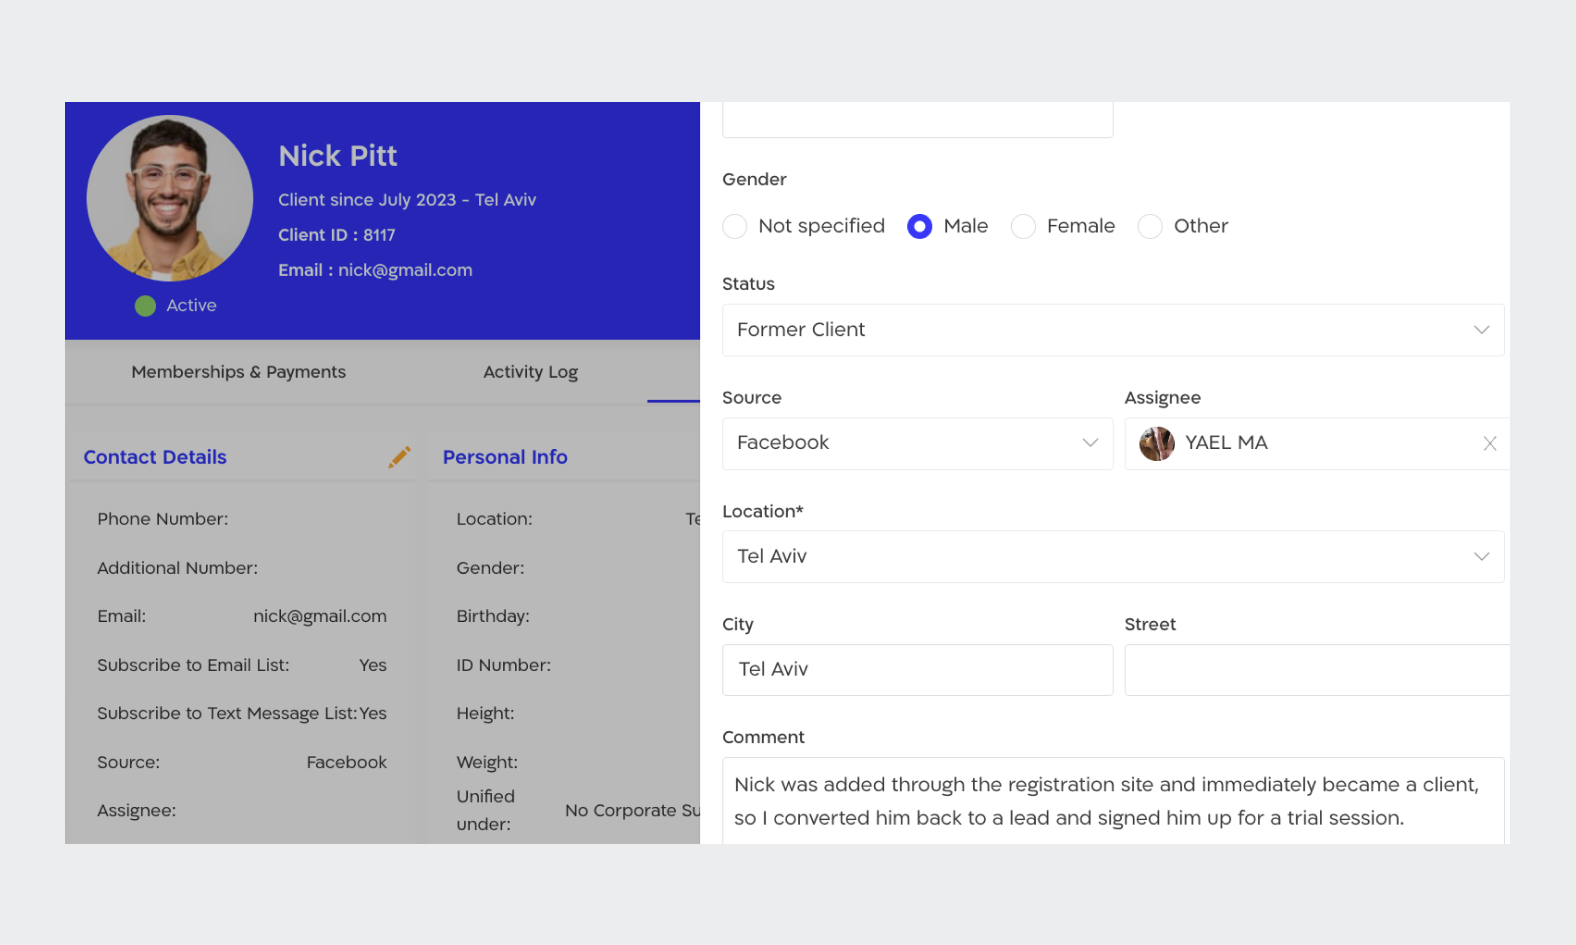
Let's briefly explain each of the fields we mentioned:
- "Status" - This field is meant to describe the lead's current state (before or after a trial session, lost lead, etc.).
- "Source" - Did the lead come from a Facebook campaign? Instagram? An ad on your personal website? This field is meant to clarify for you, how the lead heard about your business (that way we'll know better where it's worth investing more money, and where we shouldn't invest at all).
- "Assignee" - Defining an "Account Manager" will allow your sales team to optimally track and manage leads assigned to them, without missing anyone.
- "Comment" - Add comments to your leads' profiles, so you can keep track of them and provide personal and quality service.
After filling in the various fields and converting the client to a lead, the management platform will take you straight to the lead's profile. Notice that at the top of the profile there are three pencils. The first and third pencils allow editing of basic information (Assignee, Source, Name, Email etc.) and the second pencil enables editing the lead's status and adding a comment directly to their profile (comments can be seen at the bottom of the profile).

You can add your leads to Arbox and register them for a trial session in two main ways, one is via the schedule and the other is through the "Quick Actions" button. Adding via the schedule allows you to enjoy two different results in one action (adding the lead to the platform and registering them for a trial session), Follow the order of steps below and try it yourself:
Now, we'd love to present the second way! You need to click the "Quick Actions" button, located at the top left of the platform. Choose "New Lead" and fill in all the required details (please note we've added explanations for each of the fields earlier in this specific guide).
.png)
Now, if you want to add your leads to a trial session, you'll need to go to the schedule. Click on a specific event in the calendar and choose 'Manage Participants.' Enter the names of the leads in the search bar and select them. Leads will be added to the list with a purple background.
.png)
Finally, we've chosen to emphasize how you can easily and quickly convert your leads into paying clients. Enter the lead's profile and click the blue "plus" that appears on the bottom right. Choose "Convert to New Client", fill in the required personal details, and match a membership or a session pack to your new client.

The moment you save the changes, the management platform will automatically take you to the profile of the client you just created.
.png)
.png)
.png)
.png)


.png)