
.svg)


Spaces Management
Attention, all business owners looking to streamline your space management process! We're excited to introduce you to the ultimate tool - "Spaces Management." Whether you have multiple rooms or spaces in your business, this feature is here to help you keep things organized and optimize your space utilization. With "Spaces Management," you can maintain a clear schedule for each room, define availability, and even offer them for rental. Let's dive into how this feature works and how it can benefit your business.
In this guide, we'll walk you through every step of using the "Spaces Management" tool in Arbox. From setting up your spaces to defining availability and pricing, we'll cover it all. Plus, we'll explore how your end-users can easily interact with your spaces through the customer app and website. By the end of this guide, you'll be equipped to maximize the potential of each space and boost your business revenue.
Adding New Spaces
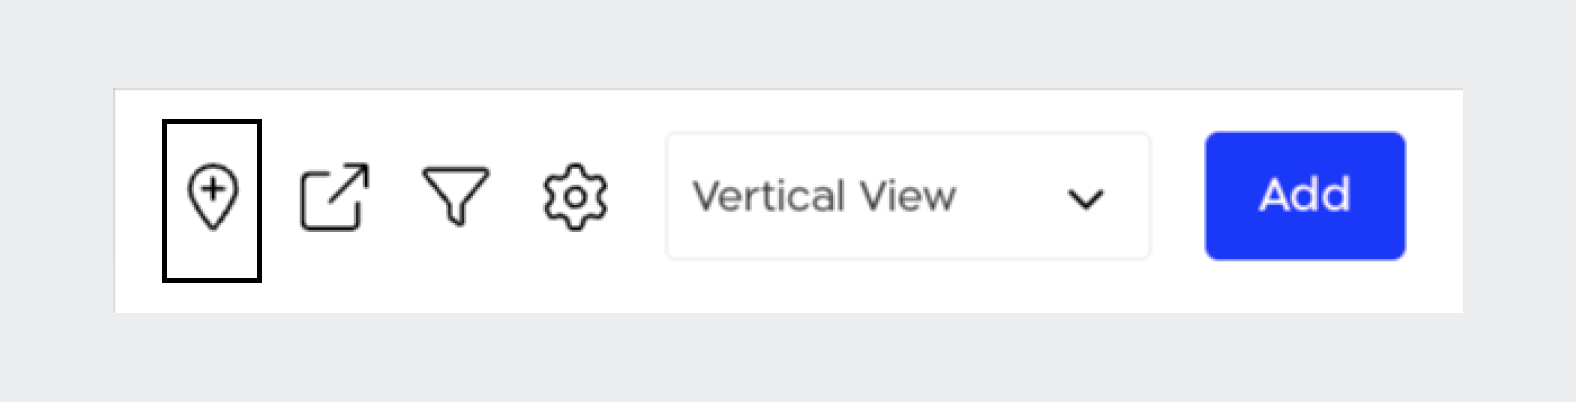
To begin, navigate to the "Schedule" section, Here, you'll find different views like "Calendar," "Availability," and "Spaces." For this guide, let's focus on the "Spaces" view [You can choose between horizontal and vertical displays based on your preference].
Let's add your first space together! Click on the "Add new space" icon to add a new space:
Name your room and set its availability just like you do for staff members. If you're unsure about adding appointment types to your management platform, don't worry. We've covered you with a link to guide you through the process.
Click "Next," and your space will be successfully added!
.png)
The screen you see now is called the "Success Page". It's designed to guide you to the next recommended actions in your management platform:
.png)
Pay attention to the link at the top of the screen – you can copy it to share your newly created spaces booking link on your social media.
Now, let's explore how the booking process works from your customers' end using the members app and website. If you're already familiar with these platforms, it's time to dive in!
Booking through your website
In the upcoming guide, we'll delve into the process of booking spaces through your website. However, we strongly recommend trying out the booking process on the members app as well. This way, you can provide professional assistance to your customers and always stay in control.
After copying the link from the "Success Page", open a new window in your browser. Paste the link and go through the booking process as if you were a client interested in reserving a space.
The first screen you'll encounter is the following:
.png)
Select "Space Availability," and you'll see a list of the different event types you've assigned to your spaces through the management platform.
Choose an event type, and you'll proceed to the next screen:
.png)
In the top left corner of the screen capture, you can see that I selected "New York" as my Branch, and "GYM" as my Space (If you don't have branches set up yet, the first part won't be relevant to you).
After your clients choose a date and time, they'll enter payment details. After payment, they'll receive an email confirmation from your business, containing the booking details. It's important to note that for prospects who are not yet added to your Arbox, they'll receive a "welcome email" after payment with a link to download your members app and login details.
That's it! You've successfully completed the booking process through the customer website.
Managing Your Spaces
Once you've added your spaces to the management platform, it's essential to know how to effectively manage them to make the most of their potential.
When you click on one of the added spaces, you'll notice the following options:
.png)
Next to the space name "Studio," you'll see two icons – clicking the "pencil" icon allows you to edit the space name, and the "trash bin" icon lets you delete the space. If you've set "Availability" for the space, you can see its hours and three different icons – clicking the "trash bin" icon deletes the availability, the "pencil" icon allows you to edit it, and the "client" icon lets you schedule an event for a specific client.
Before we wrap up
let us tell you about a special addition that "Spaces Management" can bring to your daily user experience. If you have numerous events on your schedule and the general view is becoming cluttered, you can manually assign each event to different rooms in your business.
Wondering why you should do this? We're here to explain! Once you've attached events to your spaces, you can switch to the "Spaces" view on your schedule and enjoy a clean and organized display. Just click on one of your calendar events >> Choose the "Pencil" icon >> link to a specific space and save!
- If you don't want to use the "Spaces" view, but still you need an extra filter - we've included a "Spaces" filter directly in your calendar:
.png)
.png)
.png)
.png)
.png)


.png)