
.svg)


Zapier and Facebook Integration
Want to connect your management platform with your Facebook campaigns?
At first you need to Arbox and Zapier, You can do it easily with our academy guide - Arbox and Zapier Integration.
Let's dive in!
Choose Facebook lead ads and Arbox from the drop-down menu.

Create Trigger & Action.
A good example of a trigger would be a new lead is added on your Facebook page. A good example of an action would be new a lead is created in your Arbox account.

Click "Try It".

So far so good!
This is when you will be asked to define which data you want Arbox to collect from Facebook.
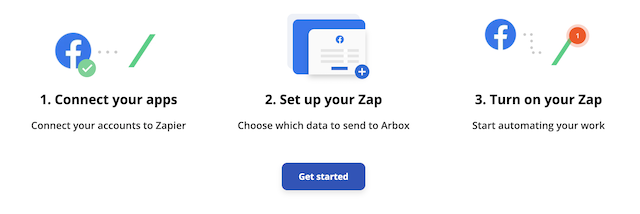
- Click "Get Started" below.
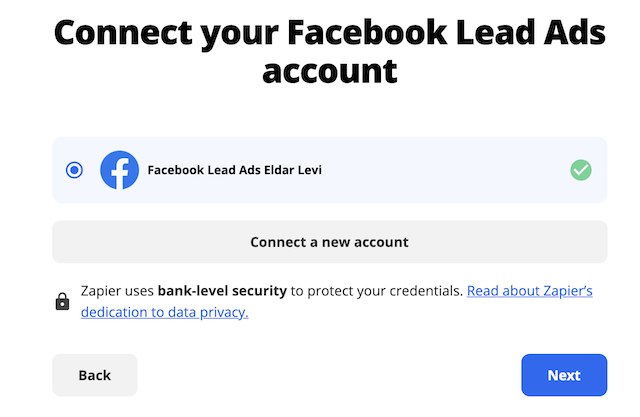
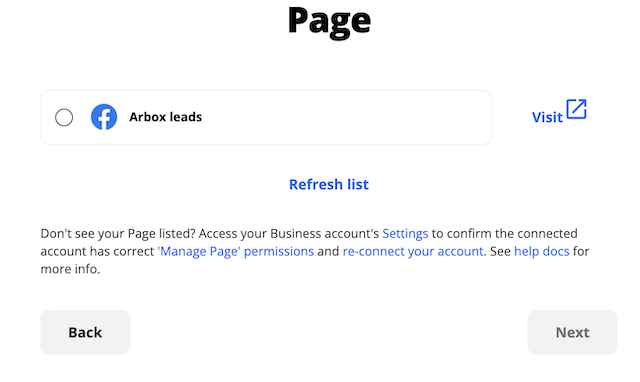
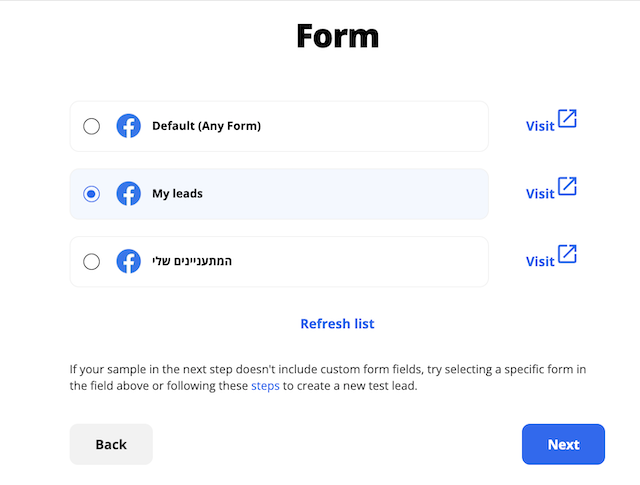
- Login to your Facebook account and choose the page and the form you would like to collect the data from.
When you are done, click "Next"
- Connect your Arbox account.
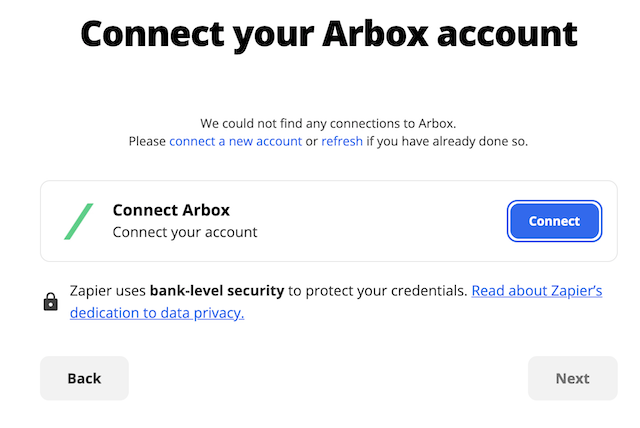
- Insert your Arbox API Key to allow access.
When you are done. click "Yes, Continue".

- Choose the fields you want to edit in Arbox.
Please note that the fields which were defined as "required" will appear gray.
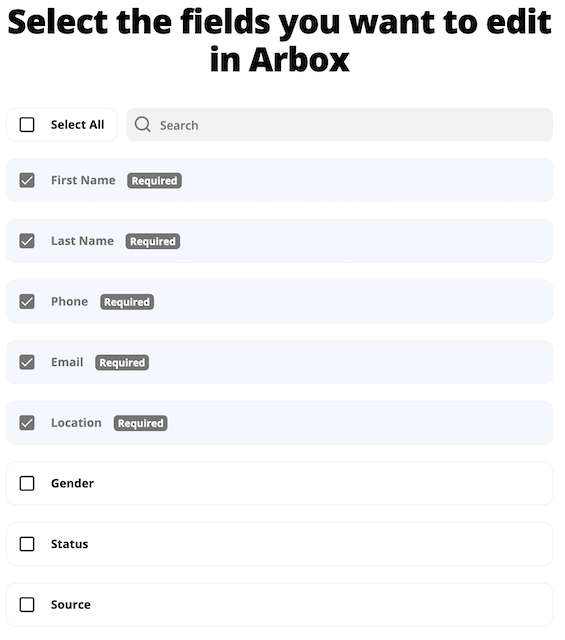
- When you are done, scroll down and click "Next"
- Please make sure the fields are matched between the apps.

- When you are done, click "Next".
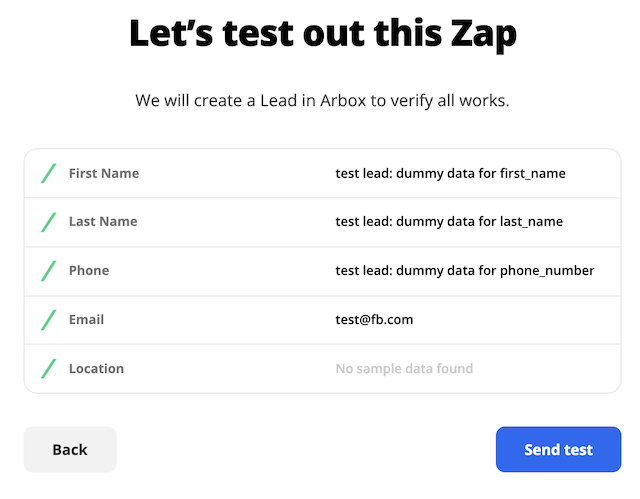
- Now let's test the Zap and make sure all the connections are activated and match your setting.
Click "Send test".
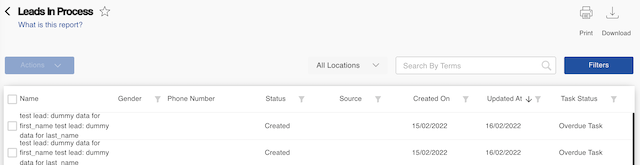
- Check your Arbox leads page to see the test that was created and named "test".
- Review your Zap and turn it on!
- Click "Turn on Zap".

You are all set!
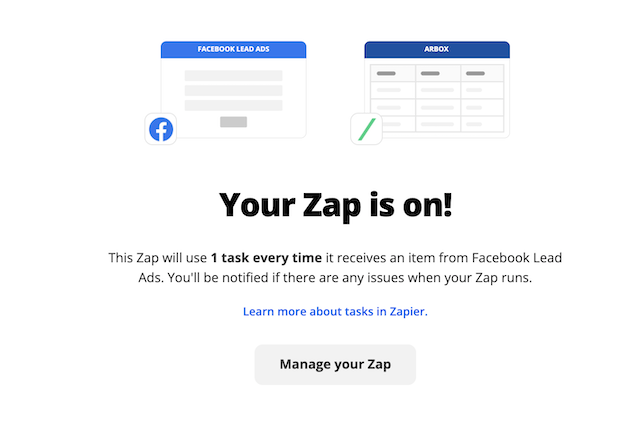
You can manage you Zap anytime by clicking "Manage your Zap".
.png)
.png)
.png)
.png)


.png)