
.svg)


Introduction
Here you can easily and efficiently start building your system. Take 10 minutes and follow the steps that will guide you to build your system in the most effective way. After this lesson, you'll be able to start working with the system on an ongoing basis and manage your business easily.
In this lesson we'll focus on the initial steps of registering and setting up your business in Arbox:
- Get to know the customer interfaces - website, app, and management system
- Log in to the system and dashboard on your homepage
- Upload your logo
Get to know your new platforms:
There are two interfaces through which your customers can perform various actions - an app and a website. Through these interfaces, clients will be able to schedule appointments, make purchases, update details, fill out forms, and more. In short, the interfaces will allow clients to manage all their activities without any intervention from you!
Registration Website
Your Arbox website is an interface intended for your clients. Through it, clients will be able to perform a variety of actions such as:
← Joining as new clients (by purchasing memberships and entering personal details).
← Viewing the schedule.
← Registering for appointments as existing users.
← Registering for appointments as new users by purchasing the appointment as a one-time fee.
You can access the website through the management platform by clicking on "My Links" which appears in the top left corner of the screen. In the next window, you can copy the website link to share with your customers, or enter it yourself by clicking it.
Customer App
The Arbox app is intended for your existing clients. In other words, clients will only be able to use the app if they are already existing clients in your system. Login to the app is done using the initial details the clients received to their personal email after registering with the platform. Via the clients app, the clients can:
← Register for various events
← Update their personal details
← Fill out forms like "studio policy", and "medical waivers".
← Add friends
← Make purchases in the store
Management System (for your management)-
An interface that can only be accessed via the browser (Chrome recommended). This interface is intended only for you and your staff and its purpose is to manage operations in the business. Via the management platform, you can perform actions such as:
← Manage the schedule and add different types of events.
← Update business settings.
← Create and sell memberships, session pecks, products, etc.
← Add new clients and leads and track them.
← Ongoing monitoring via reports and dashboard.
← Manage tasks.
← Communicate with customers by sending push/SMS/email messages.
To enter the management platform click here.
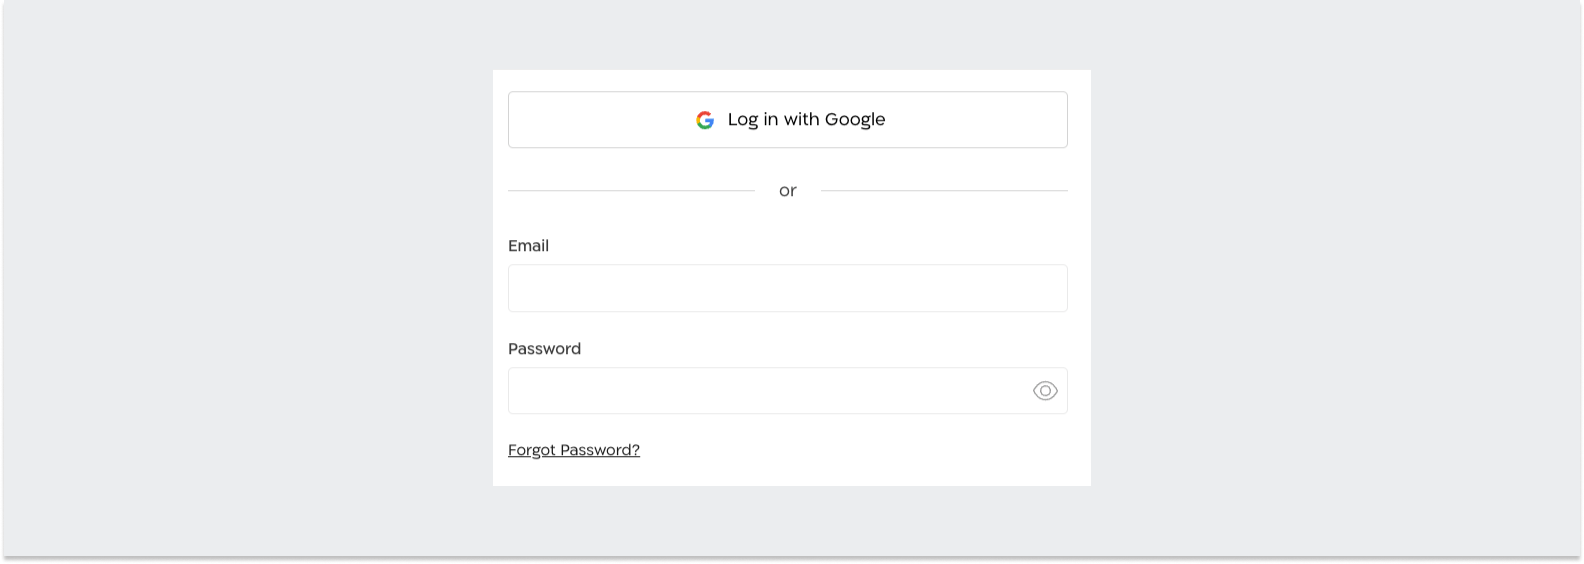
You can login to the management platform using your Google account. You can also enter a username and password:
Username - The email you first registered with.
Password - If you forgot your password, you can click "Forgot password" and reset it.
Your dashboard shows you real-time data and an up-to-date snapshot of your business - active clients, sales by monthly/weekly/daily filters, lead overview, absentees, and more:

Uploading Your Logo
Add your logo! The logo will be displayed to clients when logging into the app and entering your website. You can add the logo by clicking on the square icon in the top right corner of the management platform:
.png)
.png)
.png)
.png)
.png)


.png)